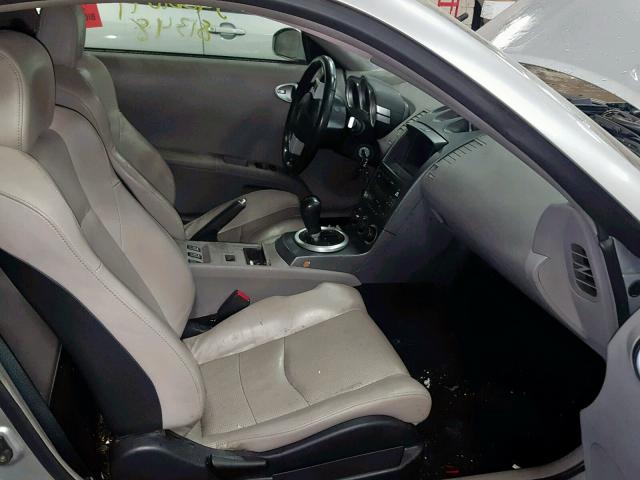
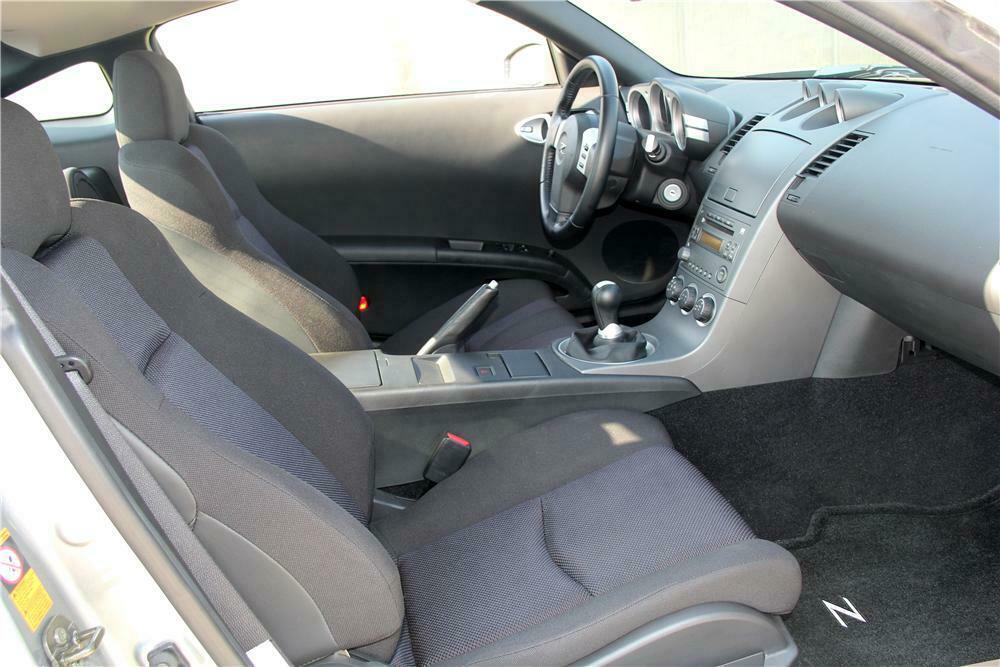
Nissan 350z 2003 interior. 2003 Nissan 350Z Interior Parts for Sale 2019-03-20
Interior Fuse Box Location: 2003

While its firm ride, abrupt throttle response, and awkward cup holders don't necessarily make it a great place to drink coffee, eat doughnuts, and make phone calls on the way to work, it is a comfortable car with usable cargo space, and getting in and out isn't impossibly awkward. After the seats are re-installed, it is a good idea to condition the leather and massage any wrinkles that are in the leather. If checking and replacing the fuse for the component in question doesn't work, we recommend seeking assistance from a trusted professional mechanic. However, pattern changes are fairly expensive depending on the complexity of the design. Remove the hog-rings starting with the edges and then remove the hog-rings on the top seam line. If your 350Z has heated seats, make sure to disconnect the wiring before you remove the seat cushion.
2003 Nissan 350Z Interior Parts for Sale

Undo the J-hooks and the unzip the zippers and you will reveal the back of the seat see Figure 8. The suspension keeps the tires glued through fast chicanes. The mileage is low by many standards, but out of the 36K warranty window. Roll the cover down the seat until you get to the top horizontal seam line which you will then hog-ring as well as the top of the vertical listing. Reinstall the recovered seat cushion and pan assembly and reattach your plastic hardware. After you reach the bottom, close the zippers, then attach the j-hook.
Interior Trims for 2003 Nissan 350Z for sale

These bolts are located at the ends of the seat rails. Our Nissan 350Z leather seats are made with top grain, vat dyed, automotive grade leather hides, and are finished in a European style, milled pebble. Some components may have multiple fuses, so make sure you check all of the fuses that are linked to the component in question. Remove them using the door panel removal tool or a flathead screwdriver. Be careful not to cut the wire that runs inside the pad, or the pad will not work. Bounce over the curbs like Michael Schumacher and the Z will hold its line. And that's no wimpy base model with a commuter engine.
2003 Nissan 350Z Interior Parts for Sale

We have over 60 different leather colors and many different materials available to make your Nissan 350Z as factory or as custom looking as you like. All pattern changes inquiries will go through our bespoke project manager. Repeat this process for the other front bucket and you're finished! Move the seat all the way back to reveal the front two bolts. Thank you for visiting the LeatherSeats. At this point, you are finished with the backrests and just need to move on to the headrests. The sides and back of the leather is glued to the foam, so first you will need to take a razor blade and cut the seams along the seam lines.
2003 Nissan 350Z Information

It is a good idea to lay out all the tools you will need at the beginning of any installation. Snip them and remove the cover. Take a look at the videos below which show 1 the installation of the headrest covers with a pneumatic headrest shrinker and 2 the technique required for removing the factory leather foam injected headrests and reupholstering them. For sale, my 2003 Nissan 350z Mileage: 94000 Touring package, leather, heated, power seats, bose sound system 6-speed Manual Trans, shifts fine Drive it everyday, never lets me down Some performance. If you need to replace a blown fuse in your 350Z, make sure you replace it with one that has the same amperage as the blown fuse.
3 Complaints: 2003 Nissan 350Z Seats Problems

We always want our customers to have control over the design of their Nissan 350Z custom interior and so we have pre-selected a variety of popular 350Z leather interior patterns so each customer can select the pattern and colors they want for their Nissan 350Z custom leather interior. As of now we are only offering the Ecstasy leather upgrade on all of our local custom interior fabrication jobs as well as a selected number of our production leather kit patterns. If you'd be so kind as to whitelist our site, we promise to keep bringing you great content. And free is good, right? Don't waste your time wasting ours! There are also yellow plastic clips that hold the wiring to the bottom of the seat cushion pan. We will do our best to put together a custom 350Z leather auto upholstery package that is exactly what you are looking for.
2003 Nissan 350Z Information
You can find these two-tone styles below in the Pattern Archive section below. You will see J-hooks and two zippers holding the covers together see Figure 7. The last step is to slide the headrest into the re-upholstered seat, and you're finished with the front seat! Date given for occurrence is a guess at first notice of it. After you have removed the pad, place it on the foam before you start installing your new seat covers. I was lucky enough to find the matching burnt orange leather on ebay and repaired locally. This car is in unbelievable shape to be a 2003, but looks just as good as a car with less than 21,000. Its fastback styling and arching roofline hint at the Porsche 911.
2003 Nissan 350Z Specs, Trims & Colors
After you are happy with the fitment of the upholstery and you have worked out all the wrinkles, you will need to continue to the final step of cutting the required holes. Continue rolling the cover down and hog-ringing the upholstery on the vertical listings in similar locations to factory hog-rings. After you have cut through the material, you will stretch the leather around the guide. Simply unhook these and roll the headrest cover back to reveal the foam. . Mike Kashtans Superior Auto Sales is a family owned. The new Z is as responsive as a hungry cheetah, with racecar handling, rear-wheel drive, and thrilling acceleration performance.