Export marvelous designer to daz. Loss of Detail from MD to Daz Studio? 2019-04-16
MD2 and DAZ Studio: Exporting and Posing Clothes by dylazuna on DeviantArt
If you sew a cuff to a sleeve and you want that cuff to be folded back, you would want a turned seam. As you can see in the image above in Polyframe mode there are no poly groups. Refine if needed 12 Rig the mesh 13 Weight paint the mesh 14 Export as dae file. Not saying this is the best way to do it though, but after exporting some very huge clothes when I first started out I found these settings to work. You may not modify, change or create derivative works based upon this work in any form or fashion or by any method. This lesson covers a few things I've never done myself before, so I spent a lot of time testing the processes and trying to uncover the bugs for you. You can compare the two avatars to see that the sizing worked fine.
Cloth
:origin()/pre08/b4a1/th/pre/f/2013/240/9/9/md2_and_daz_studio__exporting_and_posing_clothes_by_dylazuna-d6k2v17.jpg)
Use of any portion of this work constitutes your full agreement with all of the terms contained herein. If you want to export your Marvelous garment with the avatar, then select the avatar, otherwise leave it unchecked. The publisher retains all copyright ownership and reserves all rights to this work. The one caveat I found is the font and size you create. Now, thus far I've only created content for Poser figures.
exporting jeans to daz with visible decorative seams?

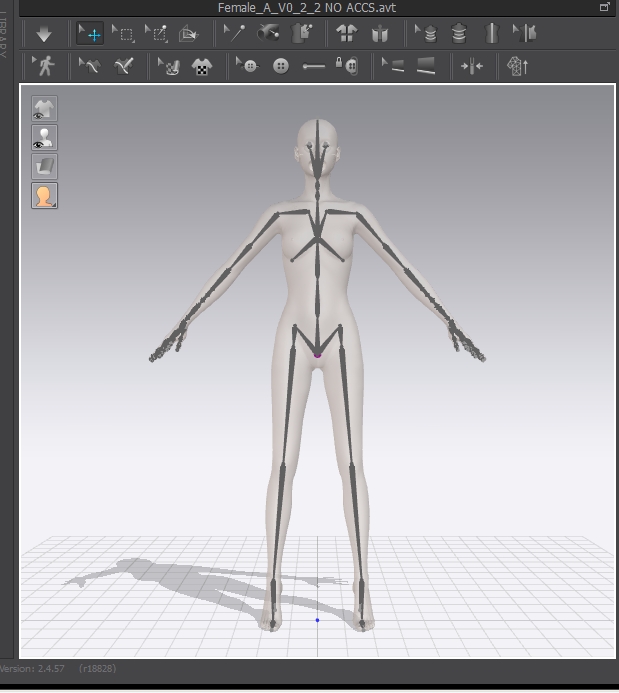
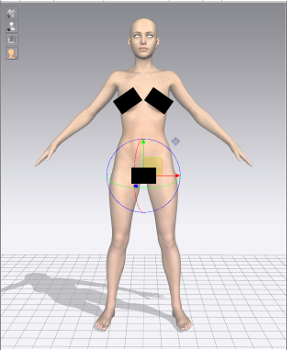
To compare the G8F Avatar to the default ones; File Add Avatar. I do know about blender but I was wondering if there are any others? But maybe someone with more knowledge will jump in here and we can both learn something. The dark red line at 180 is doing nothing. This will trigger an import dialogue which is set to 100% by default. The more complex the design, the more time you are able to save using Marvelous Designer. That's another reason to buckle down and learn Blender I suppose.
Marvelous Designer 5 to ZBrush Workflow Tutorial
If you do not agree with any of the terms of this license, then do not use this work and leave this webpage. See it like making clothing for a Barbie doll 1:6 scale from human, roughly. Guess it depends on how well they conform to the external figure. I been mucking around with the Udemy Beginning Blender course for a couple of months now. I'd recommend something closer to 1.
MARVELOUS DESIGNER TO BLENDER TO SECOND LIFE

Is it feasible and does anyone have directions to threads or tutorials, please? It will not re- license itself by charging automatically at the end of the license period. Polygon faces don't bend, vertices don't bend, just the edges - this is why edge flow in a mesh built for animation is so important. However here are a couple of things you can try. But how you import them or create them for your custom characters? I may be wrong but will be difficult without going back through another 3D Maya, Blender, Studio app because the Weight maps would have to be adjusted to work with Iclone and they are different with Daz. It worked well for me earlier today, but no love with this one.
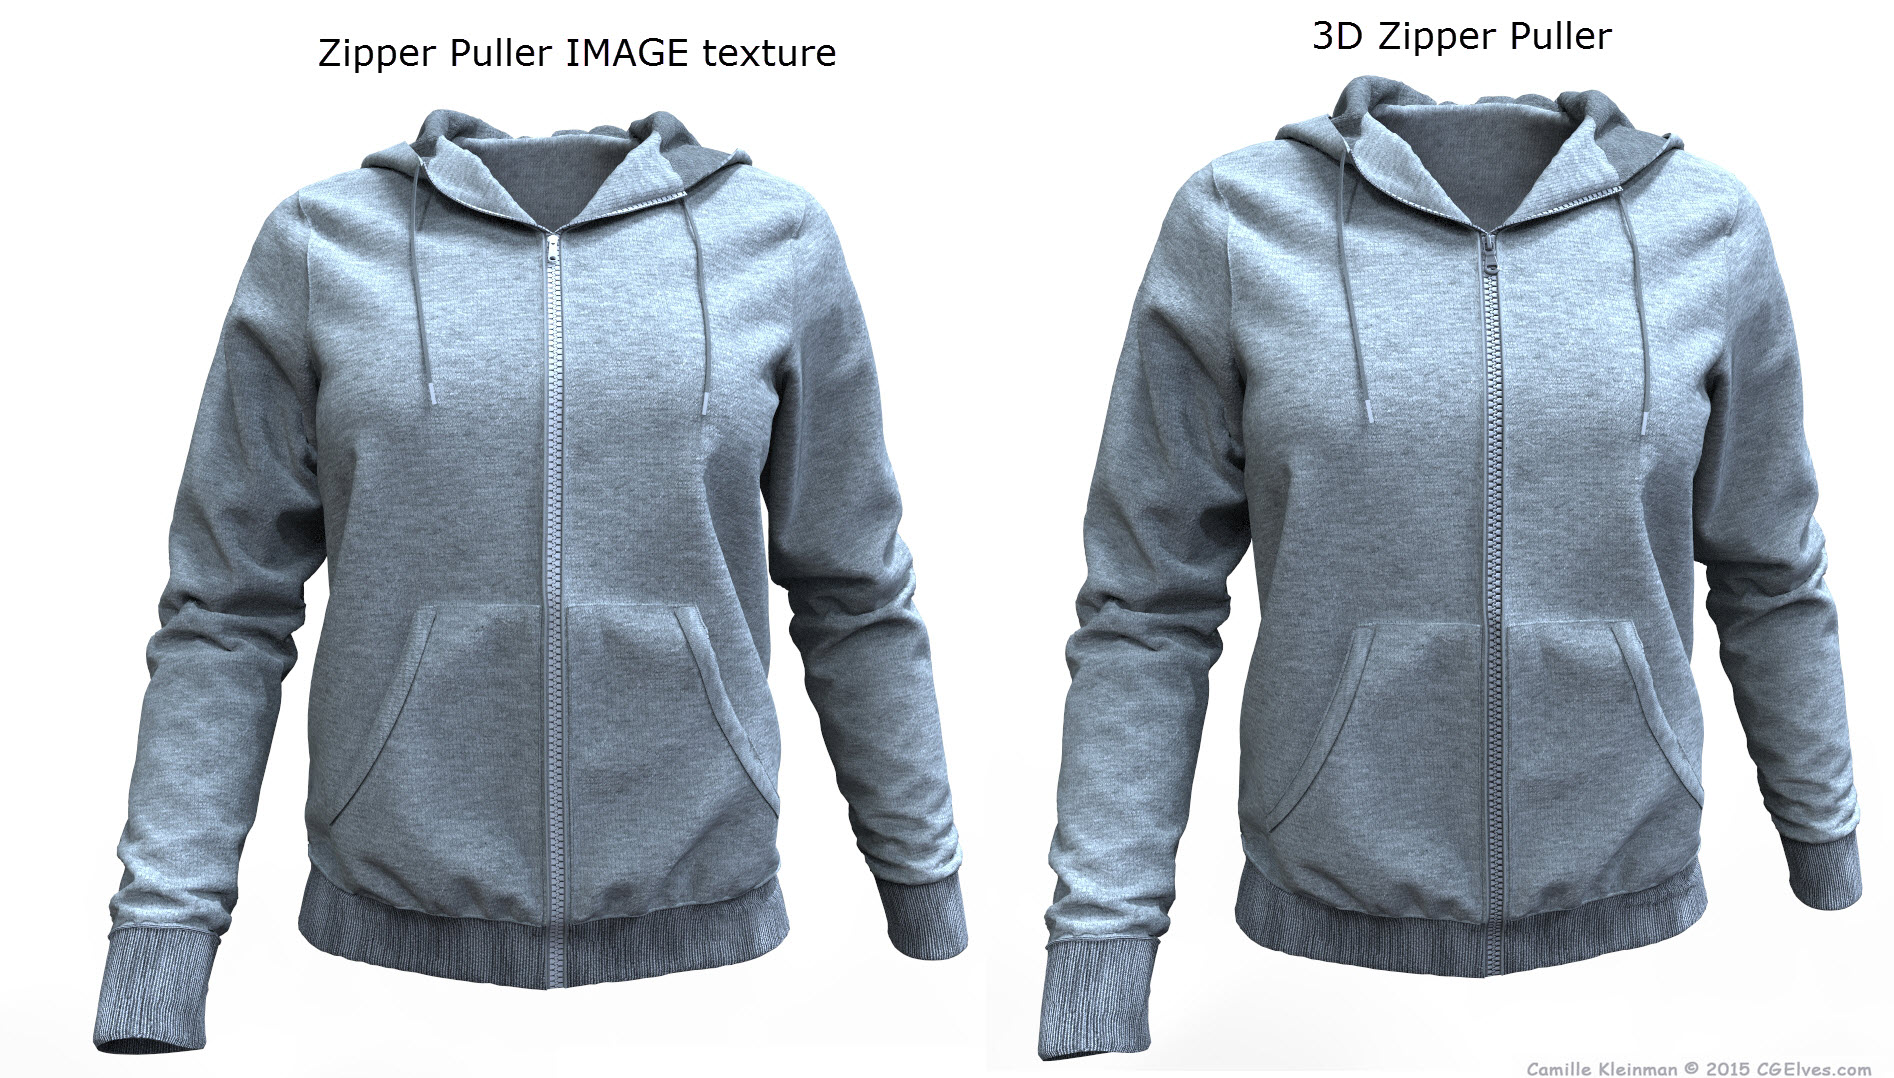
Marvelous Designer Top Stitch To Daz Tutorial by soup
Oddly enough,one the easiest ways to get textures …. From version 4, Marvelous Designer supports quad mesh. When you import your Marvelous Designer garment it may look rather queer, sort of broken up like parts are missing. We created all the items in Blender using various methods including particle generation and using the sapling add-on for the bushes and trees. You'll see a surface for each part of your cloth, a surface for each pipe you have, and.
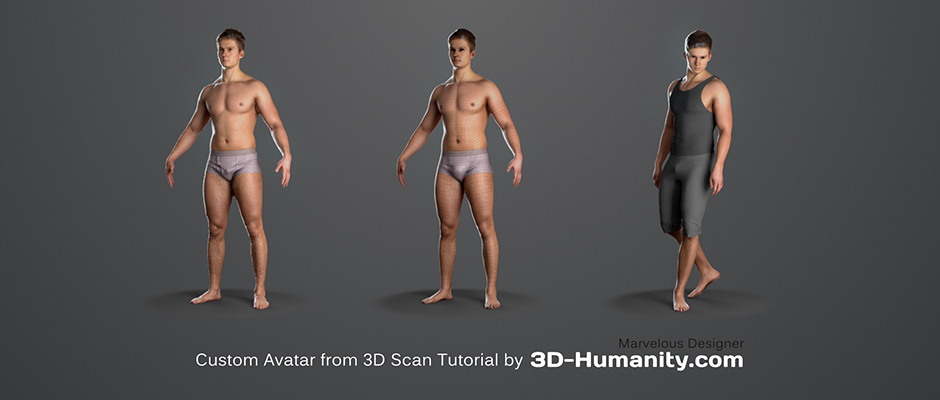
Creating Avatars for Marvelous Designer 6 (MD6) from Daz Studio 4 (DS4) Characters

It's a good way to learn! I don't want to go through decimator and or Maya but direct. It is most useful in situations where garment detail and quality are paramount. I have been using the triangle mesh with the point density set to 10 - 15 in Poser myself, but I was wondering what others do. See it like making clothing for a Barbie doll 1:6 scale from human, roughly. Do you know where I should look after them?? Thanks for your help Attachments Screen Shot 2016-06-14 at 19.
How to import DAZ characters into Marvelous Designer
The actual grass and flowers textures were in the course asset packet to use for our scenes. Now the Sewing Line Types are Turned or Custom Angle. Thus, to have it, I must learn how to make it! If you are talking about other software where you can draw a pattern and sew it together, like Marvelous Designer does, unfortunately most of the other similar options are either available in more expensive software, or as plugins for more expensive software like Cinema 4D, Max, Maya, etc. The following screen shot is of renders done we made in Blender and is the completion of the Fluffy Bunny Section of the actual course itself. This is the standard way clothing is made in the fashion industry and is very applicable to virtual garment design. And then, when you export back out, you export at Poser scale to get it back into Poser.
Cloth
You need very thin fabrics, much thinner than used for your own clothing and then still they will behave and look like thick blankets. It kind of depends on what you're making. Tip: Before exporting a clothing model from Marvelous Designer, make sure that all the normals are facing the right way. Once you start to fiddle with scale and say use a length unit 10 times larger cm instead of mm you need to modify everything else also. Once you start to fiddle with scale and say use a length unit 10 times larger cm instead of mm you need to modify everything else also.
Creating Avatars for Marvelous Designer 6 (MD6) from Daz Studio 4 (DS4) Characters

If you created your Marvelous Designer clothes like shirts with symmetric patterns you will have separate polygroups for each side of the shirt. I typed in a hurry. The process I've described works in Daz 4. For this cuff example, you want the fold to be right sides together, which is the 0 degree seam Fold Angle. There really is no right or wrong way to go about I don't think. Poser scale of course is confusing 8' or 8.