2008 polaris ranger 500 engine. 2008 Polaris Ranger 500 4x4 EFI 2019-04-13
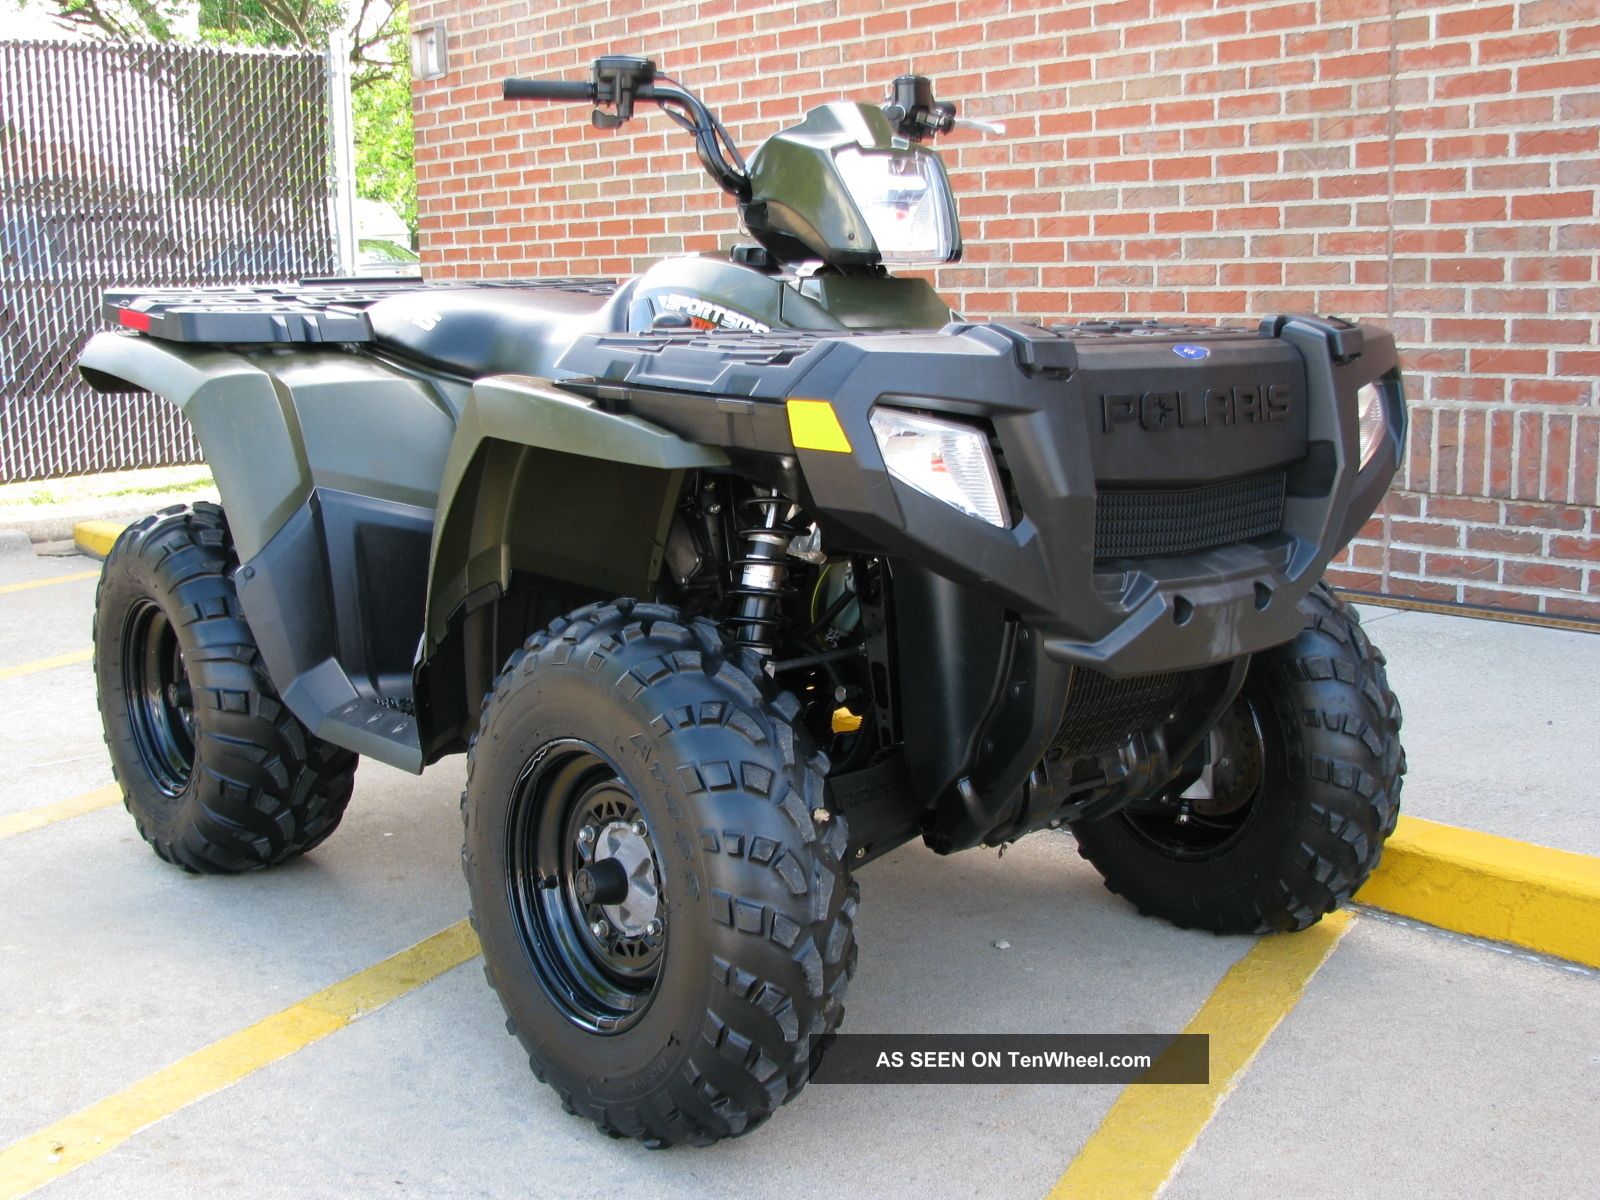
2008 Polaris Ranger Side x Side
Carefully pull the rail away harness for the fuel injector s up over the air box to allow from the injectors and remove the injector s from the fuel injector removal. Once the gears are pressed together, firmly hold the gears 21. Install adapter reducer Item 9. The pinion shaft should rotate freely during four Connect complete rotations. Bearing cup is a housing. Remove the airbox and throttle body from the vehicle as an adaptor.
Polaris Ranger Intake

Remove the dipstick and pour the new oil into the oil tank. Install oil pump housing bolts H. Verify the o-ring is in position. Remove the intermediate pinion shaft assembly from the bearing cup and shims from the cover. Polaris also enhances the riding experience with a complete line of Pure Polaris apparel, accessories and parts, available at Polaris dealerships.
2008 Polaris Ranger™ 4x4 EFI Reviews, Prices, and Specs

Install piston assemblies into cylinder aligning the piston pin holes, to ensure proper alignment of the pistons to the connecting rods upon assembly. Capacity - Approximately 2 U. No single action on your part is as important as a proper break-in period. To check the oil level follow the procedure listed below. All are assembled with precision, utilizing stringent operating procedures.
General Data Protection Regulation: orgmode.com
The listed price is only valid with a Good Core Exchange. Tbap wiring repair harness otb powersports products polaris wiring harness. Take care not to damage threads on fingers. Cut the plastic tie strap and push the screw from the cylinder head. Park the Polaris Ranger on a level surface and run the engine for 2 to 3 minutes.
General Data Protection Regulation: orgmode.com
The tire should rotate smoothly without binding or rough spots. Installation Inspect the main air filter element and replace if necessary. Because of its design configuration, Polaris recommends removing the engine, transmission, and rear gearcase as one assembly. If ring gap is smaller than Replace piston and rings if ring-to-groove clearance the specified limit, file ring ends until gap is within exceeds service limits. Torque drain and fill plugs to specification. Wheel, Hub, and Spindle Torque Table Remove the upper engine outlet hose and recovery hose from the top of the radiator. Use compressed air to blow out any debris.
Polaris Ranger/Sportsman 500 Remanufactured Engine
For orders with all parts in-stock, you may see your package arrive within 1-5 business days for addresses within the contiguous United States. Item Nut Type Specification Remove the 2 upper radiator retaining bolts and the 4 Aluminum Wheels. Place the A-arm in the correct position for ball joint Correct installation. Carefully remove the Tapered Pins camshaft P must face the balance shaft gear. Note that the Complete the assembly by aligning the roll pin holes and forward gear assembly is loose in the housing and that tapping the roll pins through the retaining plate and into the alignment of the shaft, gear assembly, thrust washer and high gear using a brass punch. Install new spring ring on drive shaft.
Polaris RANGER 500

Install water pump cover R with new O-ring seal. Support U-joint in vise as shown and drive inner yoke down Continually check for free movement of bearing cross as to remove remaining bearing caps. If the throttle pedal has excessive play due to cable stretch or cable misadjustment, it will cause a delay in throttle speed. Torque wheel nuts to Remove the two brake caliper attaching bolts. Front Caliper Mounting Bolt Torque: 80 ft. Refer to maintenance information in Chapter 2 for more details.
How Do You Change the Oil in a Polaris Ranger?

Torque fasteners to specification using a 2 part sequence. Inspect the crankshaft gear Q for broken or worn teeth. Thoroughly clean the front bearing carrier housing and the outer race on the new bearing. Remove the four bolts with a hex need to be removed. Crankcase Drain Plug Torque: 16 ft.
How Do You Change the Oil in a Polaris Ranger?

Follow the steps below as outlined to reduce the chance of Current Draw - Key Off damage to electrical components. Install head bolts C and torque to specification. Drive Shaft Removal Pinch Bolt Elevate front of vehicle and safely support machine under the frame area. While holding the hub in the clutch housing, flip the clutch housing over and install the armature plate. Inspect the problems above idle speed. Remove the clutch yoke from the gear selector shaft and 22.
POLARIS 2008 RZR SERVICE MANUAL Pdf Download.

All segments will light up for 2. Cylinders may be wet or dry replace the cylinder. Install the 2 shift housing case screws to the backside as shown. Due to the amount of inventory that we continously go through, we are able to get most parts that we do not have in-stock to arrive to our warehouse within 2-3 business days exluding over-sized items. Run the engine for 15 to 20 seconds. Changing the oil filter at the same time that the oil is changed is a good idea. .