2003 yamaha kodiak 400 oil change kit. Yamaha Oil Filter 5GH134400000 At Parker Yamaha Com 2019-01-21
Yamaha Oil Filter 5GH134400000 At Parker Yamaha Com

Turn the adjusting bolt until the throttle le- ver free play is 3—5 mm 0. Dust or dirt in the gauge could cause the first reading to be incorrect. If oil leakage is found, check for the cause. Prices are based on Manufacturer's Suggested Retail Pricing. Tighten the oil filter to 12 foot-pounds, using a torque wrench. It is advisable to have a Yamaha dealer make this adjustment. We encourage you to notify us of any discrepancies by.
How to Change the Oil on a 2005 Yamaha Kodiak 450
Drain the oil into an oil pan and screw the drain plug into the motor by hand. With the purchase of this Yamaha, you can now appreciate the high degree of crafts- manship and reliability that have made Yamaha a leader in these fields. Coat the new oil filter's O-ring with fresh 10W30 motor oil. Install the oil filler bolt. V-belt cooling duct check hose 3. Make two measure- ments of the tire pressure and use the second reading.
How to Change the Oil on a 2005 Yamaha Kodiak 450

. It should be cleaned and lubri- ement. Place the panel in the original position To remove and install the quick fasteners. Check the ter- rain carefully before you start up any hill. If any damage is found, have them replaced 1.
Yamaha Oil Filter 5GH134400000 At Parker Yamaha Com
Ignition system is Spark is good. Dealers are at liberty to set their own pricing. If foam air filter oil is not available, cated more often if the machine is operated in engine oil may be used. Ride cau- tiously in unfamiliar areas. Riding on paved surfaces can cause loss of control. Otherwise your feet may con- Removing hands from handlebars or tact the rear wheels. This additional step only takes a few minutes but will prevent major oil starvation down the road.
2003 yamaha kodiak 400 Motorcycle Parts

Some orders may not ship the day your order was submitted. Pull outward on the areas shown, and then pull upward. With the rear brake applied, apply the Parking on a hill or other incline. Pause a few seconds before the next attempt. Remove the nuts from the wheel.
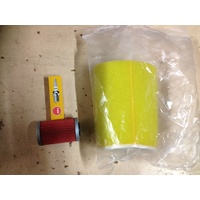
YAMAHA RHINO WOLVERINE Kodiak Grizzly Bruin Oil Change Kit Oil & Filter

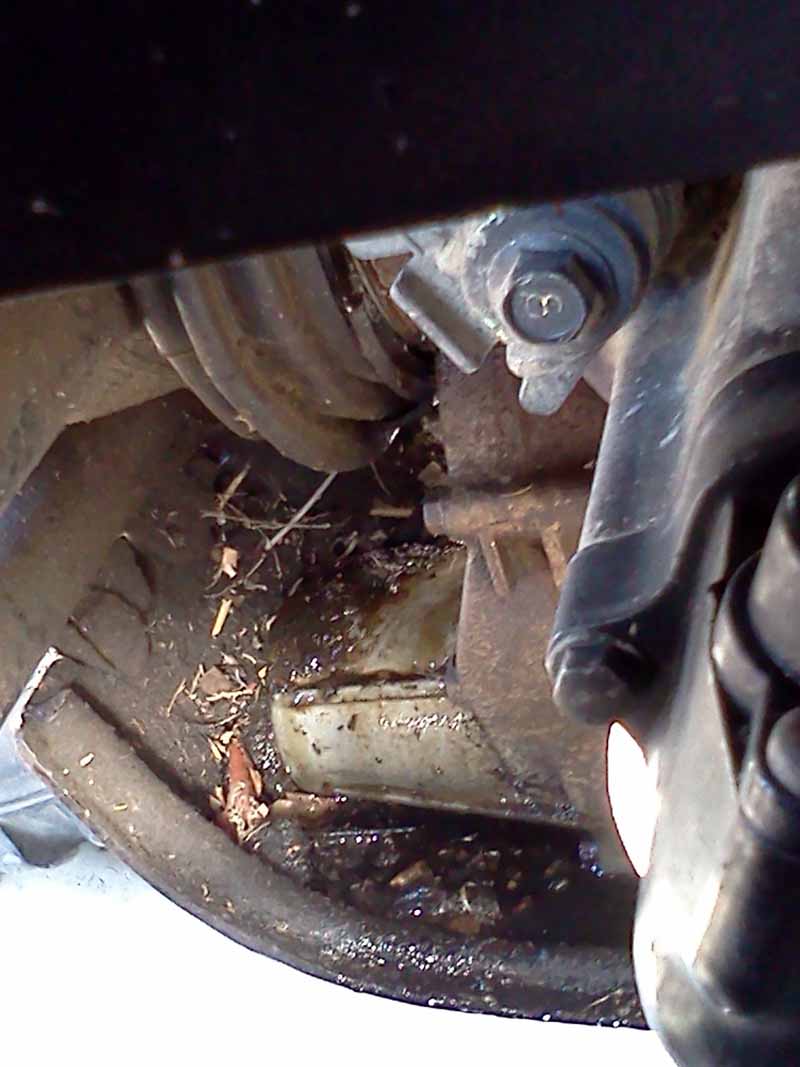
Drive select lever should be on. To prevent others might be likely to touch it. Install the front carrier and the bolts, then To install tighten to the specified torque. After draining the coolant, thoroughly 6. Use a 17 mm socket to unscrew the second drain plug from the center of the crankcase. Some accessories may require mounts and other hardware which are sold separately.
Yamaha YFM400F Kodiak Oil Filter

If the oil is below the brim of the filler hole, Final gear oil add sufficient oil of the recommended Final gear oil measurement type to raise it to the correct level. A separate starter circuit supplies this mixture. Stores are responsible for providing Bizrate with correct and current prices. See pages 8-6—8-7 for by a Yamaha dealer. Remove the oil filler cap. If the fuel tank is overfilled, damage or vehicle performance problems.
2003 yamaha kodiak 400 Motorcycle Parts

Bring the machine to a complete stop 1. This The fuel gauge indicates the amount of fuel in speedometer is equipped with a trip odome- the fuel tank. Install the nut with its ta- pered side towards the wheel. Rev the machine freely but do neutral. You should also wear eye protection goggles or face shield , gloves, boots, long-sleeved shirt or jacket, and long pants. Remove the battery and charge it. If necessary, apply 14 inches in depth.
YAMAHA RHINO WOLVERINE Kodiak Grizzly Bruin Oil Change Kit Oil & Filter
Fuel expands when it by Yamaha because it may cause fuel system heats up. To raise the beam, turn the adjusting screw in direction a. Remove panels E and F. If dust or water collects in this hose, empty the hose and clean the air filter element and air filter case. Standard position: 2 To increase the spring preload, turn the ad- justing ring in direction a. Ignition Wipe clean with dry cloth. This information will be needed to order spare parts from your Yamaha dealer.
Yamaha Oil Change Kit

If not, have a Yamaha tenance procedures and schedules de- dealer inspect the brake system. Install the drain bolt and tighten it to the specified torque. Place the panel in its original position. Use a trough or a similar object as shown to prevent coolant from spilling on the foot- rest. Place the machine on a level surface. Lubricate the inner cables and the cable ends.