Nissan 350z headliner removal. Headlight Change 2003 2019-02-02
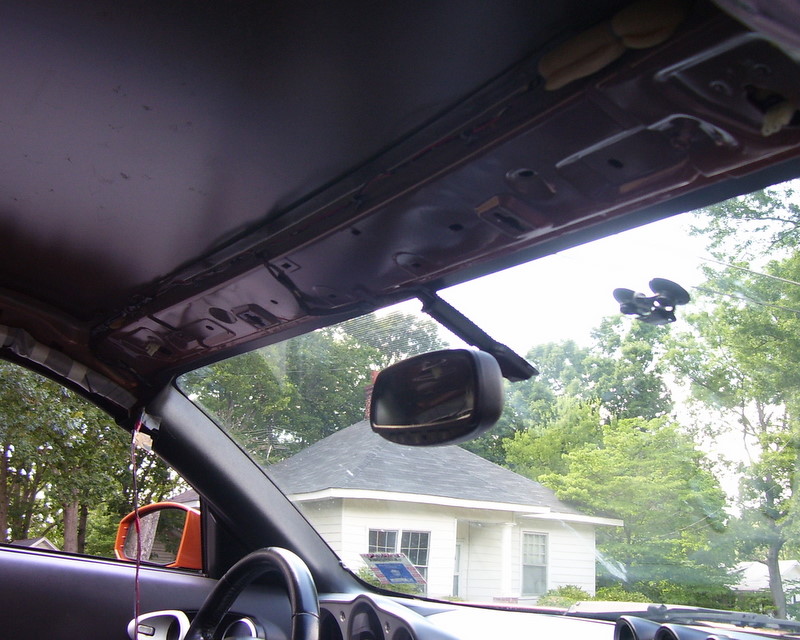
Headliner DOWN !!

Excellent heat and water resistance4. One of them accepts the clips from the map-lights so you won't wear into the hardboard by clipping the metal clips into the hardboard opening. There as both sticky, wet glue residue and hard stuck on glue. Once the screw is out, start pulling down the piece one corner at a time. To reinstall, simply reverse the steps. So, search headliner replacement around your general location and you should be able to find someone to professionally install a new headliner. After this it should be totally down.
Removing the Headliner

Prices are subject to change. Slowly move it towards the rear of the car. Starting at the front doors, slip the headliner out from under the door moldings, so that it starts to hang. This is why some prefer to use a velvet upholstery as well as to get the factory, fuzzy look. Fold half of it back so the shell is visible. Once you have all of the clips popped out, you will have to sort of wiggle the bottom out from behind the dash.
Headliner Replacement
This will be hidden behind the molding of the car. It was glued on tight. Start at the bottom with your panel popping tool, and pop the clips out from bottom up, and the remove the pillar. Just rub it off with a medium coarse scotch-pad. Fold the unglued half back and repeat. I searched the net and found a few problems mentioned about the Xterra Headliner.
Headliner removal?

Although both the write-ups above are great, I followed this one a bit more closely: I did not want to use staples, and I figured a well-adhered headliner is not going to need staples to keep it up. There is a 1 Phillips screw in the top of each of these stops. If you pull the adjustment tab on the seatbelt in the middle of the pillar, and twist it, it will reveal a 12mm bolt underneath holding the belt on. Repeat for the other side. Is this something you might recomend for the average person, or should I give it a shop and have them do it? Even some that said they were specifically for headliner basically said not to use them for headliner : One 3M can was labeled as General Purpose Spray Adhesive.
2003

The glue sprays out in a criss-cross pattern and gets a bit stringy, so be careful to do this when there is no wind, and make sure you don't get any glue on the your nice new fabric surface either from your hands or accidentally from overspray. Dem Dam squirrels hate your car! So that should be easy enuff to deal with going back together. Already purchased our headliner replacement? The lever at the back of the sunroof that allows you to flip it open detaches from the headliner when you wish to remove the glass. You may have to maneuver the headliner around the seats and steering wheel to get it out of a door. Also a couple of plastic buttons over the rear window. If you wish to post a reply to this topic you must first If you are not already registered you must first Forum Jump You cannot post new topics in this forum You cannot reply to topics in this forum You cannot delete your posts in this forum You cannot edit your posts in this forum You cannot create polls in this forum You cannot vote in polls in this forum Sponsors Powered by version 7. Remove those two items, and the only thing holding it on will be two white clips and a black metal clip, all of which just pop out.
How to Remove your Headliner on 6thgen Maxima

Seventh, The C-Pillars: With your panel popping tool, start popping the clips out at the top of the pillar where it meets the headliner. Let us know what you do. Then, with a helper, I pulled the fabric down slowly and put light, even pressure from the center outward, slowly laying down more until I reached the cross section of the hard board panel, and then likewise with the close from the center to each end. Also, the writeup I followed mentioned that if there is trim used around the edges, you don't need to fold it over sounds like folding it over is for aesthetics. You can find automotive-grade spray adhesives at most local automotive stores. Use some sandpaper to remove any foam that remains on the headliner shell.
350z Interior Trim Removal

There were a few who tried tape, etc. Work your way to the outer corners of the shell. Unplug the harness, and move on. I started in the front, and worked my way to the rear of the car for the most part, although you do have to jump around when you get close to the end. Does the Nissan manual show how to remove interior hardware? Remove all the sun visors, dome lights etc and remove the door trim and the headliner will come down.
Headliner removal?

As I mentioned before, I left generous excess around the edges. You can find automotive-grade spray adhesives at most local automotive stores. Removing and installing a new one is also a easy task and does not require any form of technicality to do this. I imagine this stuff is really good. The first one being - - - if you will look at this picture you will see the sunvisor retaining clip there are two that are still connected.
370z Interior A Pillar Removal

Once you have the piece down, unplug the harness, and move on. Sixth, The Rear Dome Lights: Easily pull down on the dome light assembly until it comes down, revealing the harness for the lights. Well - typical sagging had occurred somewhere in it's life. However, certain sections had warped and the foam backing was pretty much destroyed around the back edge because of heat, age, and multiple applications of glue. It began at the windshield and then started drooping above the driver and passenger seat. I removed the metal clips from the holes --- this was a bit of a pain.