Mojave bootable usb app. How to make your own bootable macOS 10.14 Mojave USB install drive 2019-01-20
How to create a Bootable macOS Mojave USB Installer on windows?
Prior to lion you could buy disks from apple. Just make sure you follow the instructions below carefully. You will not have to download programs or use paid tools, just follow the instructions below to create the Mojave stick in a few minutes. Also, ensure that you are using the correct volume name. Wait, why you are not recommending Bootcamp as subtitle says? You can read the information to learn more about Mojave. However, if you want to test them in Virtual Machines, I have written their post here inside IntoGuide. If she's not typing away at her keyboard, you can probably find her at Disneyland or watching Star Wars or both.
How to create a macOS Mojave bootable USB drive
Step 8: Type --volume followed by a space. Your thumb drive or external hard drive is now ready. In case you are getting an error like syntax not found, make sure to verify that the command above has been pasted properly. Launch the program and click on the section that says Burn. Among this chip's many security features is one that disallows booting from external drives by default. However, there are more than a way for doing this, not only on Mac but also Windows, which we will cover some, at least one more method.
How to create a macOS Mojave bootable USB drive

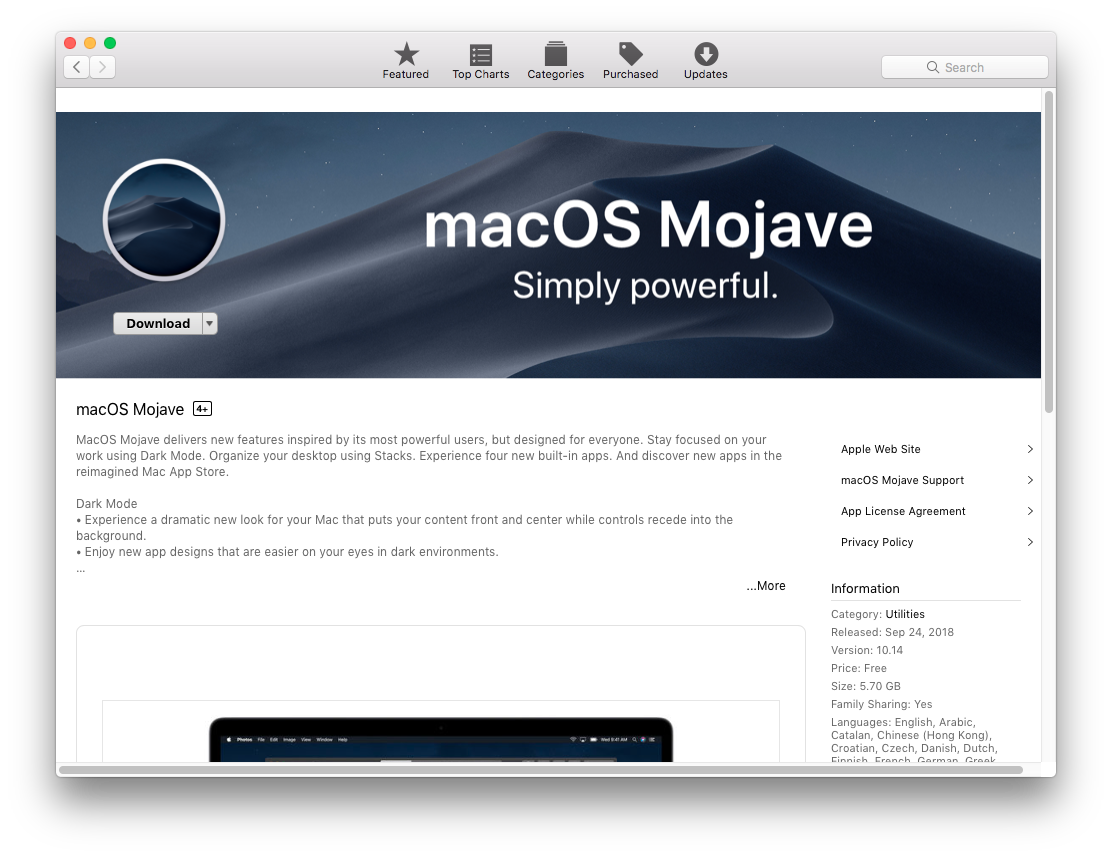
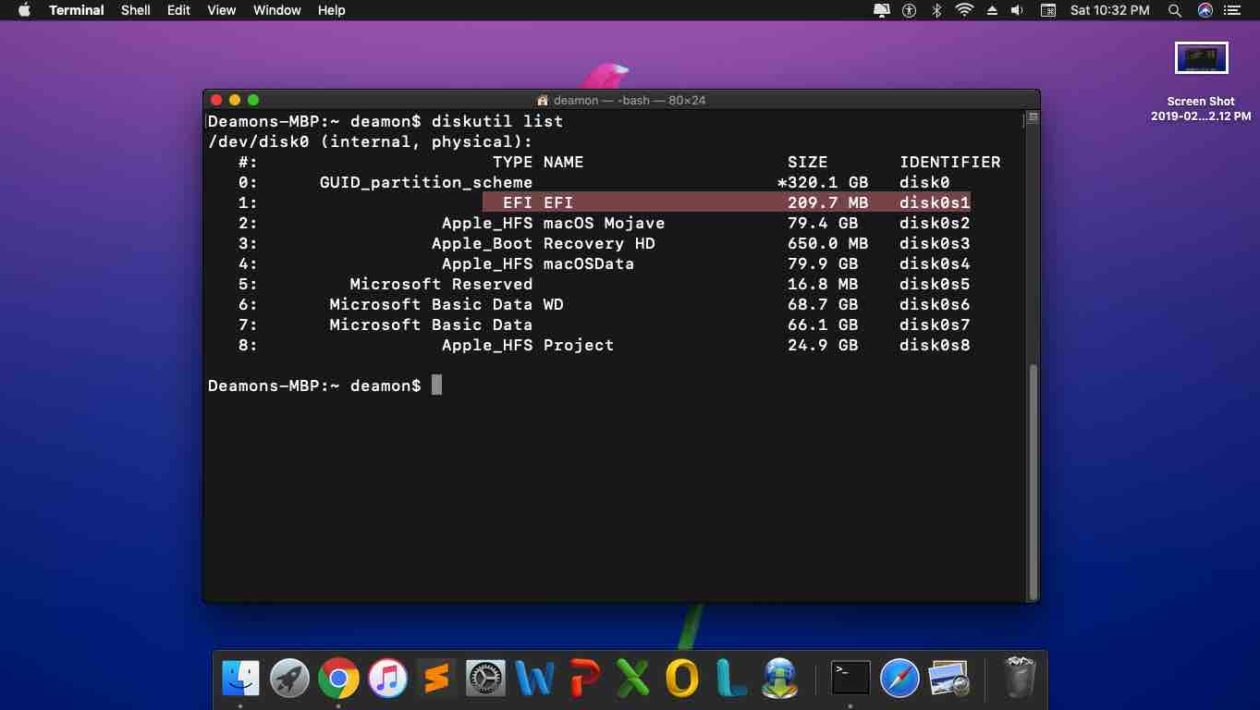
In order to download Unibeast, you should visit TonyMacx86 there while you are searching for Unibeast, after that you find that create an account for downloading. While it is quite easy to download and install from the Mac App Store. This software application has been created for novice users as well as experts. You can also use Safari, Disk Utility, or Time Machine from the recovery partition to restore backups or troubleshoot. Step 6: In the Terminal window type sudo followed by a space. I keep it around for those time when I would rather use the drive than rely on booting in.
Convert macOS Installer .app to bootable .dmg or .iso image

Note: you may see a dialogue menu inquiring about the SetFile command requiring command line developer tools. You will see the Startup Manager which will show your newly created bootable drive as a device to boot from. As well as, it includes a set of useful drivers and customization options. To with Disk Utility, the first step is to open it from Launchpad. Not only does it save time, it also saves bandwidth, specially for those with metered Internet connections.
Convert macOS Installer .app to bootable .dmg or .iso image
Just once and use it for any Windows 10 repair or recovery problems, including doing clean installs or reinstallations. If you try and do a upgrade? This all in one that creating Bootable Drive rescue boot drive from system recovery. There are millions of Mac users still having the need to run Windows app on their Mac computer. The second suggestion is more user friendly! In my case I have selected Inject Navidia. If you have only the Mojave on your Mac, Install Disk Creator will automatically select it. Boot Camp Assistant is one of the alternatives, but it's a tedious process and not very easy to execute if you don't have the right experience. You can download the file from the above link.
How to create a macOS Mojave bootable USB drive

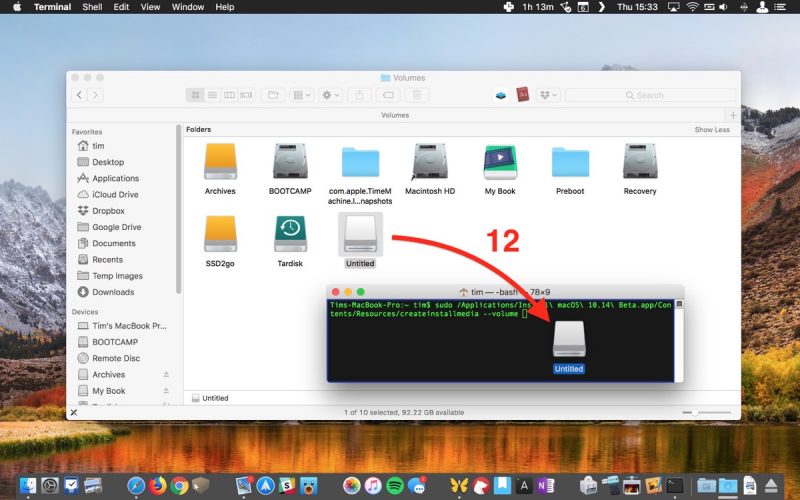
After you do this, the app will take a few minutes to create the boot drive. In addition, the burning process is extremely slow. You can use a bootable drive on a for dual-software installation, to install on multiple Macs in your home, or as a bootable drive if you can't use the Internet Recovery partition. But ever since Mavericks it became quite difficult to make a bootable dvd and progress on this has always been experimental. This procedure will erase all data on the stick and then back up the data.
Create Bootable Mac OS Mojave USB installer Drive
Therefore, click continue to initiate. Make sure to use no parentheses. Basically, Boot Camp is just a minimal prototype product. If not then maybe we can modify the commands somehow to make it work. If you downloaded from the App Store, these apps will be able to find the installers automatically. The entire process can take a while around 20-30 minutes. If you have more than one external drive with the same name, you will need to rename the drive you are using as a bootable installer now.
How to create a bootable macOS Mojave installer drive

But I Promise you as soon as I found the latest version I will update the link. Luckily, it's not hard to make one—either with a handy graphical user interface or some light Terminal use. I haven't tried this yet and just because it worked in High Sierra doesn't guarantee it will work in Mojave. If you got any questions leave in the comment box below I will get to you soon. The Mojave installer app will be in your Applications folder, so you can go there and launch it later to upgrade your Mac to the new operating system.