Mk6 jetta headlight removal. Volkswagen Jetta Common Problems, Repair Guides & DIY Vehicle Maintenance Instructions 2019-02-21
How To: Mk6 Jetta Headlight Aiming
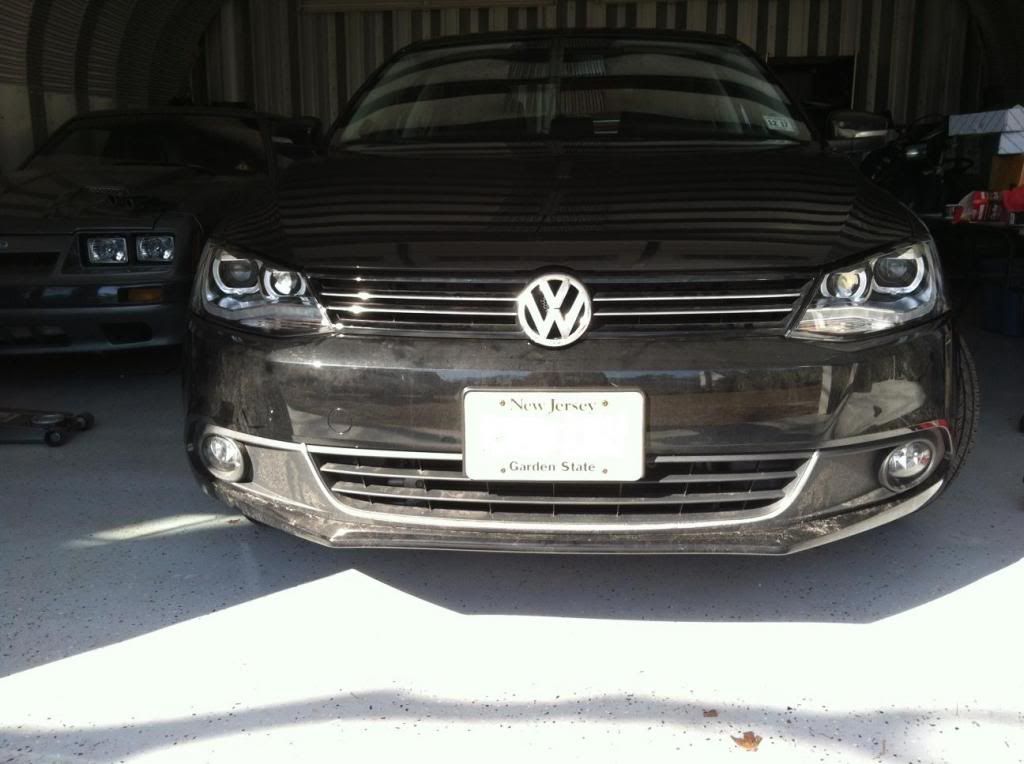
The plug is different but the terminal pins are released the same way. Once the center grill is removed you can see two screws that attach the bumper to the center of the car - remove them. Nothing makes your ride stand out like a sleek set of Spyder performance headlights. I tried searches here and at Vortex. Note: There is a sidewalk between my bumper and this wall. Getting true bi-xenon function The headlight housings are bi-xenon headlamps but when installed in a car with halogen headlamps, without running the shutter trigger wires, they will only work as low beam xenons. Only slide it out 1 notch.
JSW Bumpers & Headlight Removal.

Lightly seal the empty holes and pins 9 and 10 with silicone or other sealant to weather proof it. If you found this guide to be helpful, please consider making a small donation by clicking on the PayPal. It didn't take much driving for me to see the new aim was too low. Now the bumper should unclip easily Start form the corners and slide it forward , and the lights simply slide out. In order to take out the headlights you must unclip them from the wiring harness.
VW MK6 Golf / GTI Headlights (2010

Once you've marked the beams' positions, back up 25 feet. If this happens auto leveling will be incorrect or disabled. I found a good photo of a headlight removed in thread. It's even called Golf wagon in Canada and overseas. Push the black rubber dust cap in place over the high beam bulb.
Volkswagen Jetta Headlight

All Replacement brands include 1-year, unlimited-mileage warranty. Then remove the screw behind each headlight Drivers side shown Proceed to remove these two screws. Not an auto repair expert? You can also shop with us online and receive home shipping, or select Same Day Store Pickup when you need your parts in a hurry. Push a new amber colored A. The procedure is at the bottom.
Volkswagen Jetta Common Problems, Repair Guides & DIY Vehicle Maintenance Instructions
Turn the wheels in order to access these comfortably. If your Jetta has this type of bulb, we do not recommend that you attempt to change it yourself. See and for more details. I suggest using butt connectors and shrink wrap to splice in new pins for 9 and 10. The sensor is located on the front and rear suspension arm. The lens of the headlight on the passenger side of the Volkswagen Jetta headlight is too cloudy.
Jetta Headlights

Plug in the headlight wiring adapters and put in the new headlights. Then remove the bumper screws from the wheel wells - I think there were four or five on each side. One of them is that the headlights were aimed entirely too high and were compelling other drivers to think we had our high beams on and flash us. On plugs A and D, pry the pink lock out yellow arrow below by about 2 millimeters to release the pins. When you release the stalk the shutters flip back down to the normal low beam spot.
Jetta Headlights

It shows the adjustment screws, one of which is very difficult to find when the assembly is in the car: The adjusters are the white pieces with small gears. Plugs A and D are outlined. No tools are needed to access and replace any of the bulbs. Sealed-beam headlights are typically installed on older Jetta models. You may use quick splicers or whip out the weller gun and do some connectors.
Removing front head light assembly

Turning the elevation adjustment clockwise moves the beam upward. Disconnect the harness from the back 7. If the bulb needs to be replaced, just unscrew the retaining ring to remove the defective bulb. They also draw more electricity on startup to light the gas arc. Donations are not tax deductible. Use a plastic tool to remove the plastic part from the bumper 3. If you do get the new bulb dirty, wipe it clean with an alcohol moistened paper towel.
a6 VW Jetta, Beetle, Golf TDI FAQ and DIY index

Skip this section if you bought adapters. They are somewhat like fluorescent lights in that they use less energy once they're lit and need to warm up before reaching full brightness. I suggest spending the money and buying the adapters because it'll make life easier. It isn't going to filter very well. First double check the wiring. From the same orientation as the photo below, gently press the little tab yellow arrow a little to the rear of the car and to the right to lift a little hook-lock. I initially adjusted my elevation so the beams were completely below the tape note the rightward bias of the beams at 25 feet : The angled cut-offs of our beams makes the adjustment just a little more tricky than with symmetrical beams like the one depicted in the borrowed drawing.