Mk6 jetta headlight bulb removal. ECS News 2019-01-25
Headlight bulb replacement
I can just about get the end of my fingers over the flat plastic grip but I'm inclined to leave it till the Autumn. The daytime running lights are the low beams run at reduced power. Don't worry if you forget. The good part about this is that you have the ability to easily refresh and update the styling of your car with a simple upgrade. Some say it should look like this borrowed photo.
ECS News
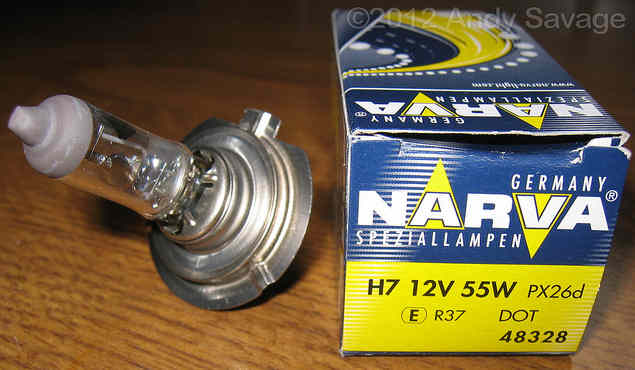
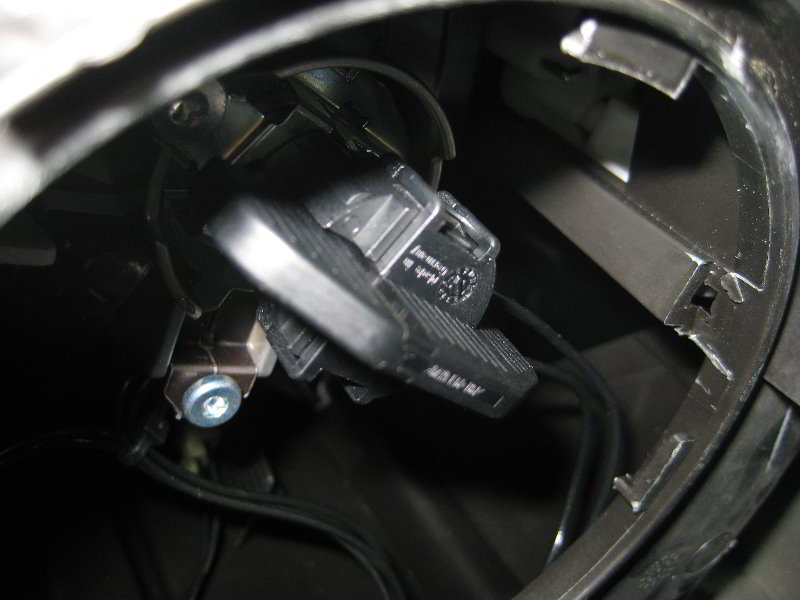
Regardless, I think this procedure will get you really close, with both beams aimed alike, with the ability to fine-tune once you've road tested. These bulbs have a very high voltage that runs through them, even if the battery is disconnected. Replacement bulbs with their part numbers are as follows: Low Beam , High Beam , Turn Signal A. Halogen housings removed for illustration To remove the high beam, pull the plug, press the wire clip in, and slide the clip to the left to unclip. Lots of benchmarking out there; I am a big opponent of this style of filter. When you change the headlight on your Golf, it is important to not touch the glass part of the bulb with your fingers because the oil from your fingertips will cause that part of the bulb to burn hotter, which significantly shortens the life of the bulb. Lightly seal the empty holes and pins 9 and 10 with silicone or other sealant to weather proof it.
How do you change the dipped beam headlamp bulbs ?
I initially adjusted my elevation so the beams were completely below the tape note the rightward bias of the beams at 25 feet : The angled cut-offs of our beams makes the adjustment just a little more tricky than with symmetrical beams like the one depicted in the borrowed drawing. . Pins 9 and 10 will have to be cut and spliced to smaller pins to fit in the smaller spots on pin 9 and 10 on the 12 pin connector. Please sign up to the free forums to. I couldn't figure out how to release it so there must be some trick I'm not getting because my plugs were correct. Bit off topic but bulb related. If you have already followed this process please continue to login as normal.
Volkswagen replacement bulb guide

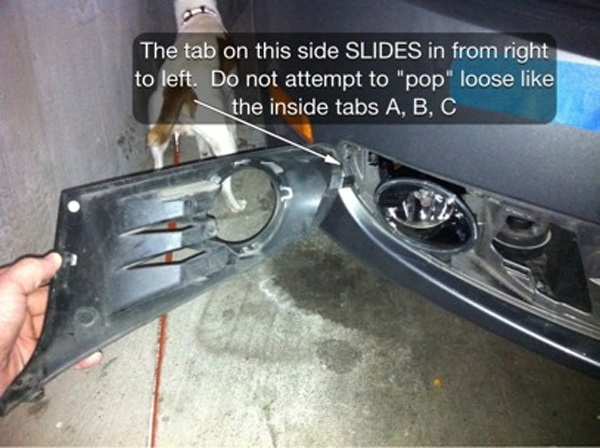
Remove the air intake box and battery box. Failure to do so will result in your account being locked out! I think that the restyled bonnet and light units mean that the lights are positioned further back in the engine compartment where the main components are in the same position as on the mark V. Pull the bulb out to remove it from the gray handle. Now the bumper should unclip easily Start form the corners and slide it forward , and the lights simply slide out. T25s for the grille and T30s for the headlights. Once you've marked the beams' positions, back up 25 feet. The 2010 Golf is an mk6 and uses different headlights.
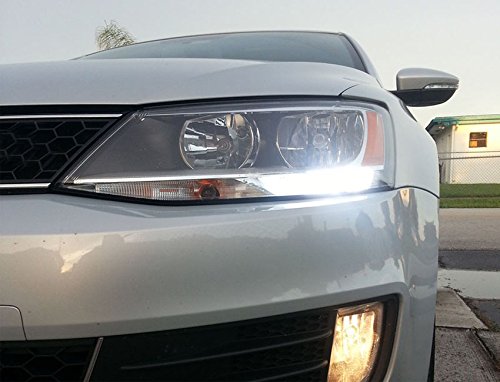
VW MK6 Golf / GTI Headlights (2010
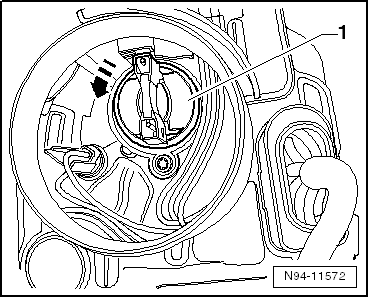
Note: There is a sidewalk between my bumper and this wall. Write down the colors of each wire and which terminal number it's plugged into. Inside the car, remove the panel under the steering column 2x T20 torx screws. When the trigger wire is powered, it flips the shutters up to make the same light bulb high beam. Remove the headlight washer jet cover cap using a plastic tool 2.
JSW Bumpers & Headlight Removal.

Here are the adjustment screws on the passenger side, using the fuel filter as a reference: The tow adjustment is actually beneath the fender. I recommend just removing it completely and keeping it safe from damage while removing the headlights. Figure 24 Use a small screwdriver between the housing and bulb base and lever the bulb out of the socket. It didn't take much driving for me to see the new aim was too low. Mine was pretty far to the right. Please help support this website by shopping at. I turned the elevation bolts one full turn clockwise and achieved what seems to be a very good position.
Headlight bulb replacement

Test the new bulbs by turning on the headlights, activating the hazard signals and flashing the high beams. The shutter is normally down for low beam operation. The video above shows you to replace the headlight in your 2011 Volkswagen Jetta. So, with Summer on the way I thought this is one job which will have to wait until the bulb blows. If necessary, you can also use any other miniature wedge base bulbs such as the number , 158, W5W, or a compatible unit. Slide the shrink wrap back up and heat the shrink wrap to waterproof and seal it. Skip this section if you bought adapters.
Volkswagen Golf GTI Mk V Headlight Bulb and Assembly Replacement (2006

Many thanks to all of you who have taken the trouble to reply. The video above shows you to replace the headlight in your 2013 Volkswagen Golf. Oils from your skin or gloves will cause hot spots ion the bulb and shorten its life expectancy. For a detailed list of differences and revisions in mk5 vs. In some Volkswagens, the highbeam is the same bulb as the headlight and it is possible for the highbeam to work, but the headlight be burnt out even if they are the same bulb and vise versa.
VW Jetta Headlight Bulbs Replacement Guide
Pull the rubber dust cap off the rear of the high beam bulb and set it aside in a safe place. If so you must reset your password using the process. That said, here are the steps: First, park the car on level ground in front of a wall and mark the center of your headlight beams with some masking tape. The new bulb must sit on the notches. Each headlight is held by 3x T25 torx screws, shown below.
Headlight Change 2010

I took out the driver's side dipped beam bulb today just for practice and as has been said that was easy enough - about one minute out and back in. If you want to de-pin the plug yourself and not use adapters, see below, otherwise skip the below section. There are 2 side tabs on the bulb that must be cleared when removing the ring. For more, check out my other. They require no wiring adapter but do need very minor wiring to attach the turning sensor. No tools are needed to access and replace any of the bulbs.