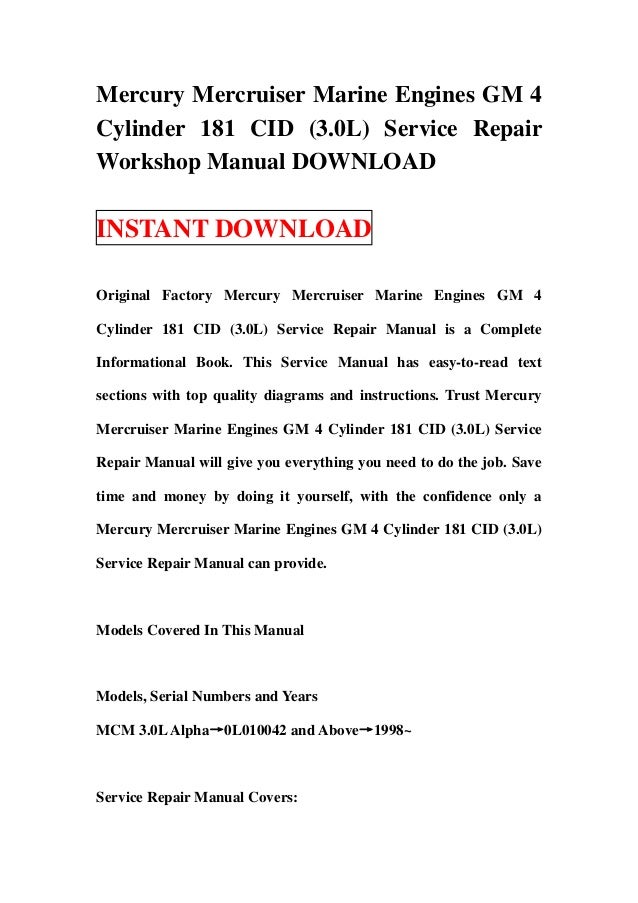
Mercruiser 3.0 repair manual pdf. DOWNLOAD MerCruiser Online Factory Service Repair Manuals PDF 2019-03-23
Mercruiser 4 Cyl 3.0 Service Manual

Re-pressurize system to pre- a. Invert air horn and carefully lay on bench. Connect 12 volt battery positive + lead to sole- Installation noid switch terminal and negative — lead to sole- noid frame. Clean varnish from piston skirts with a cleaning solvent. To make an engine run, basic com- near ground and check for spark while cranking ponents fuel, spark ignition , and compression engine over. Piv- ot rod as required until retaining ear on rod and slot in pump shaft and lever assembly align, al- lowing rod to be pulled out. Install end frame on brush holder.
DOWNLOAD MERCRUISER REPAIR MANUALS

Insert a small wire repeatedly to make sure that risers, remove drain plug as shown from riser. Water in fuel Instrumentation Malfunction Cause Special Information 1. Transom Standard Serial Number 0W173658 and Above Transom High Performance Serial Number 0W150260 and Above Mercury Mercruiser D1. Connect trim position sender leads from gimbal with hose clamp. Remove pulley, fan, woodruff key and spacer. Connect jumper wire from negative — battery Speedometer terminal to negative — gauge terminal.
Mercruiser 3.0L manual Page: 1
Inspect starter motor drive housing, replace if necessary. Install venturi cluster in carburetor as shown. Crankcase overfilled with oil 2. Place thrust collar and retainer next to snap After all parts are thoroughly tested and inspected ring and using two pliers squeeze both until and worn or damaged parts replaced, reassemble snap ring is forced into retainer. Remove battery and clean exterior.
DOWNLOAD MerCruiser Online Factory Service Repair Manuals PDF
Place starter motor and solenoid assembly in po- sition and install mounting bolts. Disconnect wire from terminal on fuel tank cap- tions. If clearance cannot be brought to within specifications, the crankpin will have to be 1. Return remote control throttle lever to idle po- 7. Adjust timing by loosening clamp and rotating motion sensor, as required, until timing mark on 5.
DOWNLOAD MerCruiser Repair Manuals: DOWNLOAD MerCruiser Engine Repair & Sterndrive Manuals 1978

Fill tester to within 1 in. Fuel inlet filter nut and small gasket. Remove accelerator pump rod retaining clip. Align holes of end frame with holes of brush holder. Loosen clamp and unplug wiring harness if equipped. Use a good automotive oil pressure test gauge.
DOWNLOAD MERCRUISER REPAIR MANUALS
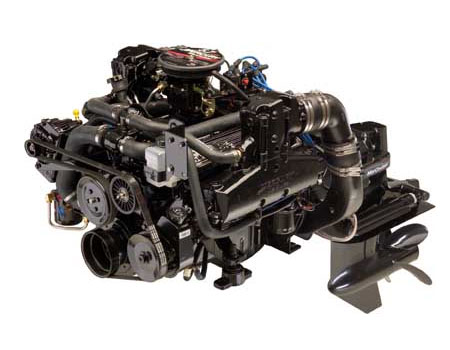
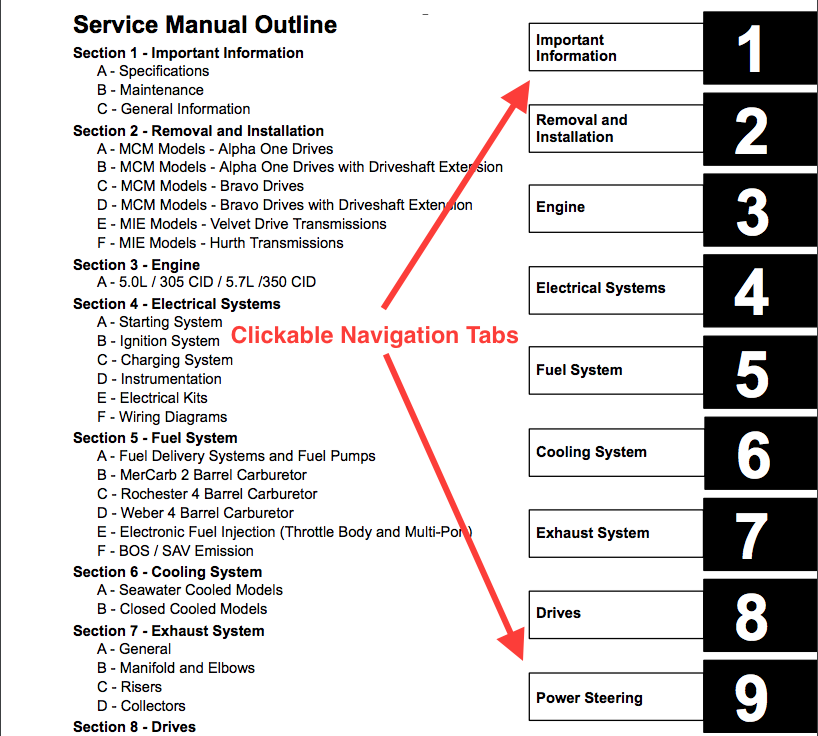
Connect throttle cable using hardware retained c. Push pinion back toward commutator end to elim- inate slack. Information found in a MerCruiser repair manual usually contains: A MerCruiser repair manual also contains troubleshooting guide that helps the mechanic in a logical, systematic approach to source a problem. Install pump cover and torque attaching bolts to 4. For best top speed, open-throttle power of an engine.
Mercury Outboard Service Manual Free Download PDF

Condenser Short or Leakage Test c. Attach power steering pump brace to pump. Serious damage Crankshaft Pulley to may result. Crankshaft striking pan or pan baffle engine speed B. With engine in this position, the following valves may be ad- Engine Not Running justed: With valve cover removed, adjust valves when lifter No. Noise will stop as soon as engine is tributor cap; cracked coil tower; leaking spark turned off. Install choke housing on air horn; tighten screws choke cover until index marks align as shown.
Mercury Outboard Service Manual Free Download PDF

Warm engine carburetor percolation 1. Remove thermostat housing and gaskets. Install return hose large fitting on one end only, power steering fluid cooler and other ends to fit- from kit to power steering control valve. Mercury, Mercury Marine, MerCruiser, Mercury MerCruiser. Remote control lever not in neutral position 2. A short in the stator is difficult to detect without 3.
Download MerCruiser Repair Manuals
. After seawater section of cooling system has vent holes and water drain holes and passages been drained completely, coat threads of drain as shown are unobstructed and open. A MerCruiser repair manual covers every aspect of repair, from basic maintenance to complete engine overhaul. Disconnect coil from ignition amplifier. Repeat Steps 2-3-4 to adjust other valves.