Land rover discovery 2 bumper bolts. Disc 2 Bumper removal 2019-03-26
D1 Body lift guide

Keeping your Discovery looking shiny and new will ensure its high resale value. Regular car wash is the best thing to do in these instances. Currently own a 2000 Discovery 2 and would like to know where to get the info for removing the factory bumper. Just got my Disco back from the body shop and even they were highly impressed. These units run on an inline five-cylinder engine that could still provide the same off-road capability as the Defender.
Disc 2 Bumper removal
There is a bit of a gap between the bumper and the trim piece on the left. We simply don't list part 's that we can buy - we stock them. There are two on each front wheel and one over the back axle. Aside from that, it is also exposed to acidic elements that eat away the paint. As an aside you may depending on your finances and future ideas for your motor use this as an opportunity to upgrade to a heavy duty bumper of some form.
Buy Land Rover Discovery 2 Parts, Spares & Accessories

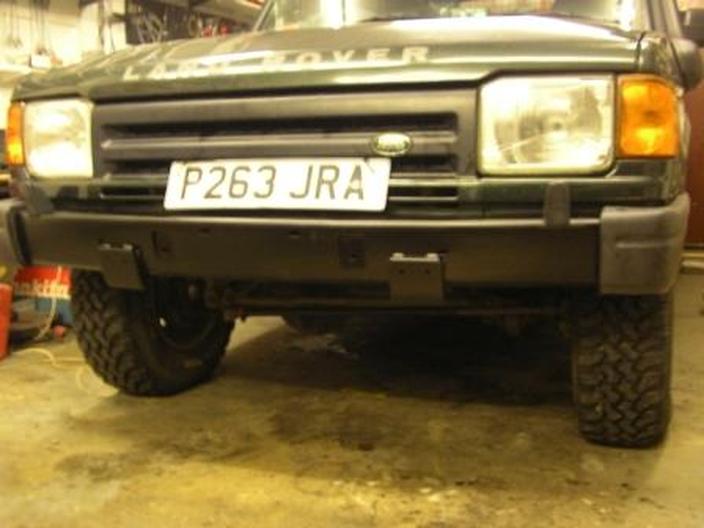
Well, this bumper appears well made, fits well and the semi matt black finish looks great on the Disco. You will definitely need a prybar. Fit harness, secure with clips and connect multiplugs 4. Fits tight but all in all very pleased with this product. Beck Arnley's cylinder head bolts are manufactured from high grade stainless steel, with very high tensile strength and elasticity, ensuring reliability and durability for a long time.
Disco 2 front bumper

This whole renewed interest started when we forded some deep water that washed the number plate off early in the year. I reviewed u tube video on how to install. It was a busy weekend and there will be a couple more blogs on what I changed next on the Discovery. Looks much better then the trail damaged stock plastic bumper it replaced. This ride is also fitted with advanced technology for a safe, smooth, and sure ride. We demonstrated on a 1999 Land Rover Discovery front bumper removal. Beige and light blue were the available interior colors, and the standard features offered were a keyless entry and cruise control and power accessories.
Land Rover Workshop Manuals > Discovery II > EXTERIOR FITTINGS > REPAIRS > Trim finisher
Dowd the Britpart bumper fits perfectly, no noodling. You dont need to fully remove the bolts. I used a trolley jack to support it while I aligned it. This is handy because before I read that I had a completely different expectation of where the bolts would be. Installed in less than a hour by myself.
Discovery 2 Front bumper bar
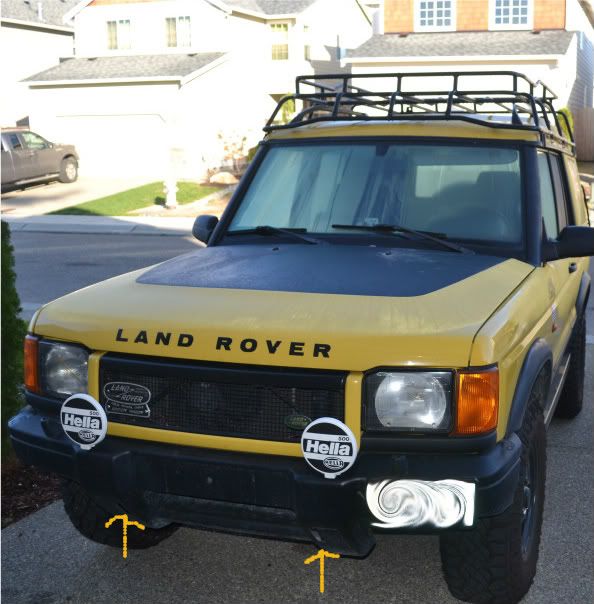
I was doing an oil change this afternoon and I noticed behind the front bumper at the bottom is some kind of reinforcing bar. The spoiler and expanded metal grille underneath the bumper are fine. It uses the same existing bolt holes as your stock bumper to make installation as easy as possible. I want a car to use off-road but I also only want one car so it needs to look nice as well. What is this part called, and how much is it? This steel replacement is a big upgrade. Clayton Read, Owner: Clayton's Garage 4 out of 5 stars Date Posted: 09-18-2016 By: greg mullenski Great replacement bumper. Im hoping a body shop can align bumper so I can reinstall the side pieces 4 out of 5 stars Date Posted: 11-29-2015 By: John Rouleau Definitely the best price on a steel bumper with recovery points.
Discovery 2 Front bumper bar

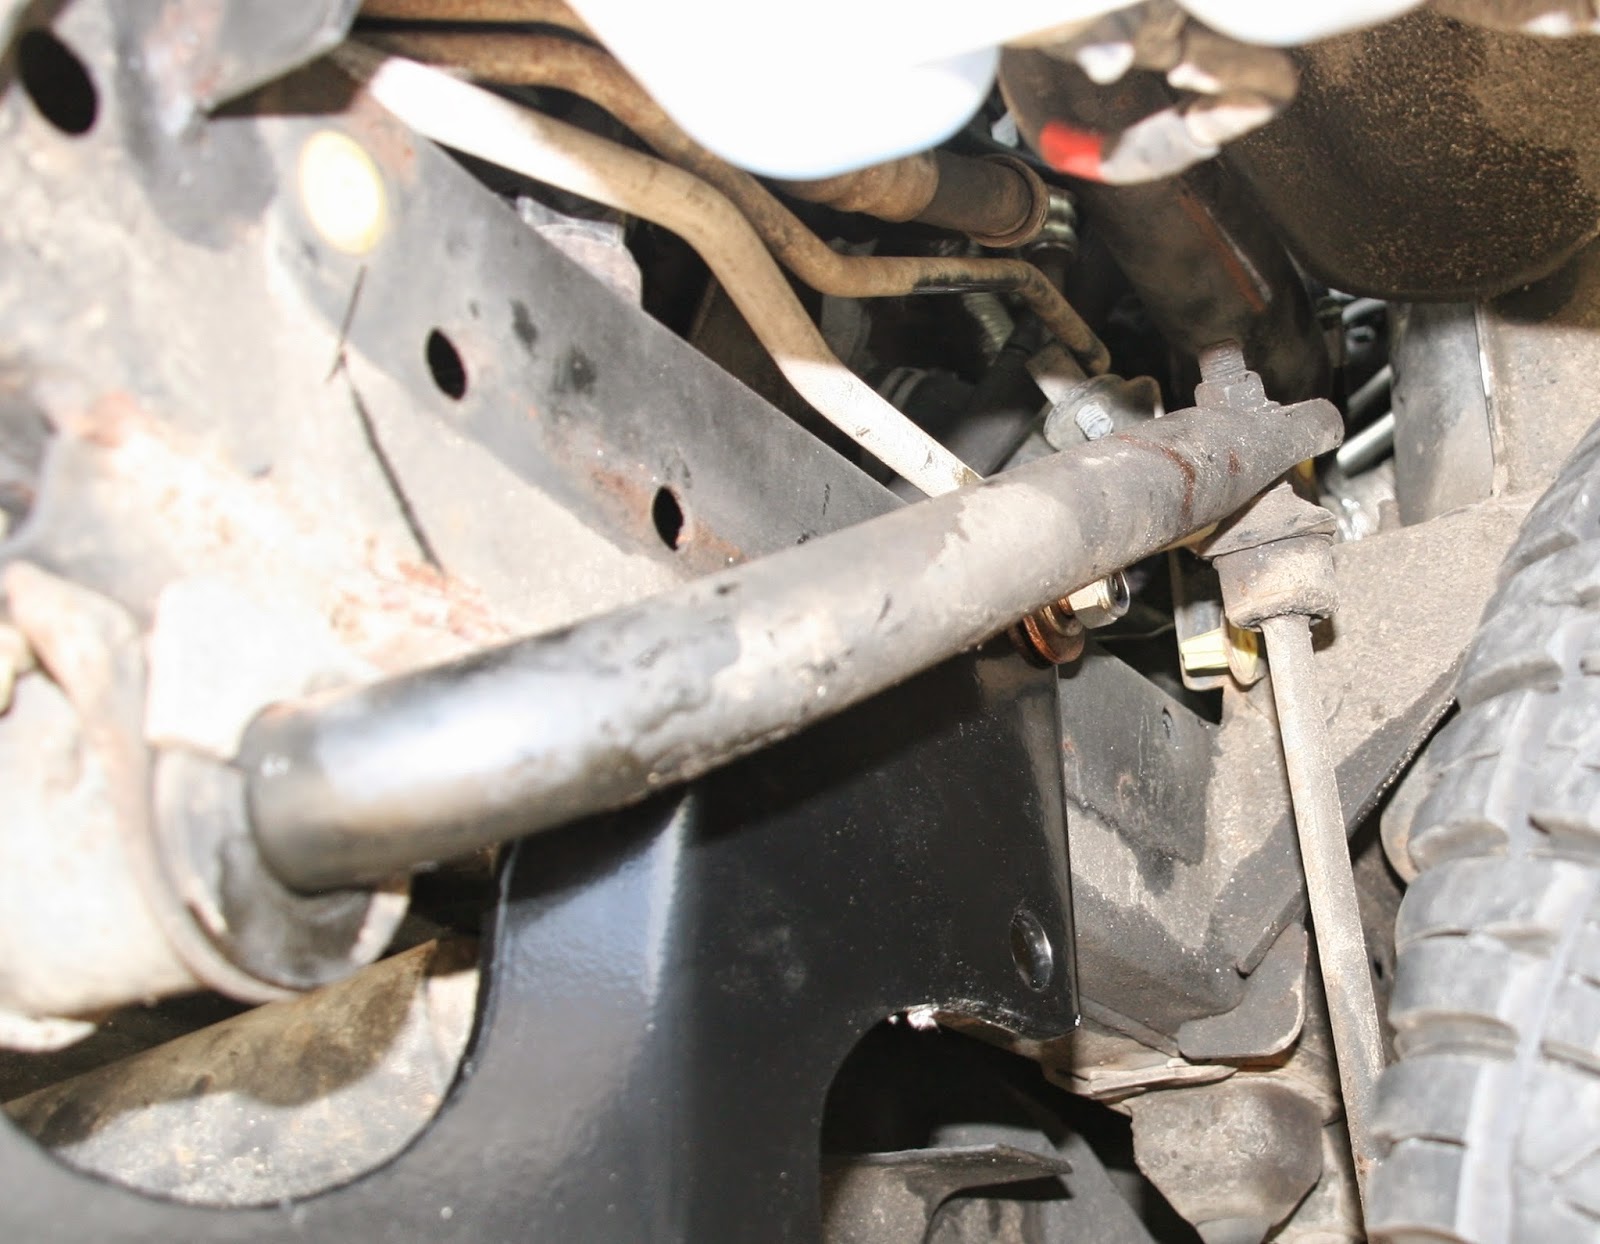
From floor mats to filters to complete engines, we carry the widest range of parts and accessories for your Land Rover you will find anywhere! Just something to be aware of. Fit bumper finisher to bumper and secure with screws. Normally do not bother with reviews but my installation went so well needed to share. This is shown in the pictures below. Page 152 covers fitting a light bar which includes removing the bumper. The bracket is a tight fit for the chassis and it has to go under the anti roll bar and over the track rod. You need to do a bit more than put in a set of spacers under the body mounts.
Front Bumper for Land Rover Discovery Series I and Series II

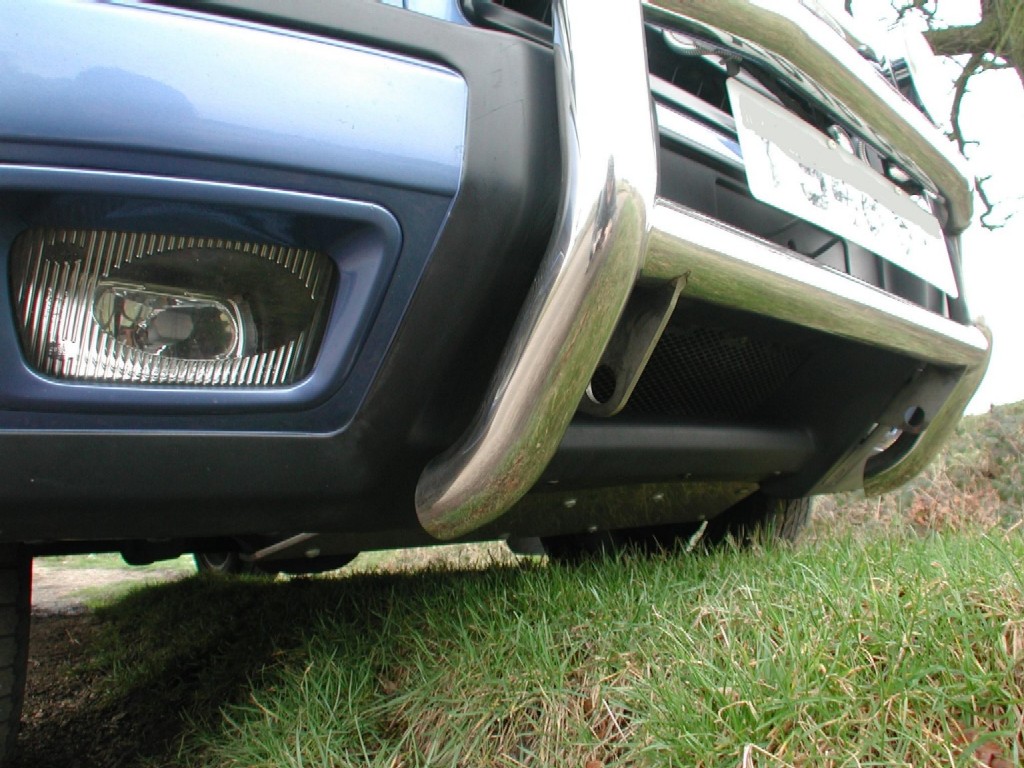
Overall a great addition to my Rover. Also, the one off ebay is shorter than the old one, so dont panic as it does just sit on the inside of what i think is the chassis? The lights set in nicely and the clearance around the body is tight. Both bumpers bolt directly to the frame using over 10 bolts and follow along the front frame horns under the vehicle. Remove clip securing headlamp washer jet to bumper finisher and remove the washer jet. Done this part today, what a bugger the bumper is to remove!!! I thought there were other issues with a non-standard bumper on a D2. It is fixed to your rover's standard mounting points for added strength, but also includes fixings in the center where your tow bar mounts.
Land Rover Discovery 2 Rear Bumper
Clayton Read We were grateful that the folding rear step still worked and did not have to be messed with during the bumper installation. Its strong stance inspires confidence and its performance lets you know that it won't ever leave you hanging in the middle of nowhere. Note - Rear lights pictured are sold separately. While it is off I plan to repaint the entire bumper. Other than that it is a nice looking product. The external configurations that were noticeable were the pocketed headlamps, rear turn and brake lamps, and the rest of the lights that were positioned above the window line. Well worth money spent for your upgrade! Aedofab recommends using diamond plate for additional traction if you utilize spotters on your bumpers from time to time in off-camber situations.
Land Rover Discovery Parts & Accessories
Noting their fitted positions, release and remove 4 park distance control sensors and sensor housings. Applying penetrating fluid before hand was a great help. The heavy duty bumper does. For the final touch in exterior maintenance, apply wax to help preserve the vehicle's paint finish from stains. It was simple to install and took less than an hour. Discovery Series I Front Bumper. We will have a video for cracked bumper on Land Rover Coming soon.