Handy seamless transitions free premiere pro. Videohive 2019-02-28
SOFTWARE FREE FULL VERSION: Videohive Handy Seamless Transitions
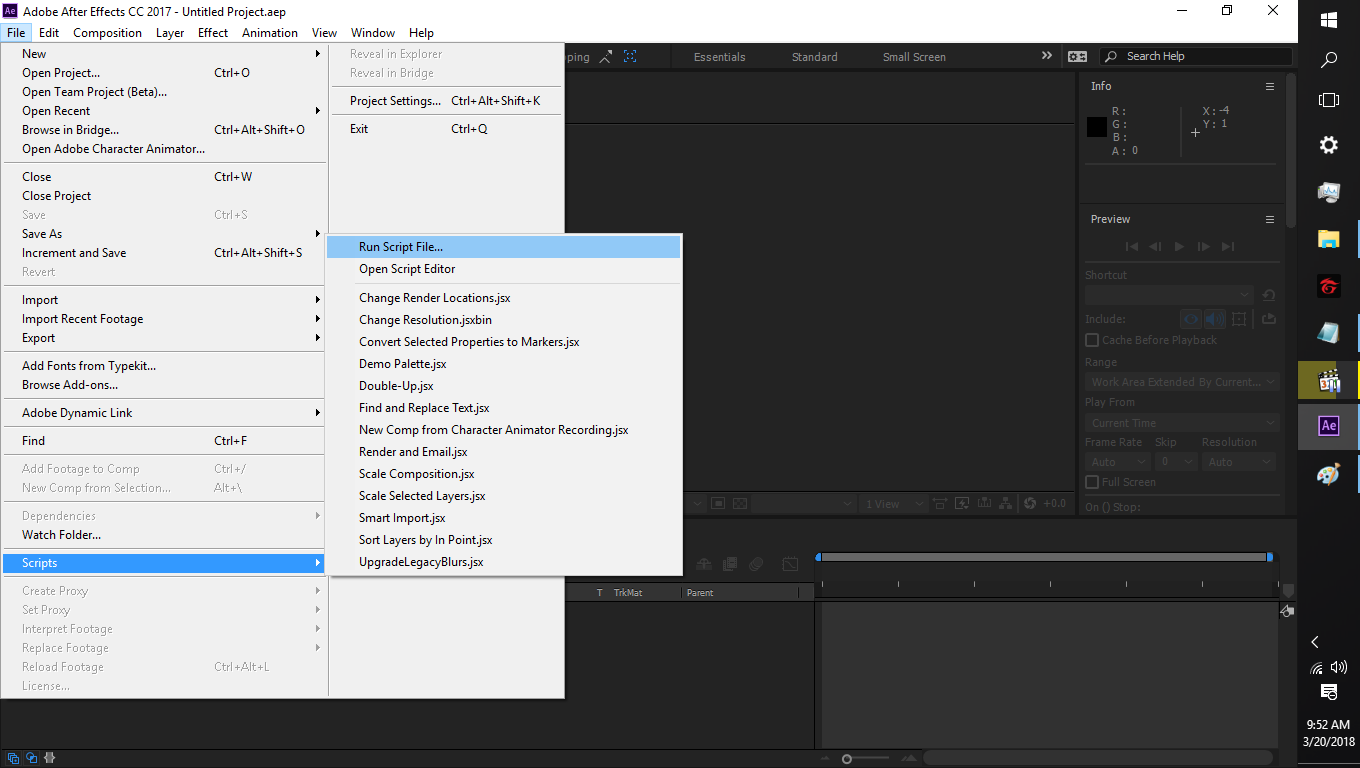
Working quickly and efficiently in post is an essential aspect of the creative process, especially when you need to deal with demanding customers and tricky projects with tight turnarounds. If the included files with presets do not have appropriate resolution for your project, you can change resolution of presets yourself. Coba menggunakan Versi premiere lainya. To see the preview of transition, set the Icon View mode. Custom resolution of Transitions Note! To do this, do the following: 1 Enable the ability to insert layers from other sequences.
Help
Jadi pada artikel ini, saya ingin membagikan sebuah preset Handy Seamless Transitions untuk Adobe Premiere Pro. Transformed any content, that is placed underneath the transition layer. If the included files with presets do not have appropriate resolution for your project, you can change resolution of presets yourself. If transition does not work or looks broken — make sure that resolution of imported presets matches the resolution of your project. Banyak sekali video-video Travel vloger yang menggunakan ini. Watch tutorial How does it work Handy Seamless Transitions have been carefully crafted so that they are super-easy to use for all skill levels — simply place a transition-layer at the junction of the two scenes and everything is ready to roll. Handy Seamless Transitions Premiere Pro V1.
Videohive
And make the ordinary come alive for them. These materials are taken from free Internet sources and can only be used for educational purposes!. Just choose an acceptable transition and drag it into your sequence. This is the Premiere Pro model of the preferred venture on Videohive — by. Slideshow, trailer, promo, music clip, broadcast, movie, documentary film or presentation — every your project will be far more fascinating, dizzying, and professional! It supports drag and drop feature which will let you drag and drop the transitional effect into your video scenes.
Preset Handy Seamless Transitions Premiere Pro

If essential, you should utilize any customized decision of Transitions. Move the layers of the preset along the timeline so that the transition peak coincides with the joint of your two media. Before Installing Software You Must Watch This Installation Guide Video. Once you have picked a suitable transition, place the play head right on a cut between the two clips you have chosen. This method works for transitions with a resolution of no more than 4K. Dalam transition ini, mempunyai berbagai macam jenis transition, contohnya seperti : Distorted Roll, Distorted Switch, Flat Roll, Flat Switch. It supports 4 different speed variations which includes slow, normal, fast as well as super fast.
Preset Handy Seamless Transitions Premiere Pro

Full offline installer standalone setup of Videohive — Modern Transitions. All transitions work without the need to do Pre-compose or Media Placeholders. There are various sound effects for every transitions. Changelog 2018-03-23 — Updated the Motion Bro extension to version 1. Lift your videos to the next level! To do this, do the following: 1 Select the transition in the project panel.
Preset Handy Seamless Transitions Premiere Pro

Hold Command + K to cut the clip and repeat the same steps with the clip on the right side accordingly. Coba pakai cara ini : 1. Help me by sharing the website with your friends : Skype: zaidsparrowmh Our Discord! Lift your videos to the next level! This pack works with all sorts of resolution like square 1080×1080 and vertical 1080×1920 which is ideal for Instagram and stories. If transition does not work or looks broken - make sure that resolution of imported presets matches the resolution of your project. This must be done only once. Banyak sekali video-video Travel vloger yang menggunakan ini.
Handy Seamless Transitions Premiere Pro V1.6 Full Free Download

Then press the Shift key and the left arrow key twice to go ten frames in thе respective direction. Jadi pada artikel ini, saya ingin membagikan sebuah preset Handy Seamless Transitions untuk Adobe Premiere Pro. This warning message appears because the packet with transitions includes sound effects and other media files. The transition sequence just contains the necessary layers and preview. This method works for transitions with a resolution of no more than 4K. For rest of the presets, you can drag and drop the transitions directly to the ten frames portion at the end of each clip that you have cut on your timeline. This pack can be used for creating staggering music videos and various different clips.
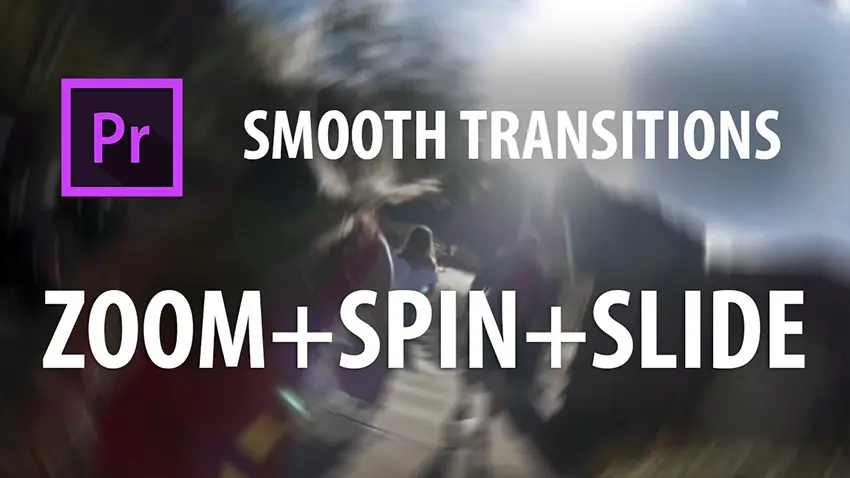
Download This Free Premiere Pro CC Preset Pack with Awesome Custom Transitions

To fix this, need Premiere Pro to remember the way to the necessary media files. Make sure that resolution of imported presets matches the resolution of your project. Before You Begin 1 Extract archive with transitions. Add to your video editing tools these super cool Target-Zoom and Pan transitions! The video below explains how to get the most out of these transitions and showcases what you can do with them in different scenarios and situations. Custom resolution of Transitions Note! Keep in mind that you need to create a nested sequence only when utilizing the longer transitions. This must be done only once.
Download This Free Premiere Pro CC Preset Pack with Awesome Custom Transitions

Make your video visually interesting and amazing quickly, conveniently and effortlessly! Configuring the Project Sequence To correctly use transitions, you need to configure the sequence properly. Importing a Transition into a Sequence 1 Drag and drop the transition sequence into your sequence. Importing a Transition into a Sequence 1 Drag and drop the transition sequence into your sequence. Jika timeline berwarna merah ketika saat menggunakan preset, render to effect terlebih dahulu. The great thing about the custom preset pack is that it contains both 1080p and 4K versions of each custom transition which should make it easier for you when applying them to your edit.