Firebird trans am restoration. Trans Am, Firebird Service Manual 2019-02-27
1967

A quick text might be responded to faster. Over time, bushings, ball joints, and chassis isolators absorb energy, crack, and wear out. Exact fit for all 79, 80 and 81 Trans Am models. Let's get real, sometimes you need to familiarize yourself with it and this book brought it all back. Not sure how we got this sickness. In addition to the Information Sections above, I also have an area dedicated to the Y82 and Y84 Special Edition Trans Am's, which has information regarding the 1976 Y82 50th Anniversary Trans Am, Y88 Gold Special Edition, Macho Trans Am, the Y89 10th Anniversary Trans Am, the 1980 and 1981 Y85 Pace cars, the Skybird, Redbird and Yellowbird Edition cars.
Pontiac Trans Am & Firebird Restoration: Suspension Guide (70
So many parts are missing from the automobile that only the true enthusiast or collector of that particular automobile would even recognize it. To install the upper and lower control arms, install the nuts and bolts into the subframe retainers. Make sure all the steering knuckle bolts are tightened prior to removing the coil spring compressor. This is the highest quality 1978 - 1981 Seatfoam on the market. The how-to instructions are straight forward and numbered making them easy to follow. Any part that is considered a wearable item should be replaced, and if you want to have a balanced and correctly operating suspension, you need to be sure that all parts are new and functioning like new.
The Ultimate Restoration
Sold as a matched set of four. A typical rear-suspension restoration kit includes U-bolts, shackles, axle pads, and leaf springs. All orders are subject to verification. That all depends upon how important a 1972 Trans Am is to you. This list of parts is only an example of the thousands of parts we offer for the Bandit Trans Am and Special Edition Firebird models. An incorrect coil spring can affect ride height it may sit too high or too low , handling, ride softness or stiffness, and create other issues such as bottoming out when hitting everyday bumps. It covers all aspects of a project restoration.
Trans Am, Firebird Service Manual
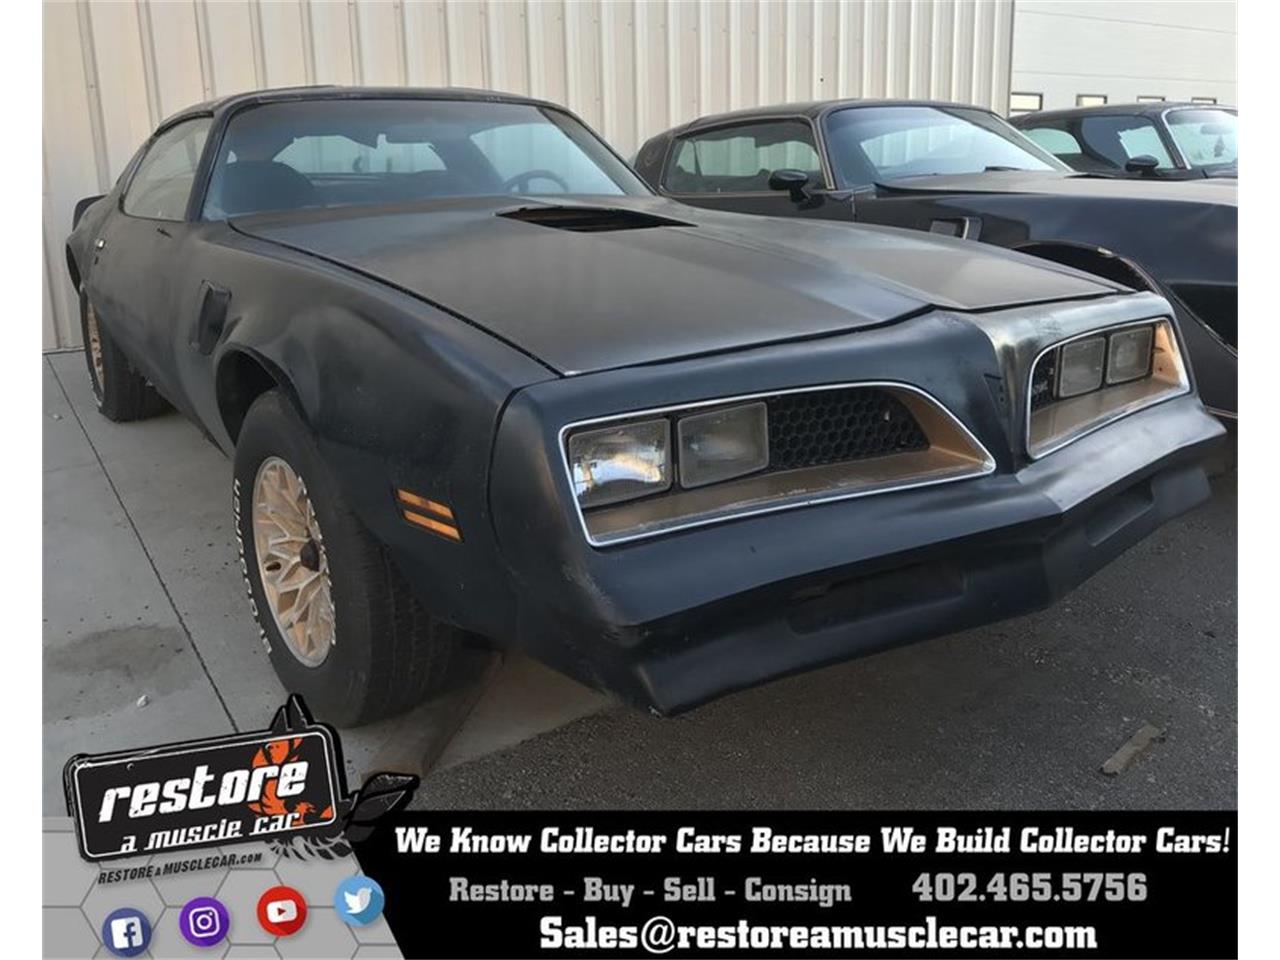
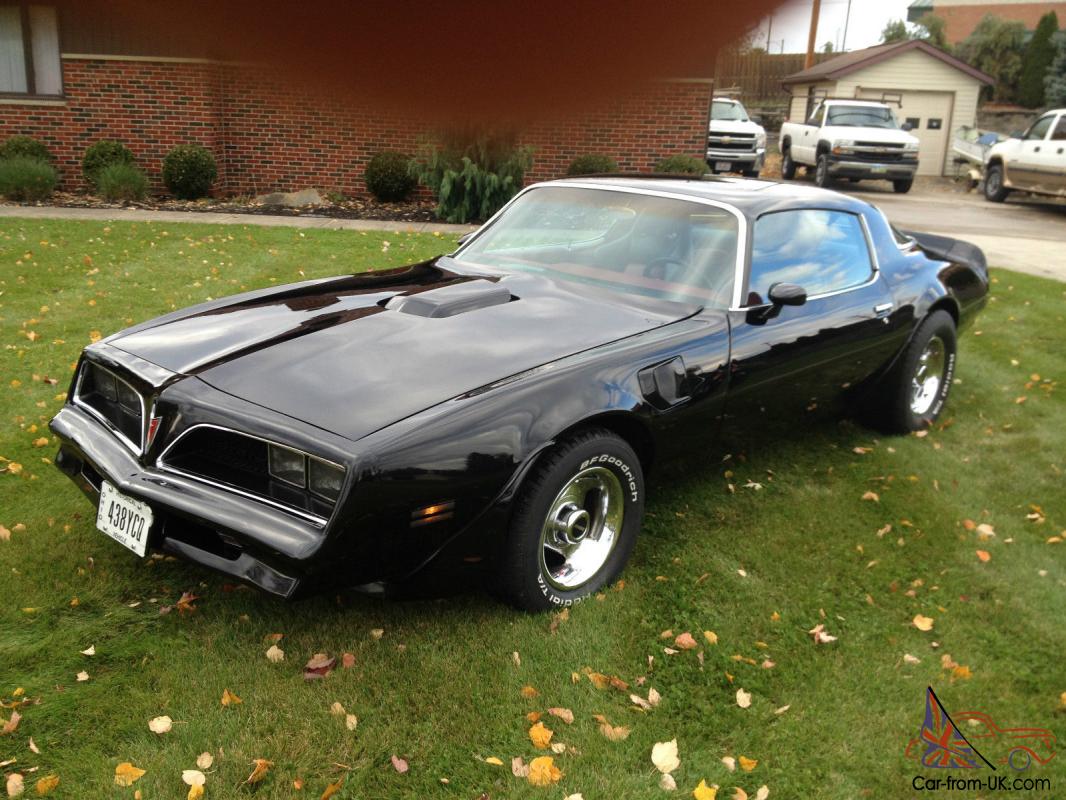
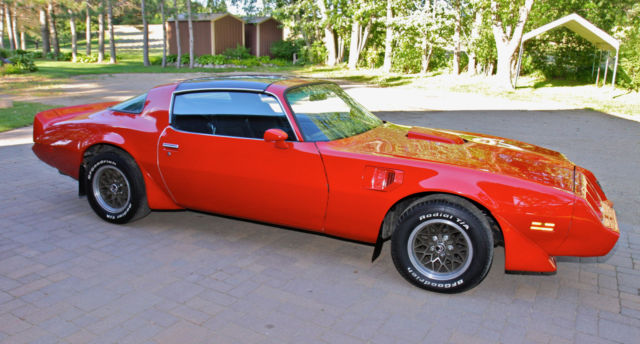
Use it to download and purchase digital content, which can be read both online and offline. Again, most people would never guess that the Trans Am shown in the picture above could ever look like this one. Step 4: Remove Sway Link Nut Remove the upper sway bar link nut and put the sway bar to the side. He has performed many Firebird and Trans Am restorations and has guided his staff as they have performed dozens more. Eastwood also sells Chassis Black, which is close to the factory color.
Pontiac Trans Am & Firebird Restoration: Suspension Guide (70

Note: These two pictures are not the same Trans Am. Slide the upper bolt through the frame rail. The Trans Am and Firebird were distinctly different than their cousin, the Chevy Camaro, and many Trans Am and Firebird models became stand-out muscle cars of their era. Step 12: Press Out Old Ball Joint Using a hydraulic press, press out the ball joint from the arm. Get the right fit and appearance with this premium quality set. Fits all 83-84 models: Firebird, Trans Am, Formula. Step 12: Install Upper Insulator Pad Place the upper insulator pad between the axle and spring.
other cars restored

If you follow his instructions you will make your life so much easier and be able to complete your car and have it look original. Here's some examples: The average person would look at this as a junk car. Each lens is manufactured from injection-molded material with the correct mounting points and features all the factory markings including the Guide insignia as original. . If you're thinking about going out and finding that restoration project, you need to buy and read this book before you go buy the car.
Firebird Parts Catalog

High grade stainless so you won't have to worry about rust. Factory installed on 1979, 1980 and 1981 Trans Am models. Newly Re-Designed Trans Am Website! Step 6: Install Control Arms, Spindles and Brake Rotors Steering cleaned, painted, and installed. Count the tie rod threads at the adjusters on both the inner and outer tie-rods. I will try to do my best to keep this site updated and fresh and try to have the most complete collection of information regarding the Second Generation Pontiac Firebird Trans Am.
Restoration Archives • Pontiac DIY

Step 10: Remove Bushing Sleeve The bushing sleeve requires a chisel and hammer to remove. This emblem can be used on all Firebirds, Formulas, and Trans Ams. Once Bluefire Reader is installed and activated with Adobe you may download eBooks directly on your device using the download links provided on the confirmation page of your order, the confirmation email or in your Are eBooks returnable? The rear leaf springs have been installed. Note: 4 Wheel Disc, Turbo Charged, Unleaded Fuel Only Decal Sold Seperately. Up front, the 1970— 1981 Firebirds were equipped with unequal-length upper and lower control arms.
other cars restored

Step 6: Remove Leaf Spring Assemblies Remove one leaf spring assembly side at a time. Now, not all Special Editions had this code marked on it, but if it does, then you can stop right here because you already know that you have a Special Edition Trans Am. Note: 4 Wheel Disc, Turbo Charged, Unleaded Fuel Only Decal Sold Seperately. So grab this book and your chosen vehicles is one of these Pontiacs! Make sure there is room for the ball joint to pop out below. Fits all 80 - 81 models with a 305 engine. Now since I own a 1978 Pontiac Trans Am, then most of this site will cover that year and mostly the second generation Pontiac Trans Am. When bushings are seized in the arm, removal is sometimes very difficult.