Dune buggy build plans. Build a Go 2019-01-28
How To Build a Fiberglass Dune Buggy or Sandrail
If your hands wobble on site -- perhaps, you break a sweat -- have a mate look upon for support. The radiator hose connects the upper and the lower half of the gas cap. As you would be working with mounds, wrenches and the likes, ensure a solid floor to see you through the process. For the installation to take place, the lower bar that connects to the hood-dash assembly should be removed before installation. Trademarks and Names mentioned in this site are the property of their respective owners. Make sure that the hole is positioned high to accommodate the steering column; this would provide a sustainable ground clearance.
How to Build a Dune Buggy: 7 Steps (with Pictures)
Reinstall them, and crimp the spare metal at a point where the tunnel steeps toward the bottom. Hello, I purchased a set of plans last yr from this. The brake reservoir maybe mounted with the help of hose clamps measuring 3'' in diameter. They utilize treaded, knobby or sand paddle type tires mounted to a large travel suspension front and rear that enables the vehicle to travel over very rough terrain and jumps. You can purchase a plan, build what you can yourself, and then purchase the remaining parts. Underneath the gear lever, is the shift guide plate consisting of a component called the reverse lock out.
The Barracuda Mk II Off Road Buggy

Step 14 : In the above-mentioned step, we had asked you to loosen the clutch and throttle tubes. Acceleration 0-100 kph, 60mph in 4. If there are no issues, you may fasten the assembly. Take a look at it and tell me what you think. . Place the Beetle on jacks in a garage so you can work on it, and remove all of the parts from the car besides the frame, engine, suspension, steering wheel, tires, brakes, and driver's seat.
dune buggy plans,sandrail plans, how to buid a dune buggy, dune buggy frame

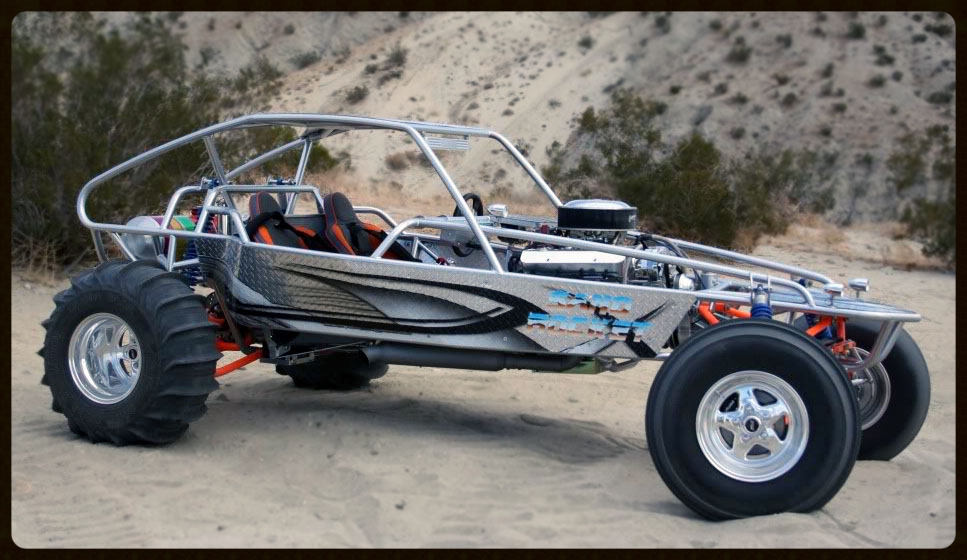
Unbolt, also the fasteners that hold the body to the shock absorbers at the rear end of the body. Spindle made with the more expensive tubing. The job involves stripping the Beetle leaving the bare essentials in place. Chassis drawings show you how to start by making a square tube base frame then progressively build upon that starting point. Cut this circle out, either with a saber saw, or a hole saw 2'' in diameter. Or for dirt tracks through forest, or extreme jumps down on the dunes? Are they wrecked due to a rear-end, or a head-on collision? These holes should align with the hole in the anterior support bracket upper mounts.
Build Your Own Dune Buggy/Sand Buggy/VW ~ FREE Guide!

Body roll may also be an issue if not properly controlled. Fun dune buggy blueprints project build 4 wheel off … Plans to Make Your Own Go Kart, Mini Bike, or Mini Chopper! For obvious reasons, they are an ultimate buy. This includes shortening all center tunnel tubes, cables, fuel lines and the shifter rod. How To Build A Dune Buggy Are you looking to build a dune buggy? Tighten them to an extent where you can see them expanded. Snip the excess length of the cable followed by soldering it to the throttle cable. Equipment required to accomplish the task are mentioned herein. If they get difficult, supervise their movements.
Build Your Own Dune Buggy/Sand Buggy/VW ~ FREE Guide!

Tools can be dangerous in the hands of the inexperienced. Draw another line maintaining the distance and the range to discard the probability of any change when the halves of the shaft tube intersect. Step 21 : Through the rear of the chassis, run the main brake line through a tunnel provided in the rear section of the chassis. This way you have successfully disjointed the tunnel section of the chassis. It should be able to carry also some cargo on a rack, possibly the meat from a deer hunting kill about 500lbs.
ST4 Two Seat Desert Buggy Plans

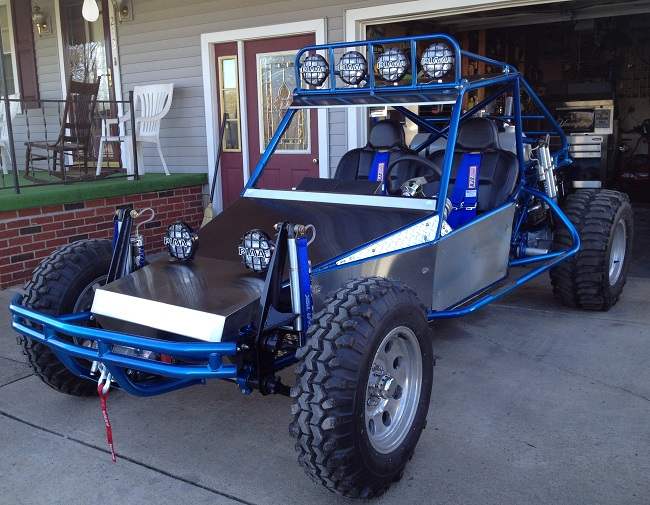
I want to build them to have fun. All the best mate, and good luck. At this point, you should have decided on the purpose of your dune buggy or sandrail. Ask a friend, who has time and know-how to accompany you, and take a look at what you plan to invest in. We also offer straight tube kits that are pre-cut to length as well as laser parts and tube ends for the frame build. Run the exhaust out the side behind the back tires.
2 Great Options ! 2 Seat Dune Buggy Plans Or 4 Seat Dune Buggy Plans !

Step 4: How about Wheelbase? Thereafter, bend the support bracket to cover the rear end of the body. Drill a hole in the center considering the mark as a guide. Without a gearbox though you will be relying on a the torque convertor to mange things, so depending on how extreme you want to go off-road flat dry dirt, rocky climbs, deep mud , the motor needs to be able to handle the weight and type of terrain. This allows the wheel to move through its suspension travel with minimal camber change the tires contact the ground flatter. Here is how you go about installing the lights. To the engine mount extensions, attach bumper support braces.