Diy fiberglass car parts. How to custom fabricate car parts from fiberglass. 2019-04-13
How To Make A Fiberglass Mold Instructions
After the resin has cured, melt out the foam by pouring acetone on the uncovered section note that in drawing 4 it says kerosene- this is incorrect. Keep in mind that since this piece is out in the sun, it is getting warm. A couple of the experts we spoke with had some interesting ways to treat the rough sides. Then, Fritz Schenck came along. If the fiberglass was shot onto the gelcoat using a chopper gun, theres no guarantee of uniformity, especially in the curves and corners.
Build a T

If soda body plastic will work as the shaped object, then all we need to do is laminate the sucker which is time costly by itself. Next, cover the taped pattern with a mold release wax. This involves building up a layer of silicone on each half of the rifle and then this is supported by a fiberglass jacket. Not only do you need to pay attention to exactly how much material youre addingso the part doesnt get too bigbut you also have to make sure the entire panel retains its shape. Its also harder to maintain a uniform amount of resin when using a chopper gun, and too much resin in the fiberglass makes the panels brittle. The longer the better, was the consensus among the experts we spoke with.
How to Make Automotive Fiberglass Body Molds

Without a hobby laser, these cross sections could be printed on paper at full scale and cut out with a jigsaw. It may take 10 or more coats to thoroughly cover the surface. Be careful, as the single fiberglass sheet will be very fragile. Sand the outside of the parts using a rough grit sandpaper, to smooth out any bumpy areas or lumps. For the time being, you can secure it in place using some duct tape, if you wish. It can be formed into any variety of complex shapes, and you can buff its surface as smooth as a commercially manufactured body part. The surface you see in the mold release will be the surface finish you will see in the mold and the parts.
Build a T
The parting surface of the mold defines how the multiple parts of the mold will fit together. There are a couple of ways to treat low spots in the fiberglass. I used a product called Kitty Hair to fill in the gaps. However, fiberglass was on early model corvettes, truck hoods, and many other parts. In this case I have started with a wooden pattern of the front portion of a fuselage with an access hatch. My question is, do you think this will work? The fuselage will be molded in two halfs then joined.
How to Make Automotive Fiberglass Body Molds

So where the carpet dipped down after the resin, I had to add a bunch of bondo to get it nice and level. Material will be stapled to the bottom side of those rectangular cutouts, and then stretched to the outside edges of the amp rack. So it can have the late joining together, but also splice with other materials parts. On this particular piece I actually stapled in the amplifier openings first, then stretched to the outer edges of the rack. Prime the whole box outside 7. The pictures below are the final parts ready to go. With a Dremel tool and a ¼ inch ball cutter, cut small recesses in the corners of the mold flanges away from the pattern.
fiberglass car bodies
Once the first primer coat is on the body, the remaining paint steps are identical to what youd do with sheetmetal. Two coats of primer is plenty, and it only needs to dry five to 10 minutes between coats. This is just the beginning of the skeleton work. Hand layup process, fiberglass pultrusion, compression molding, filament winding. For example, reducing the wind resistance, reducing self-weight, improving engine efficiency, and so on. They passed the 30,000 km reliability test and crash test in 1992.
Fiberglass Preparation

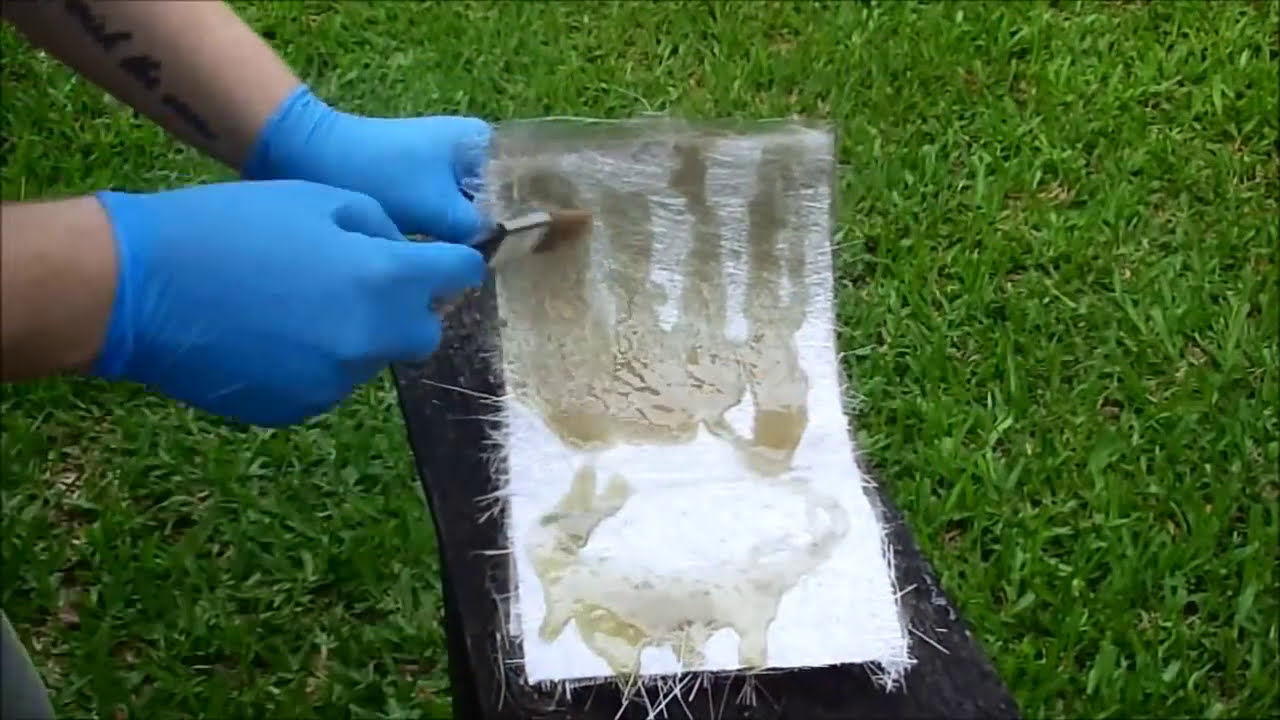
Make sure you have a decent sized tray or bucket under your part- this will get messy! If the body is not clean, those agents will create fisheyes in the paint. Note flanges used not only for separating mold to remove body but also to reinforce it. Step 6: Final Parts Fresh out of the mold, the parts should look ready to go! Following your drawings precisely, use a heavy marker to draw out the details directly onto the foam. Air bubbles and dry places in the fiberglass are white while the properly wet out glass is transparent showing the black surface. Have you been thinking about using or to make your own composite parts? Simply resin it to get it hard, then the usual bondo and sanding to get it ready for the same black paint.
Build a T

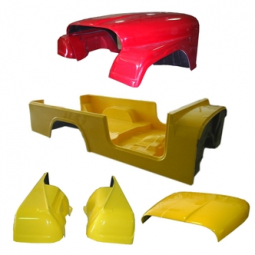
So the steps would be: 1 Staple material carpet, fleece, grill cloth etc. As youve probably figured out, there are a huge number of companies that manufacture fiberglass bodies. Hold it in place and mark the outline with spray paint. The side that meets the back trunk panel needed a step in it. Your hub for horsepower Get first access to hit shows like Roadkill and Dirt Every Day Join free for 14 days now With fiberglass, however, the procedures before priming are quite different, because the material is so very different. The T-Bucket fire burns stronger and stronger.
DIY Custom Fiberglass: 6 Steps

Once you have removed all of the Styrofoam measure and cut pieces of plywood to place inside the shell for the inner wall compartments and hot glue them in place 3. This picture shows the pieces over the amplifiers which are my stretch points for the amp rack. One trick I do when using woven cloth is I pre cut my cloth and stick it down on my pattern with some 3M Super77 spray cement and then wet the woven cloth out with resin using a short bristled paintbrush. After I rough sanded the Kitty Hair down, I took one solid piece of fiberglass cloth and laid it over the center section. Both provide excellent waterproof properties as they do not absorb water. I first started by covering the inside of the spare tire wheel with clear packing tape and giving it a good coat of mold release wax. This piece is going to lip over the front edges of the enclosures.
How to Use Fiberglass to Make a Body Kit

Instead, force some filler or putty into the hole with your finger, then knock off the excess with a second sanding pass. Base coat the whole box At this point you'll want to airbrush or paint your graphics or rice paper designs to the box 8. Its porous and may trap water that will later blister the paint. This is now sanded with 80 grit and test fit back into the trunk to start the sub enclosures. You will notice the one on the bottom which has a nice flowing radius. This will help keep your pores small and allow the fiberglass to wash off.