Disable auto shutdown windows 10. Disable Apps Auto Reopening in Windows 10 2019-03-25
How to Cancel Auto
As Darren Coetzee suggested, we could try another power profile. If you have feedback for TechNet Subscriber Support, contact. Tip: The number in the run command represents the value of seconds. Just minimize it and do your work. It would be nice if the information to implement your solution was contained within your answer — Nov 2 '15 at 14:21. Based on Network Activity : In this category, you have the option of selecting the network adapter which will be monitored and the instant network activity reaches a specified point the Shutdown Timer starts its action and takes your computer into your desired selected state. Based on Date and Time : The basic condition is of course related to countdown of a time duration set by you i,e you have to enter the time duration after which you want your computer to navigate to the selected state.
[SOLVED] Windows 10 and the disabling orgmode.com keep Restart option?

Instead, Automatic Updates will notify the user to restart the computer. But now our television sets are smarter. So I disabled all of this stuff. At least on 8 I could disable them from installing. I haven't yet figured out the exact series of keys that need to be hit but apparently they include the standard W,A,S,D keys and maybe Cap, L Alt, and Shift. This method is very much helpful to the people who work for hours at night and fell asleep while working.
Automatic Shutdown Solved

I guess that's where DeepFreeze comes in handy! While you're at it, you may as well also disable the annoying window snapping nonsense. It is solid and I have no problems doing Photo and 1080p Video editing using 64 Bit Programs that are fast. Only problem, is why did Microsoft not talk about it and make the option to disable it easy to find? We recommend you try this method first. Being bored and with an looming holiday last week, I decided to give them a shot. The Task Scheduler window should open up. It is capable of working in different modes i,e it works when some set of conditions are fulfilled.
3 Ways to Cancel Auto Shutdown in Windows 10
While gaming I frequently get sudden beeping sounds and my screen will minimize out of a game. They are saying that after one year, this offer will not be available anymore. Coming back to Home users and Professional users, there is not even the option to delay the updates. However, back to the point. Do let us know if you face any issues.
How to Cancel Auto

Your auto shut down mechanism is terminated. First are the Home users who will not have the option to. We do not recommend that you disable automatic Windows Update in Windows 10. Then configure it to use either option 2 — Notify for download and notify for install or 3 — Auto download and notify for install. Disable Bandwidth Sharing for Updates In another strange act of opt-out data sharing between users, Windows now uses a sort-of peer-to-peer network for downloading updates. Place a shortcut to the batch file on the desktop. You can change the auto shut down time by changing %time% value.
How to Cancel Auto

Change the ownership to your own user account. Double click Configure Automatic Updates and select Enabled. Otherwise go for the option that suits you best. Thus if you have found the article resourceful and helpful, share it as much as possible on social media and visit our website again for more information. That is to say; some users would want the liberty and option to download and install updates when they want and not when Microsoft provides it.
How to Set Auto Shutdown in Windows 10

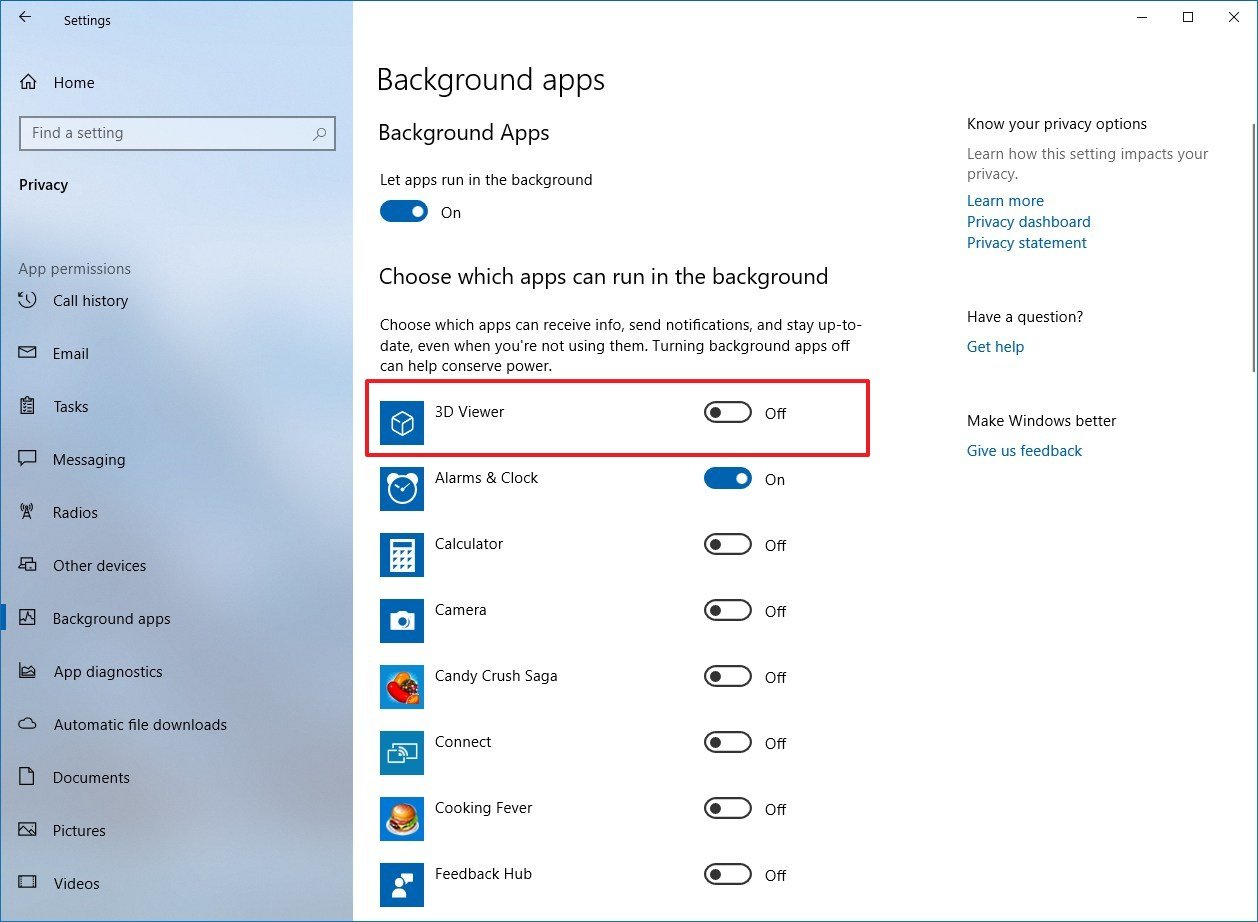
It should at the most be a feature you can elect to enable, not something that is built-in as a default. Well I do think it is possible to disable it all together but actually what I mean is to remove that option only so that with shutdown it is still possible. Keep reading to know the method in steps: Step 1. While it prevents a number of apps from automatically starting after a reboot, it affects Store apps mostly! I can only imagine the kinds of problems this will cause if it gets rolled out to Windows Server 2016 also. To disable apps auto reopening in Windows 10, do the following. But scheduling computer with these options will only turn on the sleep mode of your system.
Permanently Disable & Prevent Automatic Restart of Windows Update in Windows 10

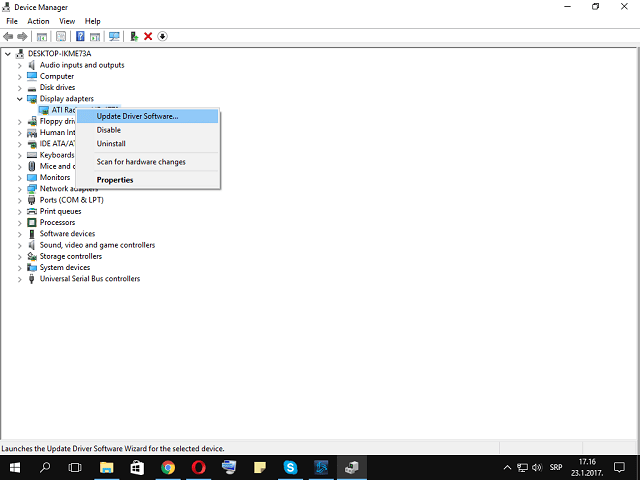
Just in case it does to overheat, I am sure there are accurate pieces of software that can report it. It was also not compatible with Bitdefender and I have a year to go on that license. Read below to know the method In steps: Step 1. Step 8: Enter —s as the argument and click Next. Step 9: Click Finish to complete the task creation and bring the task into effect. To check for compatibility and other important installation information, visit your device manufacturer's website and the Windows 10 Specifications page.