Datamax e class manual. Datamax A 2019-05-16
Datamax M

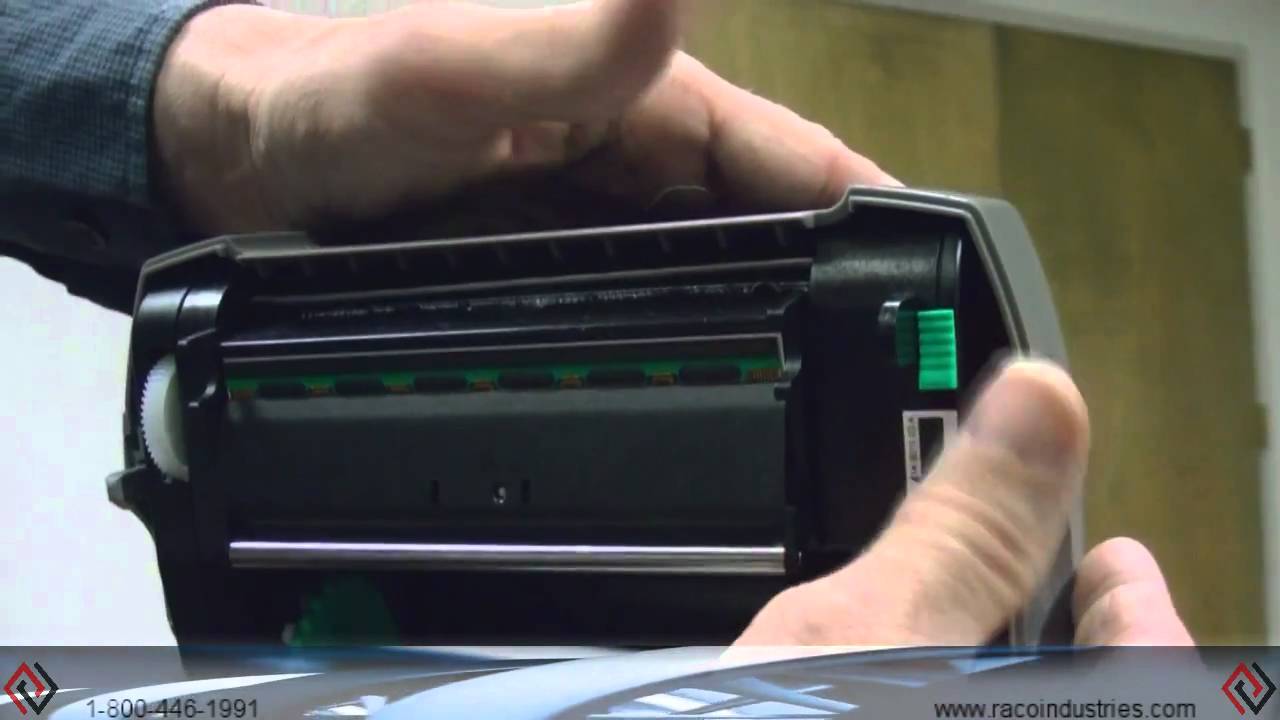
Reserved for Future should be 0 - Command 2. Turning the Darkness Adjustment clockwise will darken the print, while turning it counterclockwise will lighten the print. Then push in and rotate the Ribbon Tension Adjustment Knob to the position that matches the core size of the ribbon in use. The following section lists the symptoms and the associated page numbers of the topics covered. Remove the three Screws that secure the Front Cover Panel to the printer. This procedure performs a complete recalibration of the sensors and will optimize the printer to your media. Rotate the Take-up Hub Wheel several times to secure the ribbon.
Datamax O'Neil Mark III E

The A-Class utilizes the same electronics card cage design as is found in the popular Datamax I-Class. Connect the host to the printer see Section 2. For exception processing and fault handling, see the command. Depending on the size of the Supply Roll, the Media Bouncer may need to be pushed out of the way. Possible problem situations and potential solutions are listed below. Only perform the calibration adjustments if you are experiencing media registration issues. Chapter 5 — Maintenance and Adjustments 53 5 5 5.
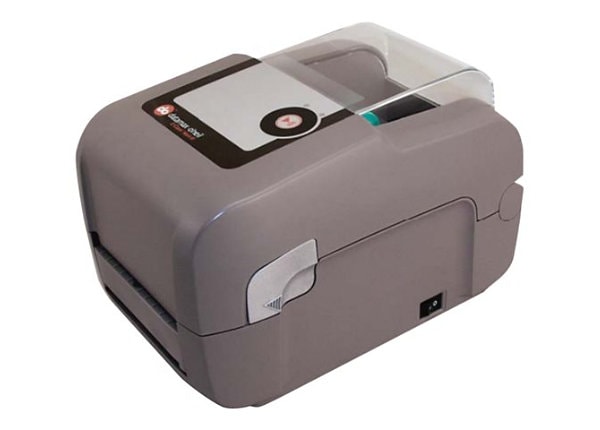
Datamax O'Neil E
Choose the method that best addresses your application. Wait briefly for the Printhead to cool. For a current list of approved media and ribbons for use in direct thermal and thermal transfer applications, please contact a Media Representative at 407 523-5650. Continue to follow the on-screen instructions to install the driver. If you have any questions about your that are not answered in the manual, please share your question in the troubleshooting section on the buttom of this page.
Datamax

Print a Database Configuration Label as follows: 1 Load with media 4 inch wide and ribbon if printing with thermal transfer media. Older versions might not operate correctly with some printers. Ask a question Paper handling Maximum roll diameter 127 mm Media thickness 0. Please read the instructions in this operator manual carefully before using the product. These supplies are specially formulated for use in our printers; use of other supplies may affect the print quality, performance, and life of the printer or its components. Adjust the Media Guides so they are lightly touching the edge of the media. Contact customer support or your sales representative for advice on the media and software that may best be suited for your application.
Datamax

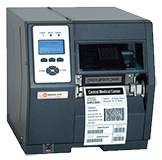
On this page you find the Datamax O'Neil H-Class H-4310 manual. This manual provides the information necessary to operate and maintain the printer. This will connect to the printer and retrieve the setting currently stored in the printer. Compare a label printed with the old printhead and make this adjustment so that the new printhead matches the darkest portion of that label. Contact a qualified technician for problems that persist or problems not covered in this section.
I
Slide an empty Ribbon Core onto the remaining Core Adapter. Turn off the power switch and unplug the printer. The media is not calibrated: Calibrate it see Section 3. This allows integrators to choose from a selection of connectivity options to be easily inserted into the card cage. The A-Class consists of both 4-inch and 6-inch wide print engines with 203, 300, 400 or 600 dpi resolution available in both right- and left-hand models.
I
Note: When sending the changes to the printer, only the changes displayed on the current page will be sent. Syntax: KtDabcc Where: - The number of retry attempts, 0-9. These parameters are configurable using a few methods. In this case, verify the Mode selection. The table below lists the most popular ways of configuring the printer and the advantages of each. If the printer is equipped with this type of sensor, proceed to Section 4. If not found at power-up then factory defaults will be set.
Datamax A
While not every situation is addressed, you may find some tips helpful. Please read the instructions in this operator manual carefully before using the product. These massive stainless steel workhorses are intended to be an invisible piece of a bigger part of production equipment, facilitating the process of finalizing production through package identification. There is no collision avoidance used. This manual provides the information necessary to operate and maintain the printer.