Crown vic dash removal. Ford Crown Victoria Stereo & Radio Installation Tidbits 2019-02-21
Instructions on how to remove dash in 1996 Ford Crown
Good Luck This was quite a task the first time I did it, but by the 3rd time I was a pro. This option greatly lowers install time and planning, just slide the old radio out, unplug it and slide the new radio in and connect the electrical plugs. Lincoln towncars have a different rear parcel shelf than their crown vic and grand marquis counterparts. Wire color codes in most cases match color for color. Which will … give you access to another screw to remove the center dash piece.
1999 Crown Victoria: how to remove the dash...
If you can't get your rear window antenna to work properly, you might be able to retrofit this setup into your crownvic and eliminate the rear window antenna all together. And here is a picture of a dashboard mounted 6 disc cd changer. The blue cruiser is a 00', the white a 99' and the silver an 01'. The connector on the left is for the power, the one on right is for low level signal wires that connect to the trunk mounted amplifiers. There's a screw towards the bottom back of the door panel towards the b-pillar. You would still need an external antenna, but low profile units are avaliable that mount to your roof or trunk lid. Just make sure you get one out of a car that has not been un … der water, or one that has the windshield busted or missing.
dashboard removel
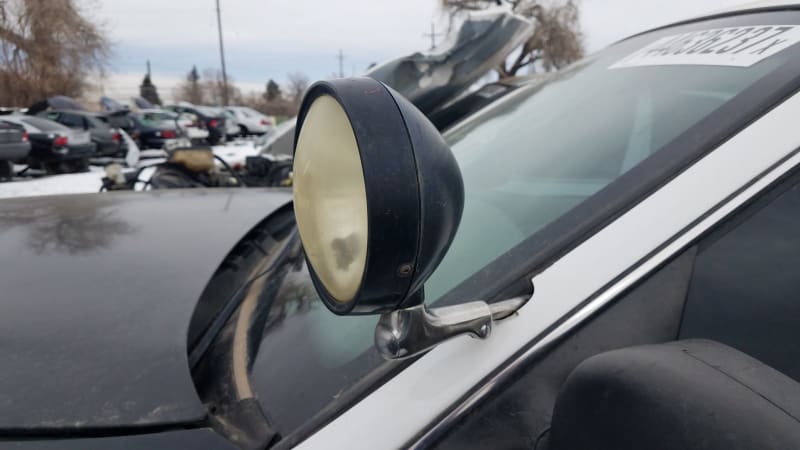
Just my analysis of the symptoms! This system typcially sounds very good as far as factory installed sound systems go and is also more compact spacewise than a comparable sounding aftermarket stereo setup would be. It will also eliminate the possibility of an external cdrom device becoming an airborne projectile and causing personal injury in the unfortunate event that your crownvic becomes involved in a collision with another vehicle or object. The colours before were Dark Denim Blue, Medium Parchment and Light Graphite. But there is a motorized version of the 92'-94' antenna avaliable that will retract when the radio is turned off so that your antenna isn't an attractive target for vandals when your vehicle is parked. The external mast antenna setup should work fine in most civilian applications as long as you're careful though. Next you remove the lower knee dash on the drivers side and both kick panels. But this method is not recommended if you think that you may ever want to reinstall your old radio at a later date.
1999 Crown Victoria: how to remove the dash...
Installation is easier, no guess work with wire color codes and a Headache Saver! So, I guess this is goodbye for now. Also pay attention to the mounting system that retains the radio in the dashboard. After the two nuts are released, the seatback will lift upwards and can be removed from the vehicle. Start with droping the steering, the bolts are under the steering wheel. Ford uses a couple of different radio harnesses depending on audio options, some of the higher end audio systems come with external amplifiers and a factory sub. Problem is that the radio is 1.
Car Stereo Help

I started in this in 1964. Because coat hangers are not typically the proper diameter and are likely to damage the plastic holes on the face of the radio as a result. Another is inaccessible until after the door window and lock switch control panel is removed. The low bass sounds are directed to the factory subwoofer. If you go to your local ford dealership, the only choices for radios in your car will be what was factory installed in your vehicle that year.
dashboard removel

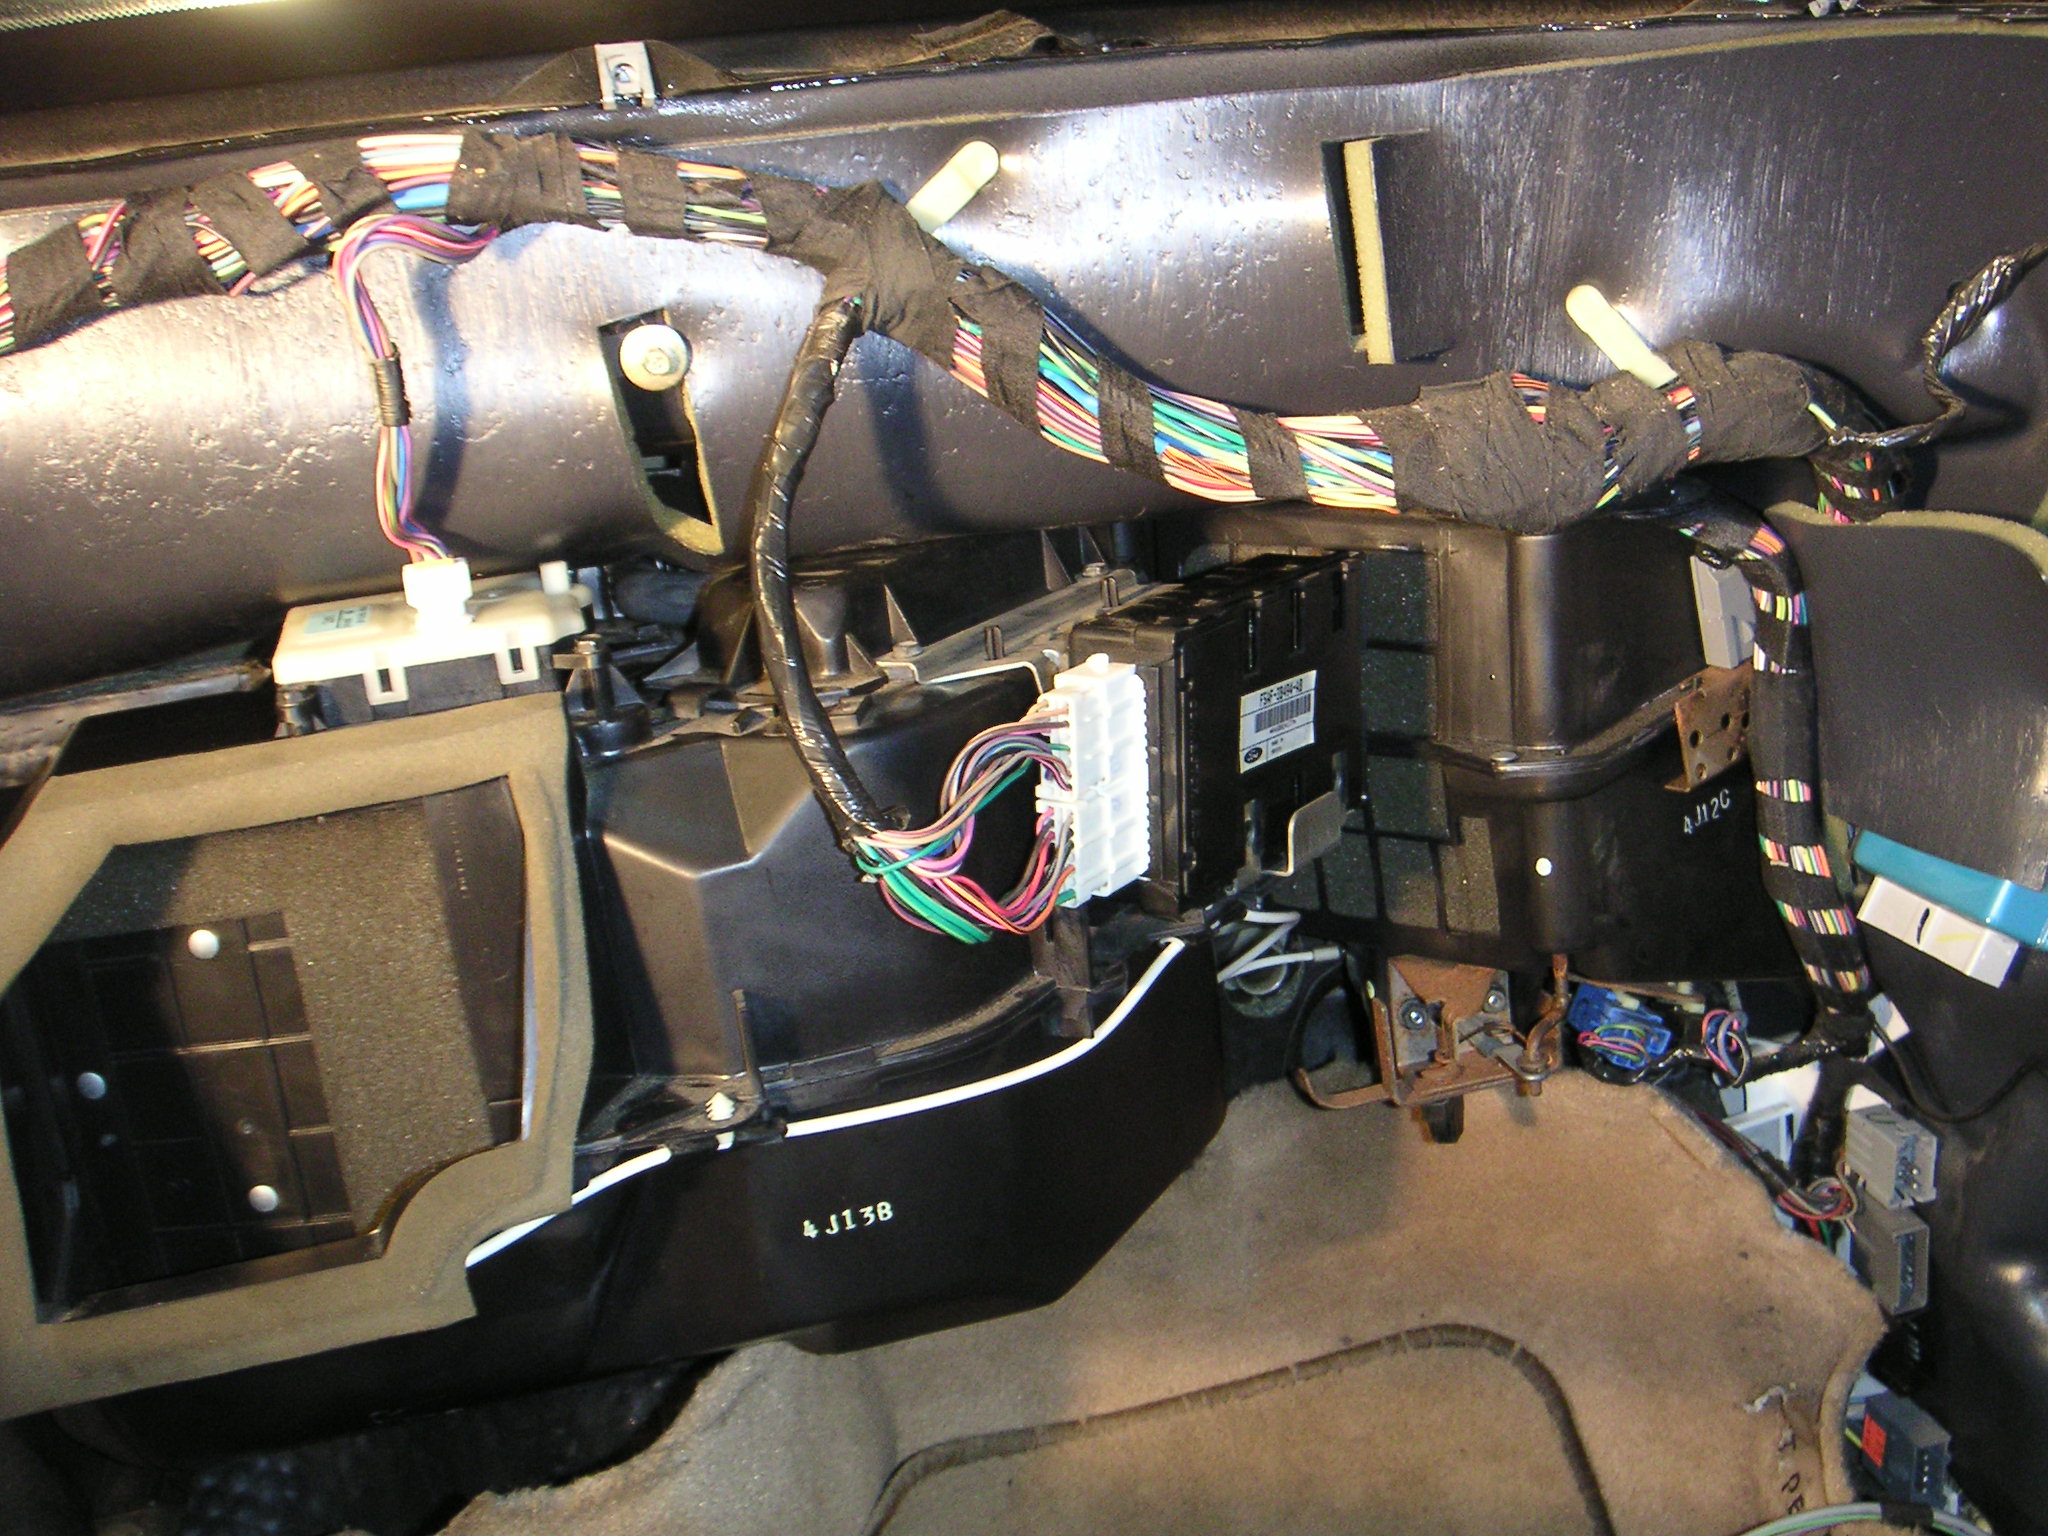
Remove the trim from the dash, just snaps out carefully then remove the glove box door, there you will see all the small screws that have to be removed. Similarly, adapters exist that plug into the radio antenna feed and broadcast the signal of an external cd player over a preset fm channel. And the subwoofer housing is also a very different design than the crown vic one. A chiltons book will spell it out for ya, it is doable, allocate about a day or day and a half. I'm still not 100% sure it's the blend door motor itself. Remove left side with light switch assembly. You do have to drop the steering column, start with the glove comp.
How to Remove the Instrument Cluster on a 97 Crown Vic?

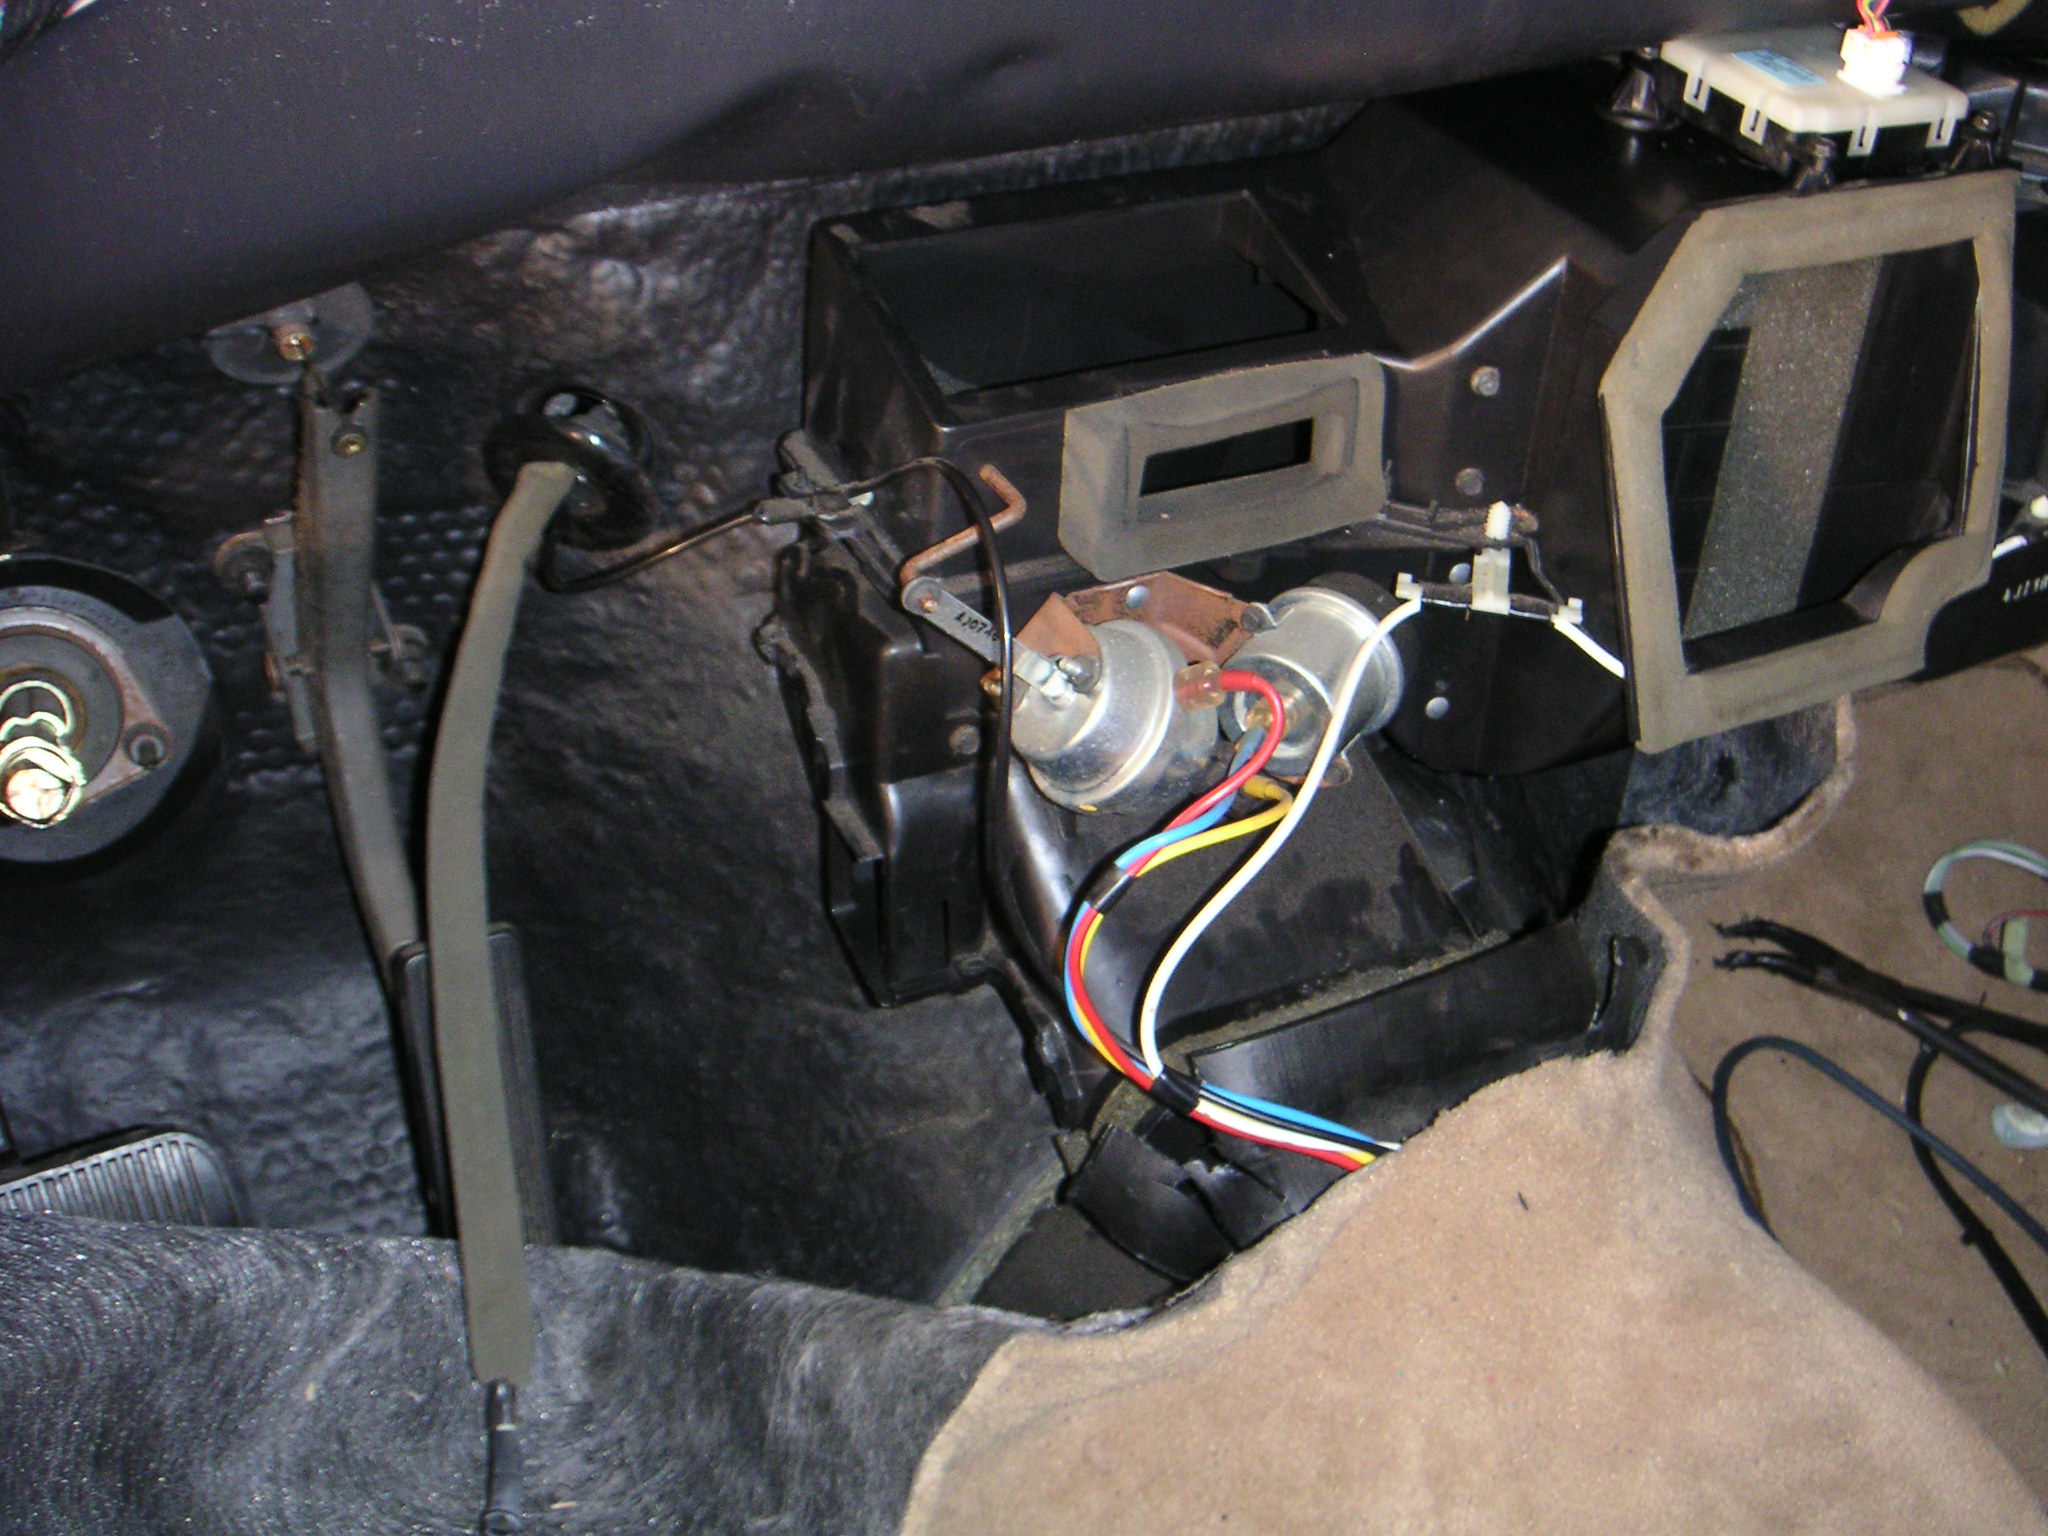
Pull the bulbs out of the sockets and take them to an auto parts store. The following is a by to removing and replacing upgrading rear speakers in your ford 1994 2004 crown victoria or mercury grand image since you re probably not going to be in a hurry pull the dashboard again consider replacing other wear items under dash too and the 2010 crown victoria still has essentially same dashboard s as 1995 grand marquis pictured above except for some minor modifications you can just pull the dashboard back some from firewall if d like however it s not much more effort to pletly remove whole 1999 Ford Crown Victoria Active Retirees Hot Rod Work Ford crown victoria dashboard pictures autoclinix ford crown victoria mercury grand marquis rear ford crown victoria dashboard pictures 1990 ford crown victoria ltd 10 body phase 5 dash removal 2003 2016 ford crown victoria and mercury grand marquis car audio. Then remove instrument panel while taking care in disconnecting wiring and tr … ansmission indicator. If removed, position the panel door vacuum motor to the mounting bracket and install the 2 attaching screws. Schosche kit did specifically list the 98' crownvic on the application list, but I still had to use a grinding wheel to make it fit in the dash opening.
How Ford Crown Victoria remove dash

This will prove fatal in sufficient quantities. I'm assuming I won't need to drain the radiator since I'm not changing the whole core. The photographs, graphics and data contained in this Web site are the properties of the contributors, or Crownvic. The shape of the radio is unique, but is required to clear the defroster duct work at the back of the dash. Crown Victoria Amp Removal and Bypass Installation Ford Crown Victoria Amplifier Bypass Cable and Installation 1. Disconnect the cable from the temperature blend door crank arm.