Convert arw to raw in lightroom. Convert arw to nef 2019-02-03
Convert arw to dng

I would only do that as the final step. Open Lightroom and try to import again! I partly agree with what you say. My question, why does it look like yours says tiff? I have been a photographer for 30 years or so and love photography with a passion. If no, then we'll show you the best way to import photos into Lightroom. Why wouldn't you want to use the best quality image during post processing? You really do not want to destroy your original raw images. I have make many correction in my camera to correct my photos contrast - sharpness - saturation.
Sony .ARW files (RAW files)

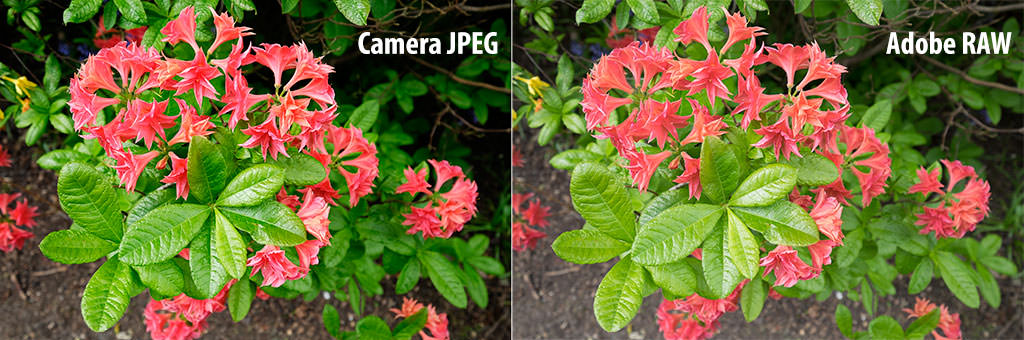
Is there a way to only convert to dng upon import rather than copying to a new location? If so, where in the import process do things break down? The first image in this tutorial is a jpeg of a Gannet where I have deliberately blown the highlights. You simply cannot, try adjusting the white balance and I'm sorry a jpeg does not retain the information to recover a blown highlight. When that drive's full put it somewhere safe and start another one. Realistically they could only survive about 2-3 generations and still have an acceptible image quality. You're not going to see that difference in a print or in production. By this stage after editing you won't really be able to tell the difference or the differences will be pretty minor between your edited Raw version and your saved edited jpeg. There are 2 ways to solve this problem so that you will always be able to use your version of software with a new camera model: 1.
Sony A6000 shots in raw, .ARW file conversion to .DNG quality reduction.: Sony Alpha / NEX E
A good photo is a good photo regardless of its pixel perfection. Not smaller in terms of dimension but smaller in terms of hard drive space. I take pictures and use them for website headers. I then downloaded a like number of its posted jpegs so I would have examples to compare side to side. This was done with your small jpg, nothing else.
ARW (RAW) Converter (Online & Free) — Convertio
/arw-files-5a5e625af1300a0037c1dac4.png)
I don't care about the number of images I can get on a card. Not talking only about exposure or brightness sliders. Jpeg is perfectly adequate for most photos. You can even use Photoshops Bridge to do the same thing. Phil cream wrote: i can import the rx10.
ARW (RAW) Converter (Online & Free) — Convertio
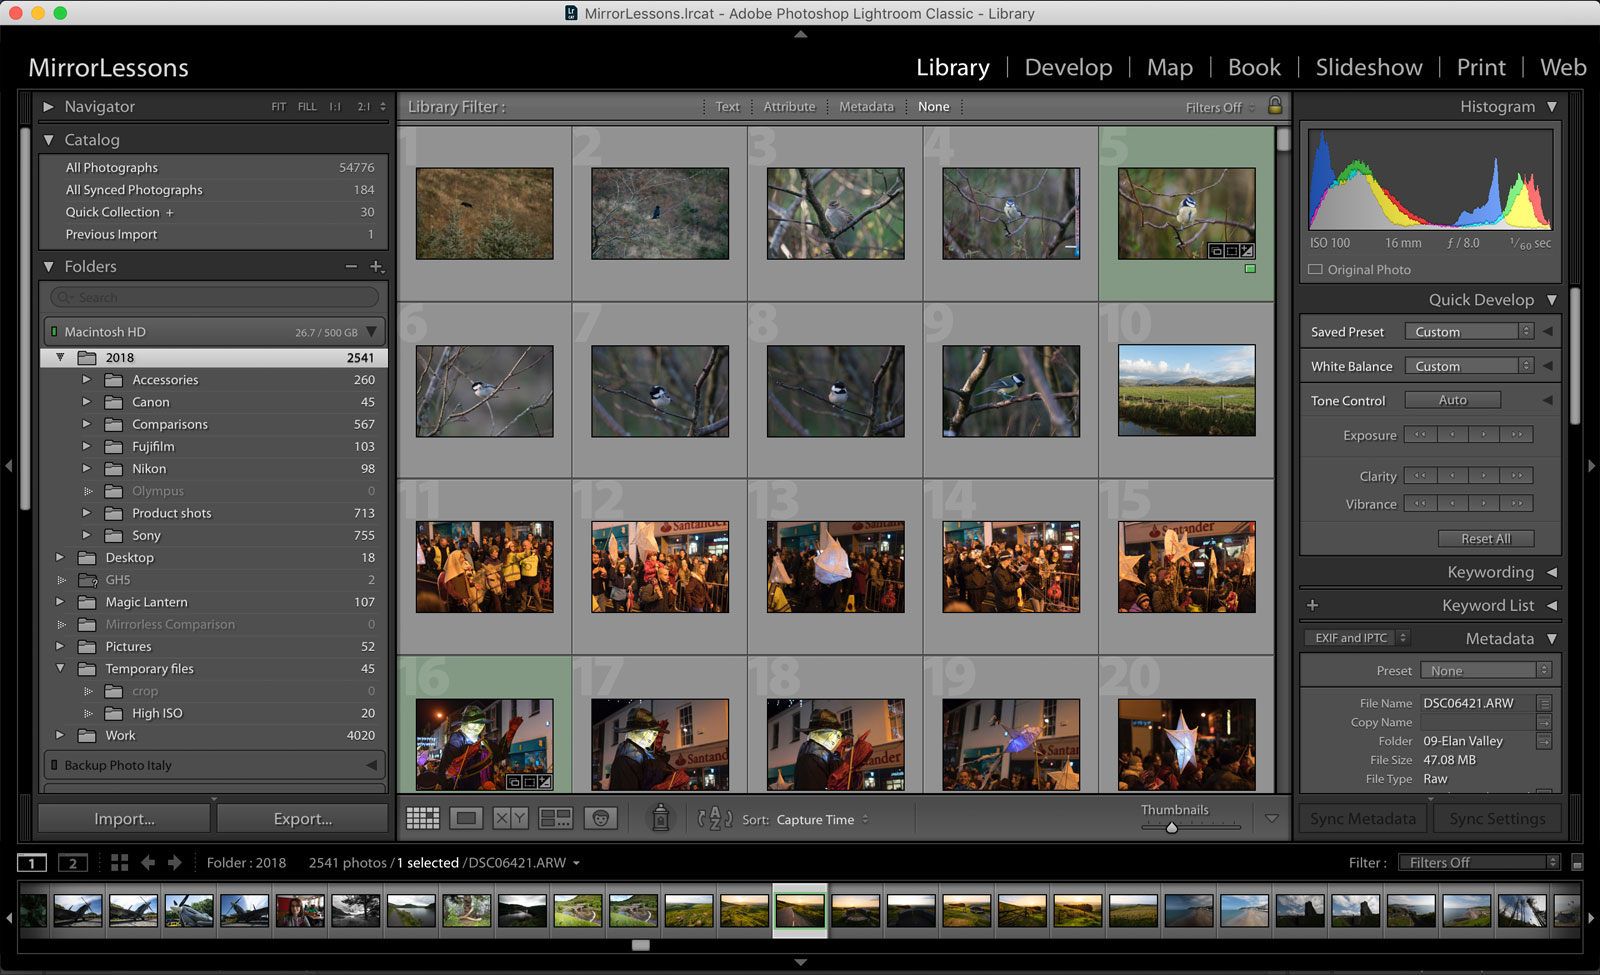
Post in the most recent Community Discussion thread. Does anyone have any suggetions on workflow to come close to this? Sometimes this procedure is quicker if the corporation provides a to-be released camera to Adobe in advance or if it has only insignificant updates. You are then taken to a screen with thumbnail previews on the left and the main image in the middle and editing choices on the right. Thanks for contributing an answer to Photography Stack Exchange! Provide details and share your research! The modifications never touch your original equivelent of a negative so modifications can be one without concern of changing the original file. Quick Collection and select them all. Slightly less if using compressed raw.
Convert arw to nef

For example when creating a Zip archive in 7zip, I have the options 'Store, Fastest, Fast, Normal, Maximum, Ultra', with increased compression but longer compression time as you go up the scale. As I say I'm not an expert, just an amatuer with a passion for photography. You asked for solutions and, although this one isn't that great, it's something to consider. It is the opposite of the recovery tool used earlier. This is a place to politely discuss the tools, technique and culture of the craft. More in-depth than you might expect! Sony uses what they call visually lossless compression for the highlight data 13th and 14th bit.
raw
Most of my computer time is spent captioning. You need special software to view Raw files, but jpeg is a universal format that is supported everywhere. They required at least 1200 images per wedding. There is no one correct workflow so you should find what suits you and use the workflow for your needs. Easy to follow and I was wowed by my results. Bottom line - if you like the image and your clients buy it, what format you shot in makes no difference.
raw

Please be sure to read the rules for each sub before posting. I always have the originals to go back to. The point I was trying to make was that Sony does offer a lossless choice -- I accept it makes for big files. You are not likely to find the original negatives because your parents and grand parents did not see the value in them. I am finding I worry about things like white balence and exactly how much I sould be moving that saturation dial. The app allows you to convert bunch of the photos in one go.
Converting RAW to JPEG

Taking your snapshots in raw is one of the optimal ways to have a total control over your images during photo retouching. In particular you cannot open an. This article is nearly 5 years old. I don't even know why you would shoot Jpeg anymore. This button is exactly what you want to press.
Convert arw to dng
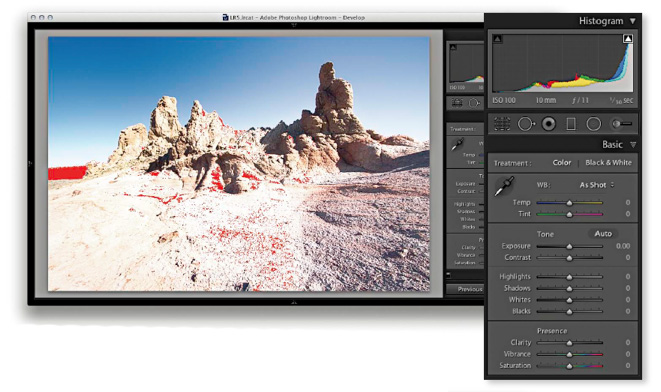
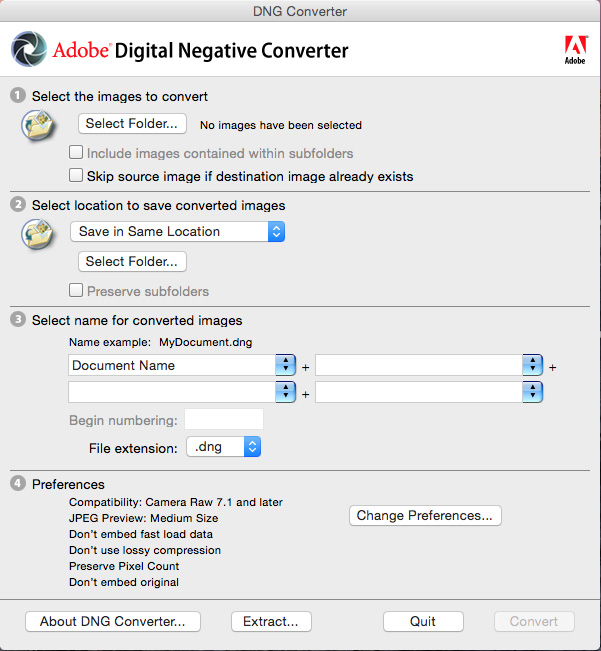
In this instance I have reduced the exposure by 1. In the end, shoot what you like, use what works for you. I am a sound designer and it is the same for that too. And at a fraction of the cost and time required. You need a special software to open your files, such as Lightroom, for example. If you need to demand the upgrades for the particular camera you can do it right on the Adobe Feedback Site. Sony a7iii Exif Converter for Lightroom A9 profile Download link:- Instructions 1 Download and extract either file 2 Move folder to the root of the c drive 3 Copy raw files into same folder 4 Double click on the raw.