C2 corvette restoration guide. Extreme Midyears Classic Car Corvette Restoration Sarasota Osprey Fl 2019-04-20
Corvette & Classic Car Restoration

There are two sheets of mat thinner than the final top sheet to taper the repair. I take one last, comprehensive look at everything for any missed wires or cables that should be disconnected and then the body mount bolts can be removed. Step-5: Fine-Tune Application Technique Use an inexpensive, throwaway application brush to push down the fiberglass mat and soak any dry areas. If you have trouble with feeling the wavy panels, blocking shows you where the spots are. If your front end is fine, but the wheel lip is damaged, you should replace or repair the bonding strips. Reproduction center armrest covers or the entire assembly is available.
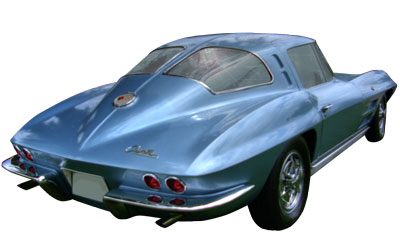
Chevrolet Corvette C2
Mineral spirits works well, but must be disposed of properly. I soak all the fasteners with rust penetrant before turning the first wrench. Clean any panel that is to be replaced before fitting. Plus, large cabinets take up a lot of valuable shop space. Step-3: Clean Up Frame One of my pet peeves is all the slag and debris left behind from the factory welding process. No one can verify when this lethal mix was used, or if it was used for sure.
Extreme Midyears Classic Car Corvette Restoration Sarasota Osprey Fl

If you plan on using the original dash harness, handle the clips with care. Blow out any pin holes with extra caution. Bumper bracket shim position and quantity should be recorded to aid later installation. Step-6: Squeeze Out Air Bubbles Between each application of fiberglass mat use a job-specific roller to force out any air bubbles. It takes some twisting and finagling to remove the vertical run channel with the adjuster screw in place from the door, but it is well worth the additional effort. These large wrenches work best in open end offset for the tight areas they are used in. I mentioned earlier that the side fender-to-upper surround bonding seam distorts over time.
Corvette Restorations
You should have everything ready and waiting for the adhesive installation process. Major fiberglass body panels comprise the exterior to avoid as many visible seams as possible. Notify the supplier immediately of any problems and keep a log of any pending issues that need to be resolved. If you plan on doing the restoration yourself, it will be very rewarding but will take quite a few days. Many pieces are available to repair an original frame. I will install the correct bonding strips to prevent wheel lip cracking.
Cost of a frame off
After that I had it powdercoated and then welded on the frame. We also, powder coated the birdcage structure. Then the column comes out. Step-3: Remove Door Glass You need to correctly position the front door glass so you are able use the access hole for fastener removal. Better to know before the top coat is on for sure. All too often, this assembly is left in place and cleaned as well as possible. All year long, you can enjoy road tours, social gatherings, tech sessions, seminars, and much more that members can participate in.
How to Start Your C2 Corvette Restoration

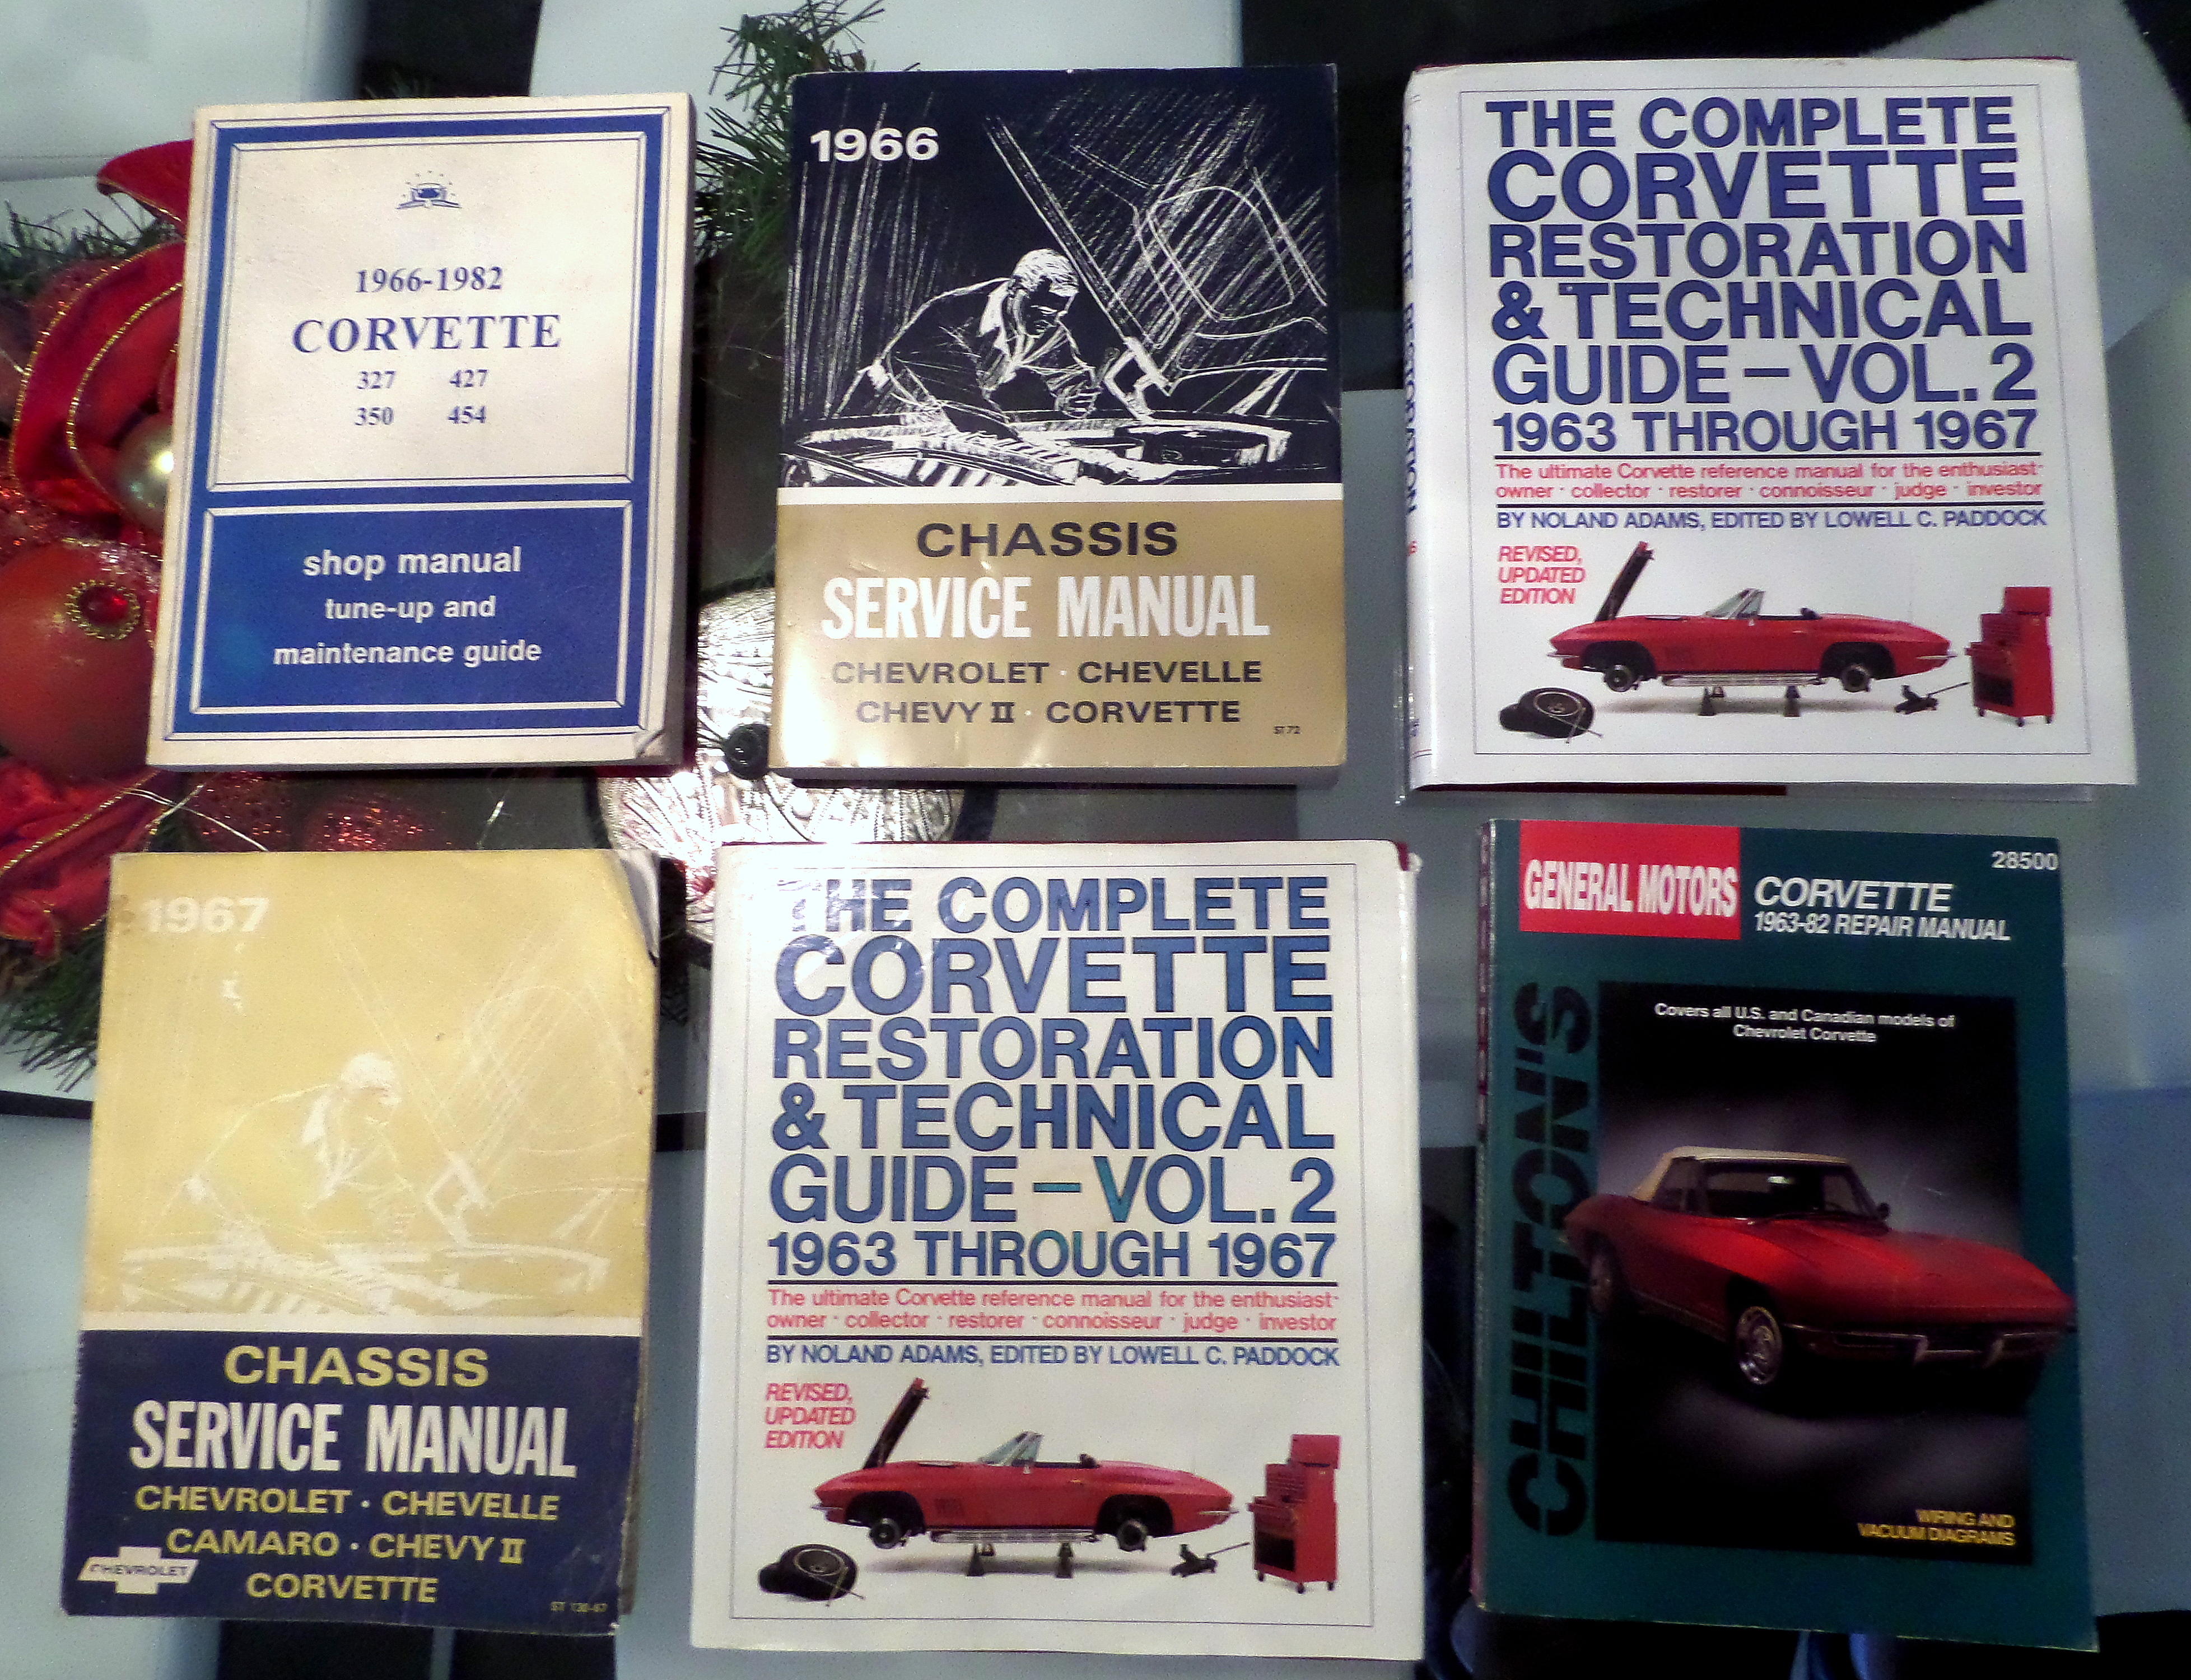
This edition of 456 pages; original unclipped dust jacket protected by archival Brodart cover was compiled from years of owner interviews and pages of original information and photos from Chevrolet's archives. Screw holes in the fiberglass strip out easily and require repair to avoid having to use incorrect hardware. Be careful with the clamps and do not apply too much pres- sure. These pieces are not available and must be fabricated. If by some chance the original factory coating is still on the chassis or the engine had massive oil leaks, rust or corrosion damage is minimal. The cure for a corroded or tweaked frame is replacement or professional repairs. All parts are inspected to determine their value and whether it makes sense spending the time cleaning and refinishing them.
Chevrolet Corvette C2

Like the sanding block, this tubing keeps the sanded area spread out to prevent low spots and dips. One absolutely essential piece of advice: Do not discard any part until you are finished with the project. The suction fed blasters can be painfully slow as they remove grime and corrosion. This area needs major fiberglass work. Take it from a guy who's done a lot of suspension work on Italian cars - that's a phenomenal price.
Bodywork Guide for C2 Corvette Restoration

Note the wide fiber- glass mat is going into the rear window glass area to prevent a ragged edge on the corner of the body where the stainless-steel trim sits against it. There is a corroded rain gutter at the rear of the driver door frame. The birdcage and C-channels are in remark- able condition considering the frame was just about cut into two pieces from cor- rosion. There- fore, do not overtighten the clamps. Do your homework and know what numbers to look for and the typical sell- ing price before you leave home. This could possibly hurt the value of the car and receiving a higher status certificate.
Extreme Midyears Classic Car Corvette Restoration Sarasota Osprey Fl

Your paint supplier has a specific product that does the job without leaving any harmful residue. An air pocket is disastrous to the integrity of the body panel, especially if it lays down just enough that the sander does not break into it. The next few photos show you how I handled the birdcage repair. Grease and Oil Removal The first step is chemically stripping off the years of grease and oil. So strap down, settle in and cruise with us a while.
Corvette Restorations

Once the frame had been assembled, it was time for the body installation. When finished, the entire project is brought back to like-new condition. Do not dig into the fiberglass-mounting flange because they are tough to restore back to original strength if broken. Even when performed properly, there is a possibility that the seam or hole will show up after a long period of time. Keep in mind that replacing the frame or major body reconstruction can change the shim requirements.