Bmw n53 valve cover. 325i Valve Cover Gaskets 2019-05-11
BMW E90 Crankcase Breather Valve Replacement
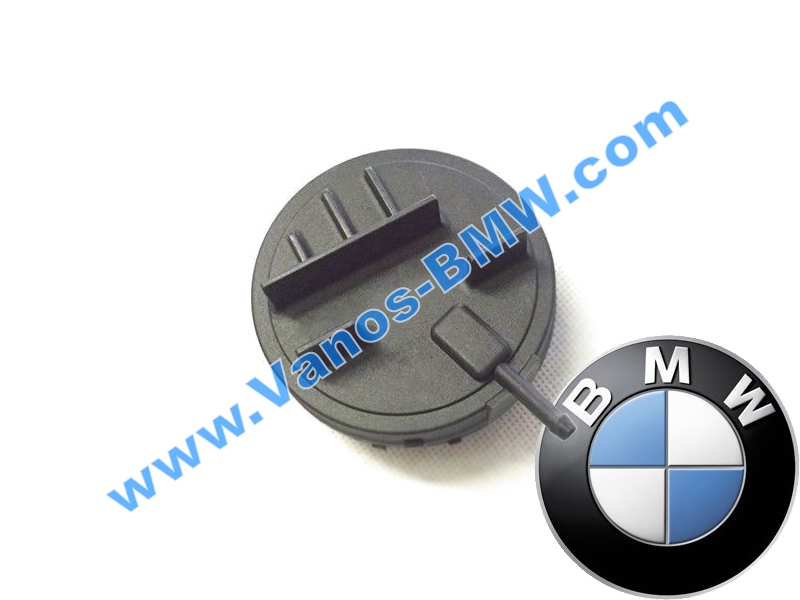
:sharpen(1,0,false):quality(100)/product/51/896221/3.jpg)
Once flush with cylinder head, install fasteners and tighten. If you have replaced spark plugs before you should be capable of this repair. I replaced the valve cover gasket successfully. Will this be a problem? If you have an oil leak down the exhaust side or front of your engine, start at the top and replace the valve cover gasket. Remove the camshaft adjuster motor by removing the three screws. Today my car had been running fine today.
BMW 630i N53 Heavy Oil Consumption

A 30mm socket should work, depending on the brand of socket, you may need something larger or smaller. Once the wiper arms are off you will need to remove the wiper motor cover, the cover that is right up against the windshield. A blow up of the above photo seems showing the oil cap gasket is the culprit. February 14, 2016 Followup from the Pelican Staff: Something is either connected improperly, or the faults are coincidentally on. Could this be related to the breather connection or time to replace the coils. The whole process was very smooth, except that I wanted to be the 1% of people who didn't break the vent hose in the back.
Genuine BMW

Do your research and check with up to date repair information before beginning. May 8, 2016 Followup from the Pelican Staff: Thanks for the additional info and feedback. Give our parts specialists a call at 1-888-280-7799. How many release tabs are there? Are there any fault codes? On these models, remove the two 10mm securing nuts and pry the metal harness clamp upward to release the harness plug. April 20, 2015 Followup from the Pelican Staff: If you have a plastic valve cover, it is part of the valve cover. Anything you can do to get the Questions and Suggestions to load? No whine at low manifold vacuums. The part comes with no instructions, but it is difficult to remove the old valve from the cover.
My Car My Life: BMW E90 DIY Rocker / Valve Cover Gasket Replacement
And is this the part I need? December 9, 2014 Followup from the Pelican Staff: I believe you are in need of the hose indicated by the green arrow in figure one. The oils also leaks from the oilcap. Is there something else holding this thing down? Next, install crankcase breather hose to breather valve. December 1, 2017 Followup from the Pelican Staff: The crankcase breather may have failed. With your vehicle info handy, give The Pelican Parts parts specialists a call at 1-888-280-7799. With the tool installed, the chain tensioner which is on the exhaust manifold side also needed to be removed before the cam phasers could be removed. My car is a 2006 325xi N52.
What’s the Difference Between a BMW Valve Cover and a Valve Cover Gasket?

Now I have codes P1341, P0201, P0202, P0208, P1343, P1357 and P1345. Now use this with caution and when in doubt, perform the relearn. February 27, 2017 Followup from the Pelican Staff: Honestly I have never not performed the limit stop procedure so I do not know. I had earlier observered some fuel fouling of spark plug number 6, and without knowing the failure mode of the injector in terms of how it may leak fuel into the cylinder drip, spray, etc. Do you carry the actual valve and all associated hoses? Where is the ticking originating from? The gasket around that sensor had become very brittle and was a pain to pry out.
orgmode.com: OKAY MOTOR PCV Cover of N52 Engine Valve Cover for BMW E82 E90 E70 Z4 X3 X5 128i 328i 528i: Automotive

Well, for me, the latter option was a very, very painful one. This hose tends to get brittle with time so you might want to order a new one just in case. If so what are the specs for intake and exhaust valves? It happens once every week or more. December 30, 2016 Followup from the Pelican Staff: I would think only if the misfire is at idle. The car does not start. If a code is thrown, can just the plastic housing be replaced? Solution was to remove the Valve cover again and inspect for cracks.
Letter From CEO
The issue seems to go away after restarting the engine after some time of driving. The car starts and runs very well, idle is extremely smooth and certainly a lot better than it was before. The connector has to be pulled straight out. I ended up twisting and snapping off the nipple that feeds into the hose. It mostly cleared up when I pushed accelerator or ran with air mass sensor unplugged. Give our parts specialists a call at 1-888-280-7799.
What’s the Difference Between a BMW Valve Cover and a Valve Cover Gasket?

Putting the valve back, set the spring, diaphragm and cover. I did not replace the eccentric shaft sensor as I thought it looked good no oil even tho I had received error codes for it. A good wipe around the top inner part of the bores and the inside of the water jackets before using a compressor to blow any remaining bits out worked well for me. On the edge of the cover the cover and the neck pre-wipe with acetone , worn on the neck and held her until the glue do not forget to set into a spring and membrane :-. The last thing that you want to discover when you pop your hood is an explosion of oil that has splattered and covered everything.