Bmw e46 rear door trim removal. BMW E46 DIY (Do It Yourself) 2019-03-14
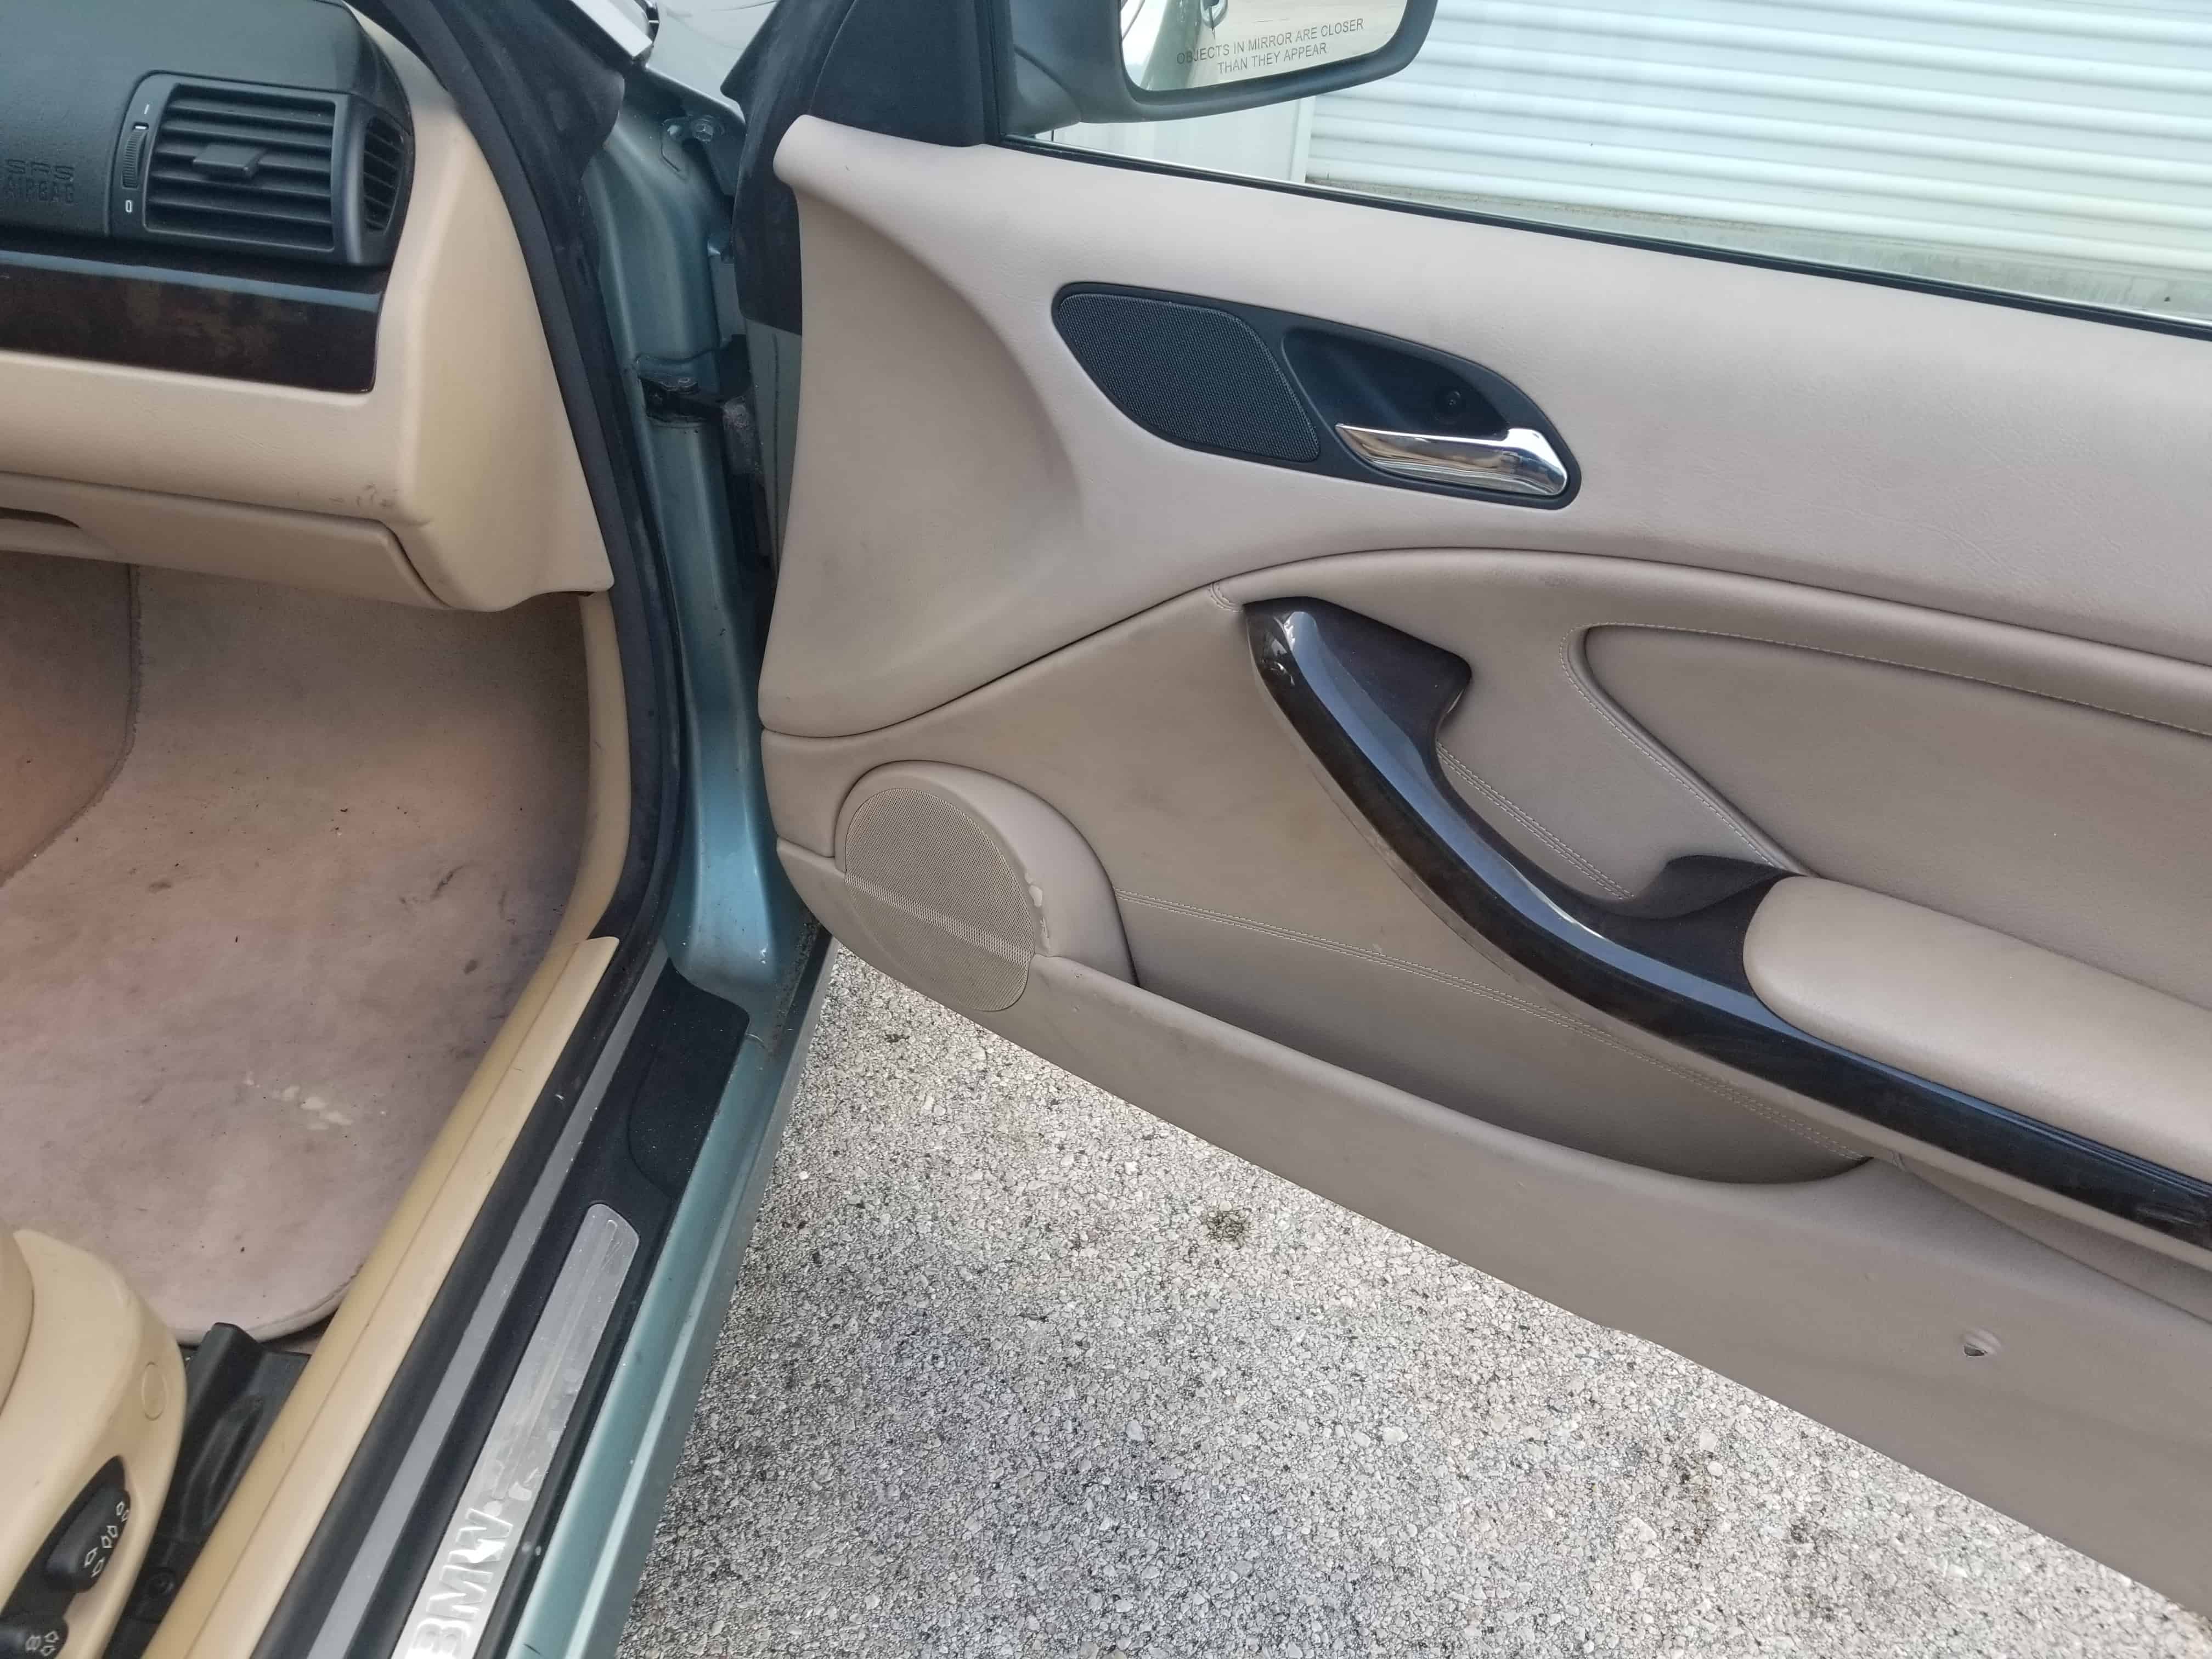
BMW E46 Interior Door Panel Removal

Despite what the forums say I found this job to be fairly easy and straightforward, I certainly didn't think it was more difficult than a door card. Once its loose push the wing inwards so that its resting nicely under the shadow line and tighten it all back up whilst your pressing it tightly to keep it in position. I'll wait until it gets warmer around here, as I will probably will be doing the job outside. The air vent removed: Once you have removed the air vent trim, you may as well free the top of the main speaker trim. First things first, this is the panel we are ultimately aiming to remove I will refer to this as the main speaker panel : So, we start by removing the panel next to it which allows access to either the battery or the multi-changer depending on which side you are working on.
How to Replace the Armrest Cover for a BMW E46

Attached are three photos of my wagon's rear hatch area: 1. Your half done and if you touch your trim before your glues cured it will double your time. Unclip clips 1 in door trim panel with special tool 00 9 317 trim panel wedge. What is the current status of that project? Hi Iosif, most aftermarket speakers do not come with manufacturer specific connectors, the most common type of aftermarket speakers in this country use the same speaker wire that manufacturers use. You may or may not need an extender to get some leverage on the socket. Ok, I see why you are confused. Most owners can complete the task within a hour with commonly-owned tools.
How to Replace the Armrest Cover for a BMW E46
You will need to add a fused power source and new ground. Replacement only: Lever out trims 3 for head restraints and remove. . Apparently there is more space in the X5 spoiler. April 20, 2013 Followup from the Pelican Staff: You'll want to remove the door entrance strip, then the footwell panel.
E46 Saloon

So I also removed the 6 disc multi-changer from the boot, I sold the Head Unit and Multi-changer over eBay and the combined price covered the majority of the price of the new stereo install! They can figure out what part or repair kit you need. If necessary, replace faulty clips 1 in wooden finisher 2. Version without through-loading system: Remove rear seat backrest. Carefully unclip door trim panel 1 at top with special tool 00 9 317 trim panel wedge. I need to replace the cracked wood trim and there's a leather cover that sits on top of that wood trim as well.
2004 Bmw 325i Interior Trim Removal
Release all seat belts at rear bottom. Whats the fix on that? Comments and Suggestions: Mc Comments: Hello. Work your way to the back of the armrest and remove the six pins that hold it on as you go. Have a look at the picture then have a look at some adaptors on ebay and you should see what I mean. I fitted this sub with a plug for easy removal. So yeah your all done.
2004 Bmw 325i Interior Trim Removal
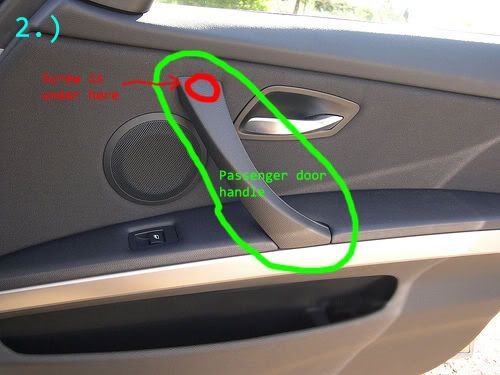
Pull the panel up over the door lock knob and disconnect the speaker wiring harnesses and the cable that goes to the door panel. Disconnect plug connections 3 and 4 and remove door trim panel. Here's where we find if the glue you used is good enough as when your working on the front the rear part of it won't fall off. To clarify, I meant that the plastic tabs on the cover will snap off in the clips. I have it installed and working, but I just have the magnetic antenna stuck on the roof near the left reat of the roof rack rail for now. Replacement only: Remove speaker finishers 1.
How to Replace Window Clips in Grand Ams

I don't know which one goes where. No problem I thought, there is a wealth of information on enthusiast's forums about various jobs for the e46. With your vehicle info handy, give The Pelican Parts parts specialists a call at 1-888-280-7799. Now, you should be able to lift the top piece of plastic trim high enough to remove the air vent trim. Its a guide not a manual.
BMW E46 Interior Door Panel Removal

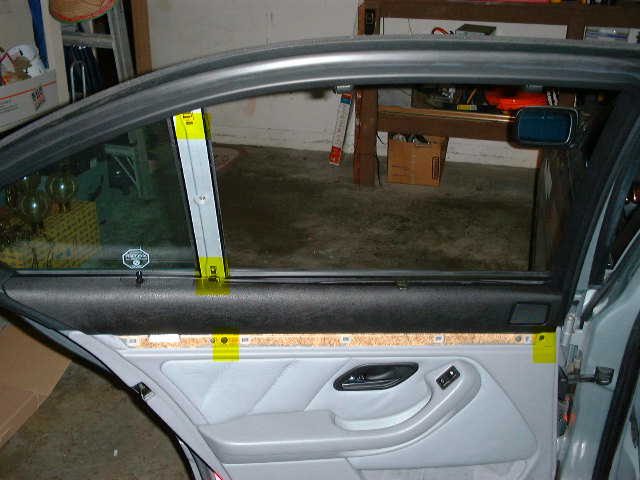
If the vapor barrier is installed with a tear, an interior water leak can develop. Remove foam support from back shelf. I just noticed that it wasn't fitting tight to the hatch door. If they have snapped or are missing then go ahead and put some 3M tape over the clips that are still stuck in the car. Remove parcel shelf towards front. Then pull the door panel away from the door a little further and disconnect the speaker electrical connectors by pulling it straight off and the guide mirror wiring harness out of the door panel. Is that the part that has the tabs to secure it in place? My piece already has a few tabs broken, and I've never tried to remove it.
How to Replace the Armrest Cover for a BMW E46

Installation: Push pins 1 of rear shelf into guides 2. Start at outer edge of door and work your way toward the interior. Be sure to replace any damaged door panel clips. Need to buy parts for this project? If we get a chance to perform the procedure, we will be sure to document it. My new speakers bolted to the adaptor and the adaptor fits the three bolt arrangement. I thought you fitted bigger speakers, I must have misunderstood.