Bmw e46 m3 front bumper removal. BMW E46 DIY (Do It Yourself) 2019-04-06
E36 Front Bumper Removal
Body shop said they checked it out and everything is connected. At the same time, gently pry off the drivers side trim strip as well. Supporting race teams is one of Seibons' specialties and you will see their work in many different platforms and racing types. The bumper is held to them by two nuts in each bracket. Now disconnect the harness connector for the temperature switch at the rear of the right side of the bumper, if applicable, some cars dont have these parts, if you dont have them on your car, just skip this step.
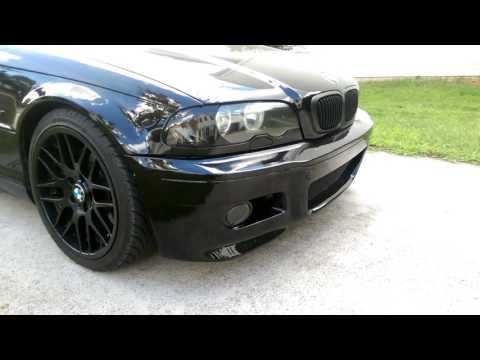
BMW E46 M3 Front Bumper
Get under the car and remove 4 8mm screws from the inner fender support The Y shaped thing on each side. I know some, but not too much. A couple of days later most of the dash cluster started working again. Firstly the bumper has to be disconnected from the wheel lining trim - 2 x 8mm hex self tapping screws ahead of each wheel. Carefully slide the bumper back and away from the vehicle easier with a friend and remember to place it on a soft surface, as to prevent damage to the finish! But you will see how it goes once you start taking the things apart. About a week afterwards the dash cluster completely goes out.
BMW E46 DIY (Do It Yourself)
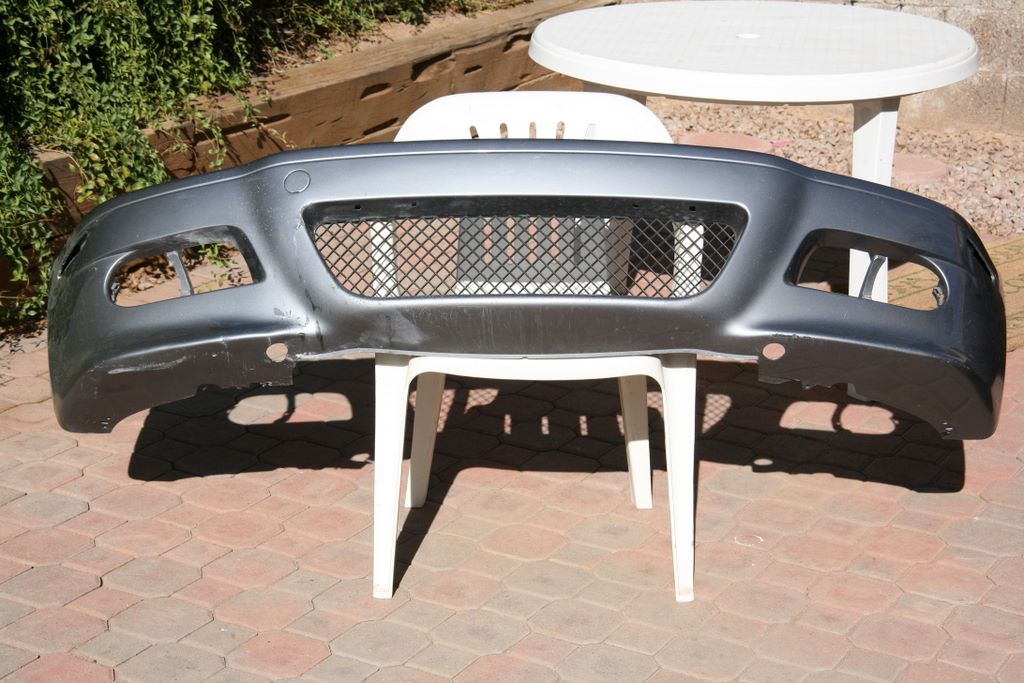
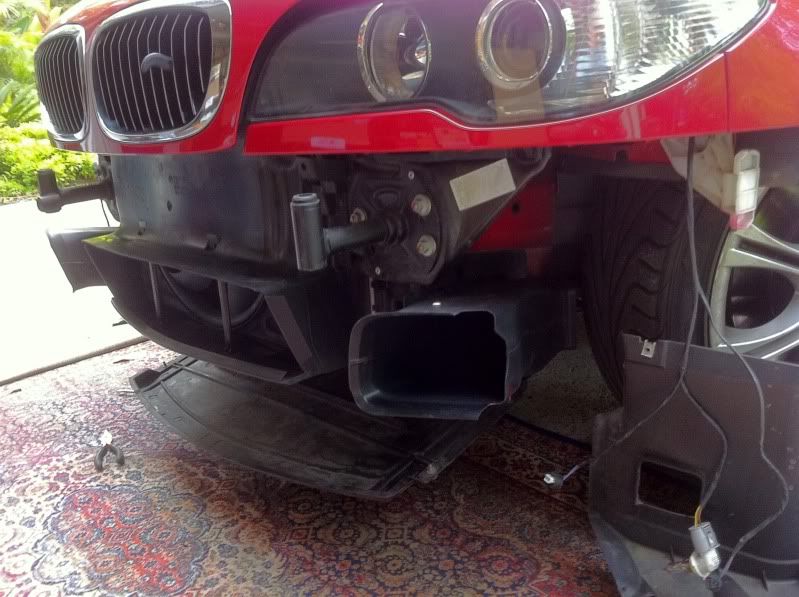
This kit includes the M3-style bumper cover, left and right fog lights, fog light trim rings, and the mesh center grill. Could you let me know what this part is and the best way of replacing it. If multiple systems are not working properly, fault codes will be set. The bumper cover can be replaced quite easily. Up through these holes you will either have torx bolts or no bolts at all. June 9, 2013 Followup from the Pelican Staff: Thanks for the input on this one. Remove the two screws on this side as well.
BMW E46 M3 Front Bumper

Well, there you have it - it's really not too difficult at all. Knowing what to look for helps no end. I purchased a new cover and hardware and have two questions I'm unable to find an answer to: What hardware is used to fasten the bumper cover to the carrier All of these connectors were broken or missing but appear to be some type of plastic rivet and what hardware is used to attach the bottom of the cover to the splash guard - if any? Professional paint and installation is highly recommended. They told me that the Dash cluster was out. They can figure out what part or repair kit you need.
BMW E46 M3 Front Bumper
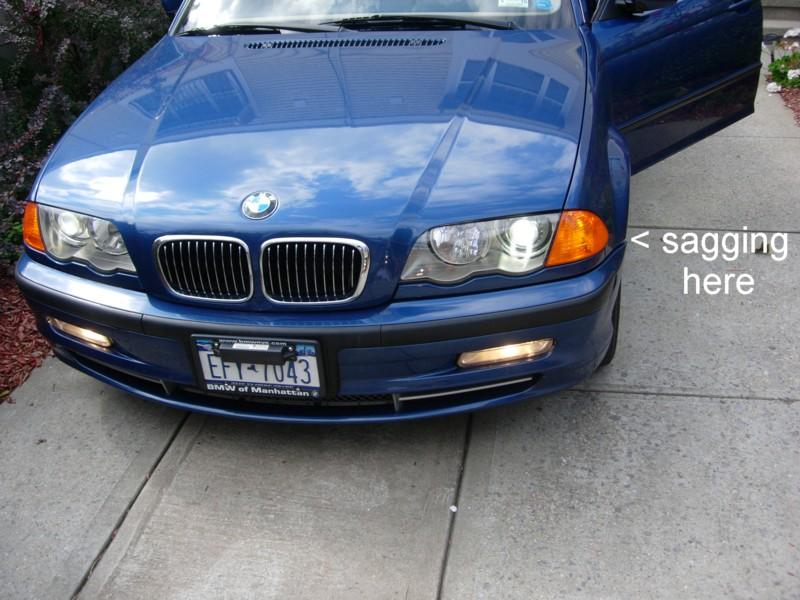
I believe the previous owner had not attached it correctly. I do not want to be taken advantage of at a mechanic shop over it. If you would like to see more technical articles like this one, please continue to support Pelican Parts with all your parts needs. Front splitters prevent air from going underneath the vehicle and create an area of high pressure above the splitter, adding downforce for great traction at high speeds and preventing lift. Even the cost of replacing an original belly pan is enough to be committed to a more permanent design. Areas such as door hinges, hood latches and window regulator mounting points are reinforced so as to add strength and longevity through repeated use. Mileage, speedometer, tach, gas gauge.
Pelican Technical Article: BMW E36 Front Bumper Removal

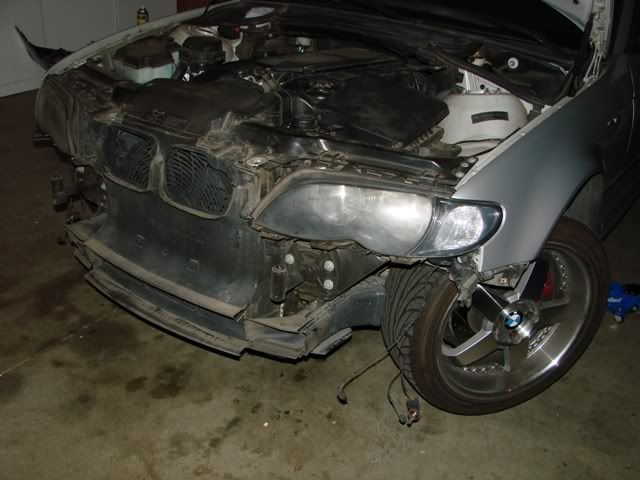
Directly under these trim strips, you will find the bumper mounting brackets. There might be a guide you are missing. This allows for smoother air flow below the front bumper, creating more efficient downforce. It is frequently scratched and damaged. Thanks Anthony There are a couple of holes on the reinforcement bar where you could insert a long screw with a couple washers and a nut to tie your bumper down. Use short gutter bolts and nuts, shitload cheaper too.
BMW Front Spoilers, Bumper Covers, & Air Dams for BMW 3 Series E46 (1999
This item does not include any of the other trim pieces or fog lights. Next, crawl under the front of the car and remove the screws from the left and right side corner trim and remove the trim pieces. Plus you dont want to take the chance of dropping the bumper and damaging it. December 8, 2016 Followup from the Pelican Staff: What type of car are you working on? Just a heads up for anyone attempting the front bumper removal. Turn signals still do not illuminate and you cannot hear them. Includes mounting support brackets and installation hardware.
Pelican Technical Article: BMW E36 Front Bumper Removal
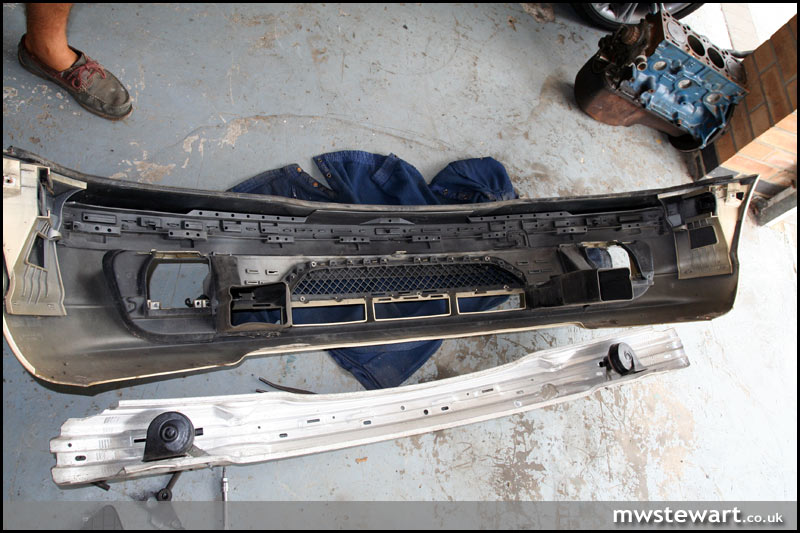
Directly under these trim strips, you will find the bumper mounting brackets. If you would like to see more technical articles like this one, please continue to support Pelican Parts with all your parts needs. At the risk of repeating myself, I've mentioned a couple of times previously you have to mount the reo bar back onto your car first and then install the bumper itself because the M3 rep bumper does not have any mounting points for you to mount the reo bar onto. To avoid deploying the air bags you should disconnect both battery cables and touch them together for about 15 seconds. Temperature reading is still accurate. April 14, 2017 Followup from the Pelican Staff: Ambient sensor should not trigger a check engine light, but may store a code. Can you help with installation instructions January 24, 2016 Followup from the Pelican Staff: We don't currently have that tech article.