Bluestack 3 root. How to Root Bluestacks 2 or 3 for Android 2019-03-16
How to Root Bluestacks 3 in Your PC

This will start the installation process of su binary in your BlueStacks. You can be sure that there is no malware injected in the installer. BlueStacks 3N runs on Android Nougat 7. This will open superuser x in your bluestacks 2 app player. Just follow the method we have mentioned below and you will be able to root your BlueStacks in a few minutes. Now, you can have root access as well. I hope that the above step by step guide helped you to root your bluestacks android emulator.
How to Root BlueStacks 4/3/3N on Windows Easily[Activate BlueStacks Premium Free]
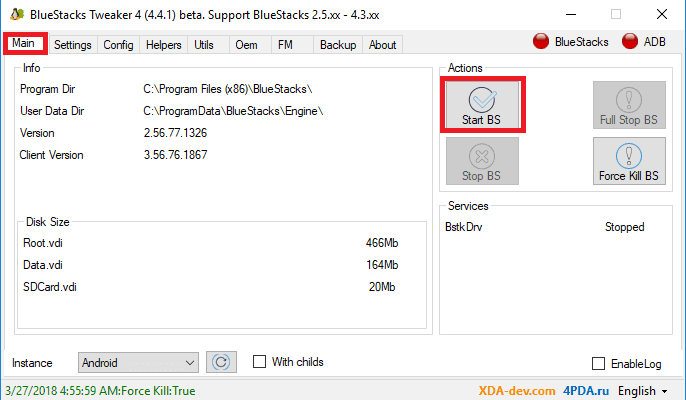
So, for your safety download the Official Bluestacks Android Emulator and then manually root it. You are done with downloading. Link:- Step 2:- Run it as Administrator. We have written more than one method here. Once BlueStacks starts, go back to Helpers tab and click on Patch to complete the rooting process from the tweaker. There are some exploits to root a phone which works for all Android devices. The site has multiple authors who are regularly providing you quality information.
How to Root BlueStacks 4/3/3N on Windows Easily[Activate BlueStacks Premium Free]
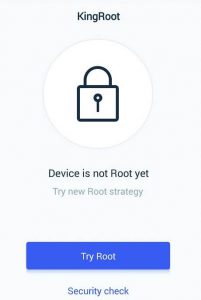
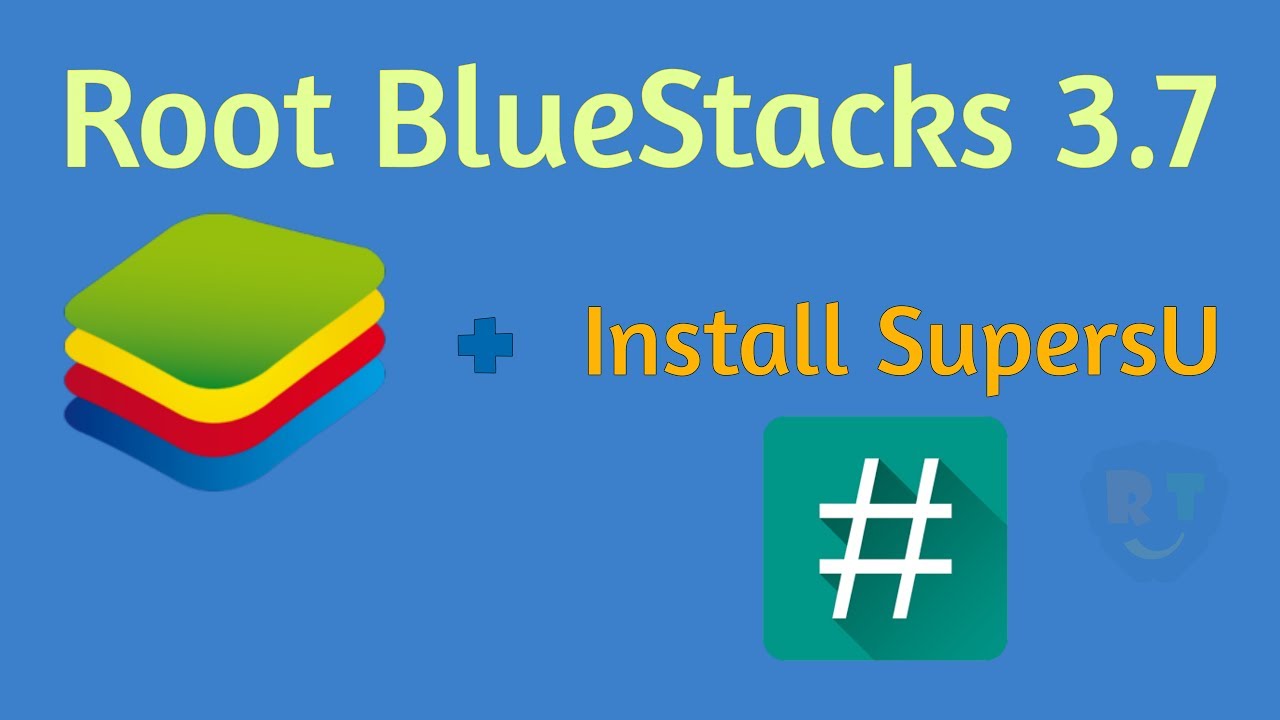
Rooting an Android device has now become much easier with the release of so many easy-to-root rooting apps. Step 4:- Now download SuperSu. After Installation is completed, click on Ok. Share this guide with your friends if you feel it is helpful. There is one more thing which needs to be done in order to gain root access in BlueStacks. It can happen easily with the one-click process. There are multiple applications like TowelRoot and KingRoot which provide these exploits.
How to Root Bluestacks 2 or 3 for Android
It is the best alternative to Supersu apk because here you no need to be an advanced technical guy. I am happy to help! And same is the case with bluestacks. Step 3: Now install Bluestacks from the downloaded folder. People who all are using Android devices will show their interest always towards downloading and install the applications. Click on Continue and Select Normal. Once downloaded, open with your browser or download manager. BlueStacks is one of the most used emulators.
How to Root Bluestacks 3 [Easy Step
We can do more thing with Bluestacks after Root Bluestacks. BlueStacks Tweaker is a really powerful tool which can be used to tweak your Bluestacks in a lot of ways. As you all know, Rooting Android Smartphone always adds additional features to our device. Feel free to share your thoughts on the topic and also comment down below if you are having any trouble rooting your BlueStacks installation. For quick launch, make a shortcut icon on the desktop. Step 7:- Wait for it to root your Bluestacks automatically. Also Check: Final Verdict on Bluestacks Rooted: In order to root bluestacks, you have to follow each and every single step shown here in this post.
[Root Bluestacks] How to Root Bluestacks 3 2018 in Under 5 Minutes

To check if you were successful, simply run the root check app. Step 6: Check BlueStacks and open the SuperSu application. Step 8:- Xposed Framework will be installed on your Bluestacks. Rooting can give you additional functionalities and allows you to install some cool applications which requires root permissions to work. Android is Linux based so there are many tweaks which you can make your device more powerful. On the off chance that you have any inquiries with respect to the strategy or in the event that you some other inquiry, generously told us about it in the remarks area beneath. Once it gets loaded, Click on Patch button.
BlueStacks 4.60.3.1001 / Offline Rooted + MOD [Latest]

Most of the games, galleries and apps can be controlled by mouse, just like you would do on your typical touchscreen mobile phone. Step 5: Click on the Block internet connection button. We are using BlueStacks version 3. Many of you searches for pre rooted bluestacks download, but here is a permanent solution if you already have a Bluestacks downloaded from official site and you are tired of searching rooted bluestacks on Google. Wait for it to load completely.
[100% Working] Root BlueStacks 3 with BSTweaker 2 & SuperSU 2.82
How to verify whether your BlueStacks rooted or not There are several android apps at the Google play store for checking root access in your Android device. If you have rooted bluestacks, it can help your Android phone to access the inaccessible features. Follow these steps to do so — Step 1. Google Play Store is pre installed in BlueStacks which is really great. It is easy for the users to access. This will enable you to make changes without any hassle. SuperSu is the application that is used to manage the root privileges.
How to Root BlueStacks 3

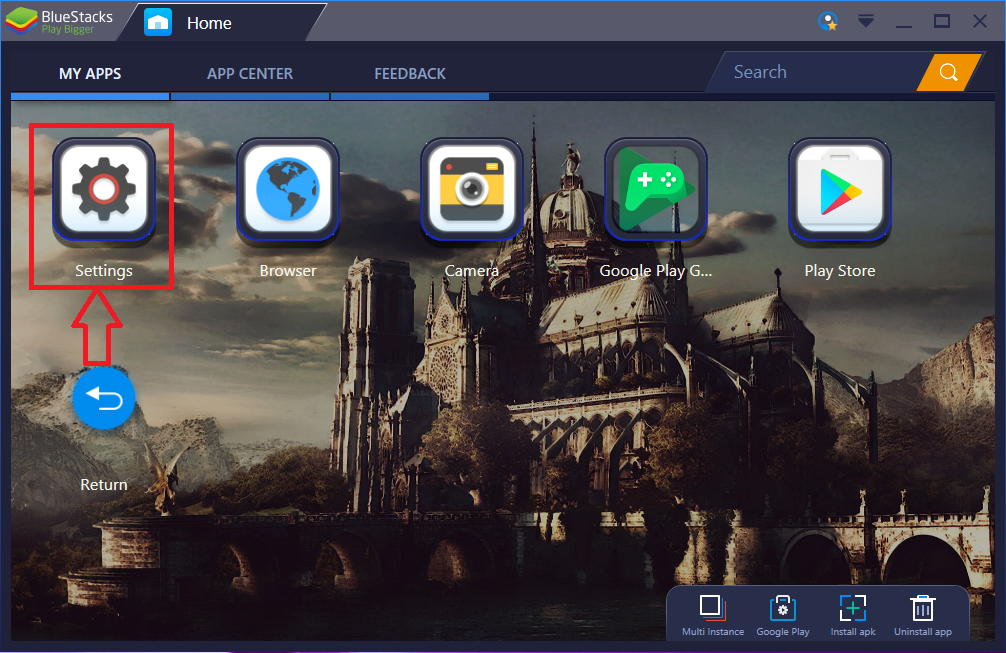
Here you will see Root for BlueStacks. Any Root manager app with a good rating is more than enough for managing root privileges. The interface has also been changed a little bit to give a new feel to the users. Step 9:- Now close that tab and using Root checker, check the root status Done! Step 5:- Click on Experimental. Also, want to know the benefits after your Bluestack got root. With the addition of BlueStacks Friends feature, you can get a little bit social.