Aesprite. Aseprite v1.2.7 2019-05-04
Steam Community :: Aseprite
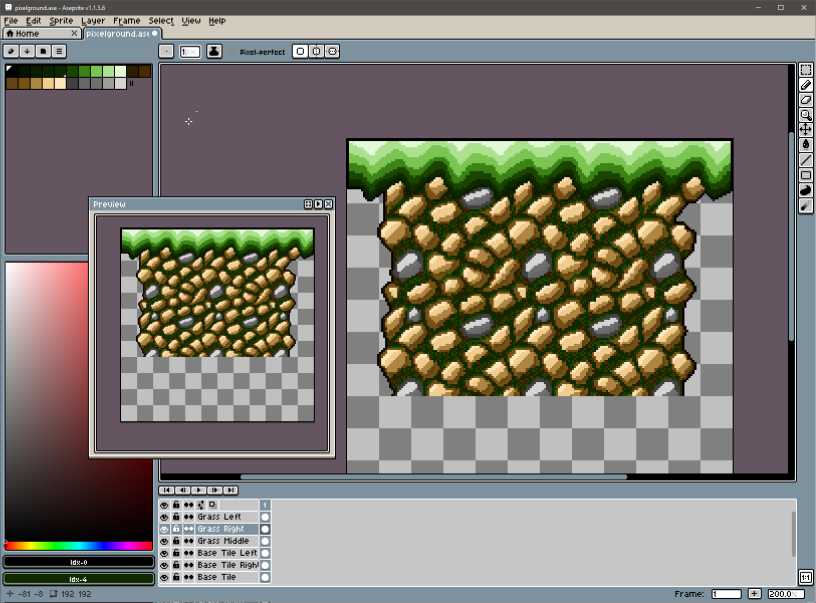
They're in the top right corner, under the minimize and close button. By clicking the second button on the right, you can change your onion skin settings, etc. So here is a preview of the top tabs. This is what we want. This shows the colours we currently have selected, and an option to change it by clicking on any colour we want.
Steam Community :: Guide :: Hatty's Guide: How to Aseprite

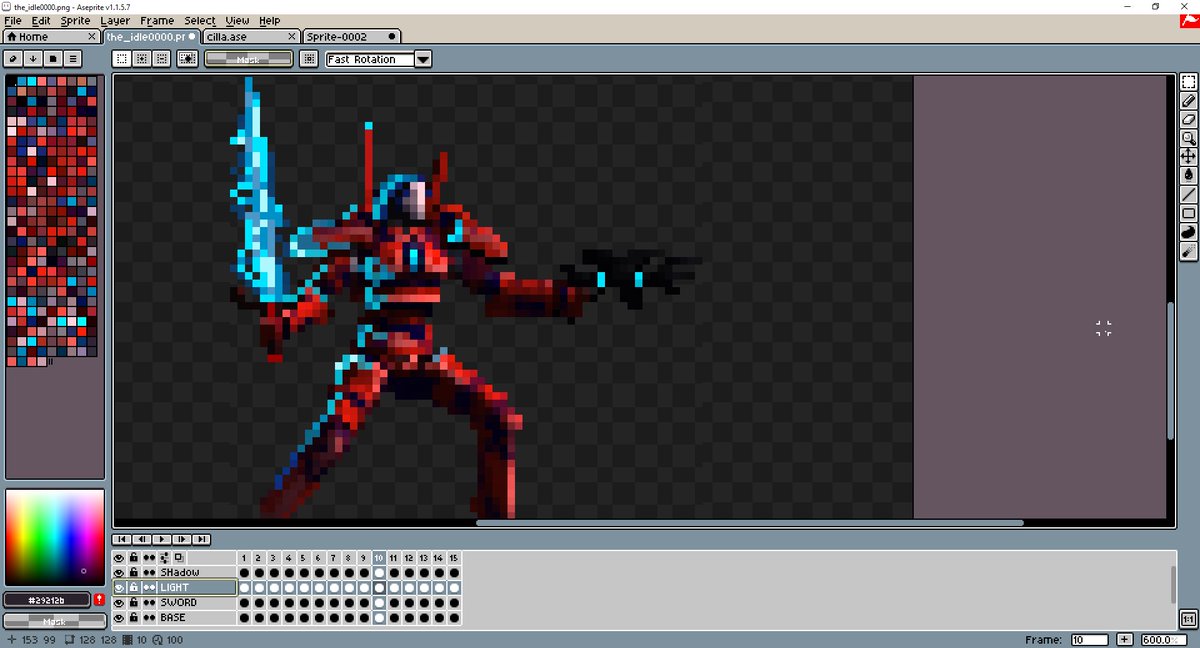
It allows you to see whats on the other layer, so you can kinda get a reference to what you're doing in animation. Be sure to comment or anything if you'd like! But you can click the 'X' and close any tab you want. Let's start by saying that the tools are in a seemingly obvious corner, but since I just came from a program that had tools on the left, I honestly didn't notice it at first. Just explore to make yourself a bit more comfortable! You can swap through the swatch you have selected by pressing X. An implemented layer manager is there and allows you to better manage objects.
Steam Community :: Aseprite
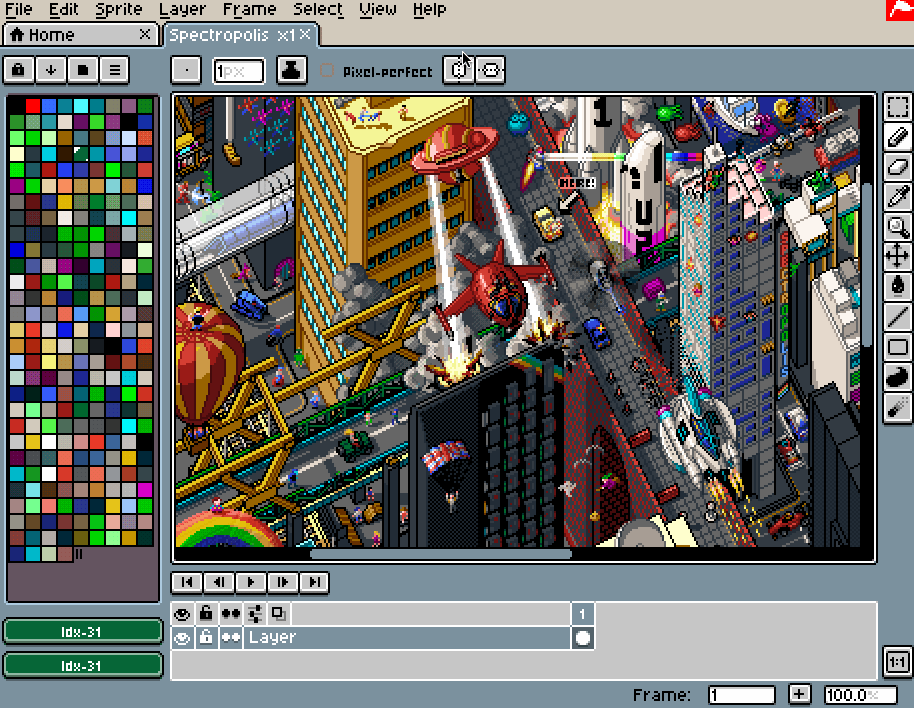
A toolbar holds all brushes you need to draw lines, various geometrical shapes, spray areas and more. Not only does it give a description, but it also tells you how to use it. It shows you right there, no matter how close or far you are from your art! Animations and visual effects are nowadays used to enhance nearly every form of multimedia, including video games. Plus I have patience to get to use it too. You made it to the file. Add effects and edit animation frames Furthermore, you can completely alter or enhance images by applying one of the many effects.
Download Aseprite 1.2.9 / 1.2.10 Beta 4
If you right click the circle on the layers, and press duplicate cells it'll copy the picture it to the next frame. I'm personally a noob at this type of colour choosing, so I generally just go with the latter as I find it much more free form when choosing colours. This will save it as an animated graphic format, which can be listed on many websites. If you accidentally close it and want to open it again, just go to the bottom right corner and press this button. This is why I won't go very much into tools, because it literally tells you how to use them. It needs some testing and there are some issues to solve yet mainly about user experience with the new timeline , but anyway I really want your feedback.
Aseprite by David Capello

By opening a file you are effectively creating a new tab. This way you don't mess it up. It wont close your work, so no worry about that! Now you'll be prodded with a file creation. In conclusion Taking everything into consideration, we can say that Aseprite is a handy and fun utility which combines various drawing tools, effects and timeline editor so you can either create pixel art or animations. It'll ask you what you want your animation speed to be, I usually use 150 or 200, but that depends on what you're using it for.
Aseprite v1.2.7
I'll add more in later. But it's really simple, let's break it down. What's new in Aseprite 1. Let's draw a basic thing. It includes more than a year of work, a lot of bug fixes, and new features. Aseprite is one of them and offers a different approach on image editing and creating short animations. Clever file support and drawing tools The result is either an enhanced picture or short animation to use in your project, but until you get there some effort needs to be invested.
Download Aseprite 1.2.9 / 1.2.10 Beta 4
They might be confusing to you if you haven't used an art program before. Here you can either draw all willy nilly, or you can follow the tutorial from here on. That's pretty cool and super beginner friendly! It will make it so you cant draw on it anymore, but you can unlock it by clicking the button again. This comes in handy, especially when used with transparency options. Now lock that baby with this button next to the layer.
Download Aseprite 1.2.9 / 1.2.10 Beta 4
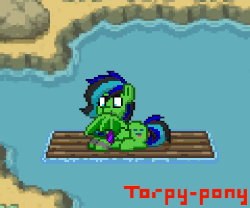
This is who I will animate. Intuitive design makes it easy to use If you're nostalgic about the past era of pixel graphics and effects, you might just find this to be a suitable environment. It makes it a lot easier when choosing colours. Once in, your screen looks like this. On Layer 1 or whatever layer name you have , and draw a basic image as your background. A lot of work, new features, testing, and bug fixing was done in these two years. The same can be said about exporting, with additional options to save entire animation strips.