97 mazda mpv crankshaft seal replacement. 03 2003 Mazda MPV Crankshaft Seal 2019-03-18
Where Is the Crankshaft Sensor and How Do I Replace It?

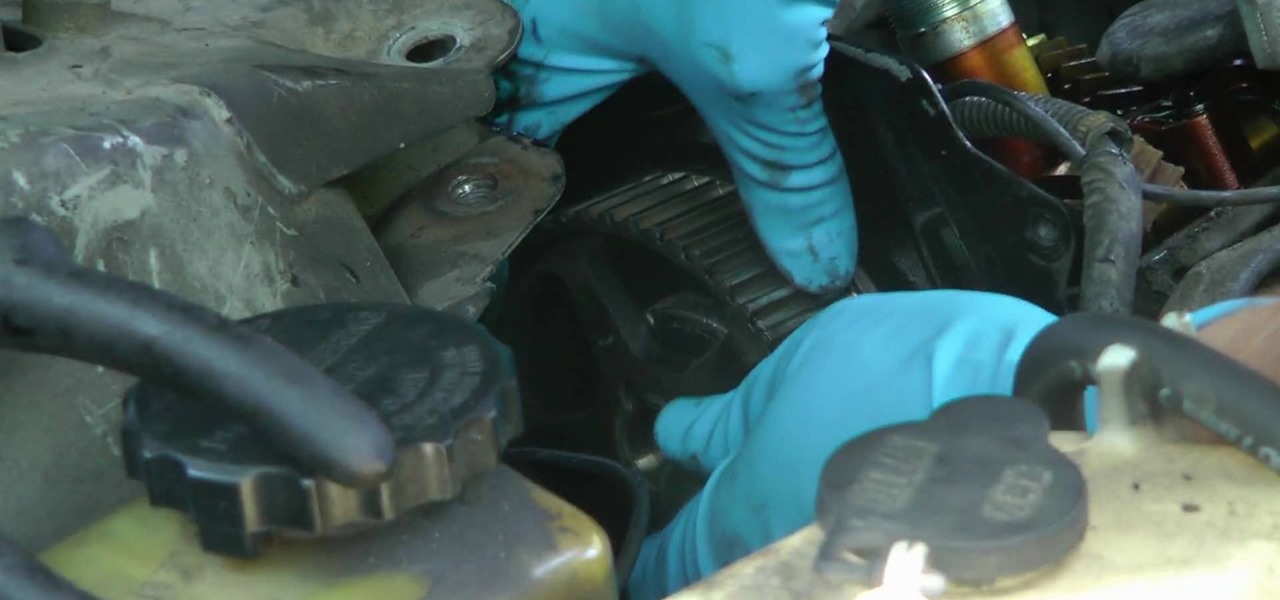
Then you have to loosen the 4 bolts and remove… Check engine is telling you something theres problem on your engine, I hope you did not mess with your timing if not then start checking with your spark plugs, distributor cap and rotor I hope these helps you. The seal I want to replace is on the passenger side behind the crankshaft pulley that drives the serpentine belt. It records the reason for the light in the computer, which is read with a special plug in reader under the dash. If there is no sound at all or something more than a slight whirring sound, it's probably about time to replace it. When you put it on the front shaft you have to turn it and wiggle it and push it in toward the rear of that housing. There should be 4 10mm bolts that hold the fan and clutch to the water pump.
03 2003 Mazda MPV Crankshaft Seal
Check the sprockets for wear on the tips--especially the crank sprocket. This can be done on a work bench, or flat wood on a concrete floor, Some light oil might help it seat easier, Once seated slide the retainer containing the new gasket back over the rear of the crankshaft, A rubber hammer will help ease it back into position, Replace all bolts, not forgetting the oil pan to retainer bolts, and reinstall all parts in reverse order of removal. The specification with a new plate is 0. Can anyone help or post the section from the factory manual? Remove the old gasket from the retainer, and clean the gasket ridge before installing a new gasket. I'm curious about this one too! To remove the tank, after the top unit is disconnected, remove the big filler rubber pipe and two small ones above it, unscrew 5 bolt and it drops out so easily. Install the attaching bolts and tighten to 20 ft. In most cases fixing the problem makes the light go out.
How to replace front crankshaft seal 95 mazda mpv 3.0 V6 I

I put on a new oil pan gasket a week ago and that helped. What you generally have to do is find a way to hold the clutch fan in place, I have used a large flat tip screwdriver in the past. It's not rocket science, he may of fitted the rocker cover incorrectly. The rear main seal retainer will then be exposed. Switching over to that empty connector resets the light until the next mileage interval. These are under high pressure so it is a good idea to drain the pressure off the fuel system before removing the lines.
03 2003 Mazda MPV Crankshaft Seal
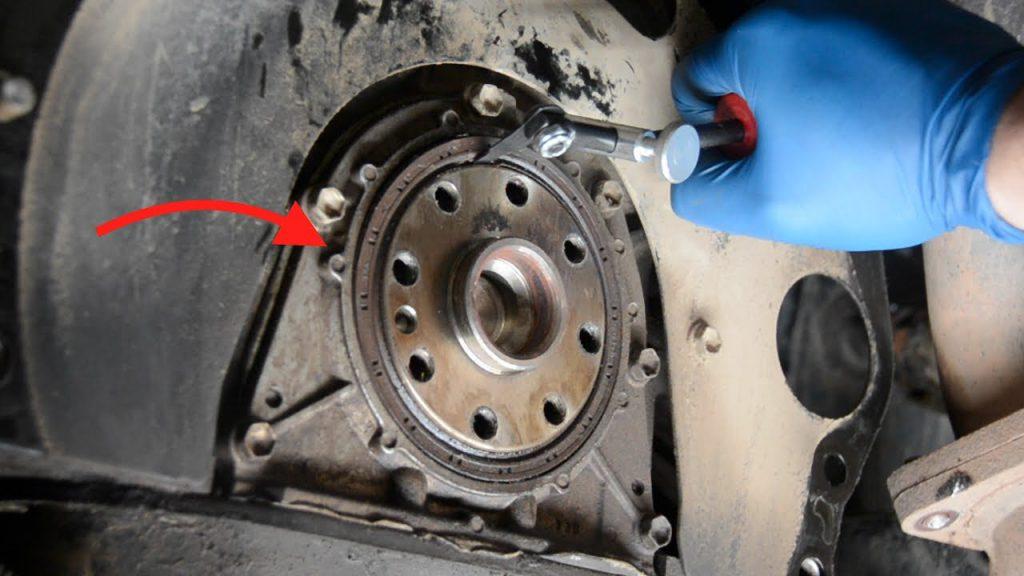
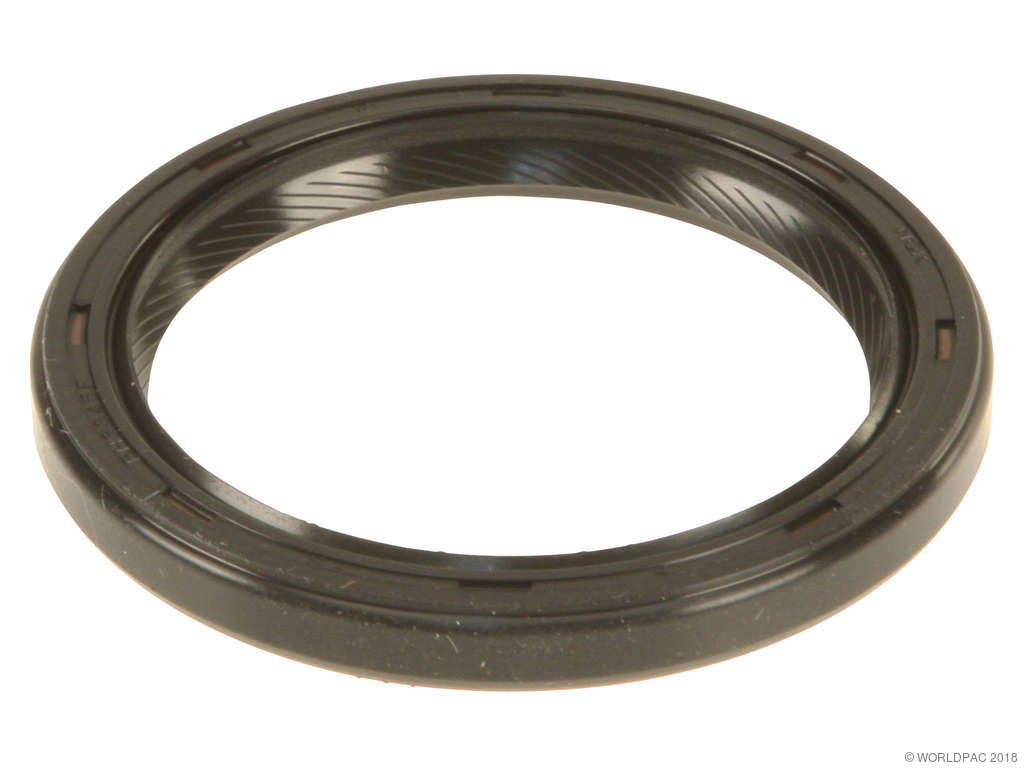
Remove the 2 oil pan to main seal retainer assembly, and the bolts circling the retainer, and slide the retainer assembly unit back off the crankshaft. Summer, That could be the problem. Regards, Steve Jonathan Landrum Full Member Joined: 23 Aug 2008 Posts: 117 Posted: Sat Oct 11, 2008 1:33 pm Post subject: Re: Front oil seal replacement? What else could be looked at? The thermostat is on the front of the engine by the drive belt. Sorry I do not have a picture, but the thermostat is inside a housing that is held on by 2 or 3 bolts and has a heater hose connected to it. Be sure to disconnect battery before doing any work on fuel system!! These reviews are from anyone who purchased those parts, in this case a Crankshaft Seal, so you can feel confident that you know what you are buying. Do not believe the previous post. There are complete replacement procedures at AutoZone.
03 2003 Mazda MPV Crankshaft Seal
With the cover off, turn the crankshaft with a socket and see how close the chain comes to slipping backward on the sprocket. This took about a Saturday to do. Remove the timing chain snubber. The fuel pump is an electric type on fuel injected models,and manual on carburated models. Caution: Refer to Fastener Caution. You will need a 10mm socket to loosen the clamp holding the filter in place, but you will need to undo and remove the fuel lines first. Pull bottom panel off and look to the left of steering column.
1997 Mazda Mpv Engine Parts Canada
May attempt it next weekend - I'll let you know how it goes. Put the yellow hose on your vacuum pump and let it run… On mine, I would put it in cruise control and about halfway up a hill, it would slow down about 10 miles an hour and drop out of cruise. In the afternoon, I picked up the car and was assured that the car was test driven and everything is fixed. Each belt is manufactured from quality synthetic polymers to provide resistance to heat, stretching, belt shear, climate conditions, and abrasion to assure dependable operation throughout the belts service life. I recall I had to unbolt the lower strut mount where it's attached to the lower suspension, push the strut assembly rearward a little and remove the passenger side splash panel to gain access to the hamonic balancer. I am taking it back to the repair shop tomorrow but am losing confidence in the shop.
How do you replace the front crankshaft seal on a 1990 Mazda MPV engine
The things that do matter is if the truck is has a b2200 or b2600 it has a different ecm electronic control module the computer which is made specifically to run with those engines due to sensor and if it is carburetor and or fuel injected. Hi, Been a while since I posted. Regards, steve12955 Jonathan Landrum Full Member Joined: 23 Aug 2008 Posts: 117 Posted: Sun Oct 12, 2008 10:40 am Post subject: Re: Front oil seal replacement? You can put another Mazda truck engine in place of the original. I subscribe to AllData but they only have instructions for the main crankshaft oil seal which I believe is on the driver's side of the engine. Once the seal started to budge it was just a matter of carefully prying and making sure you don't touch the crank surface where the seal rides. For example: when it's time to change the timing belt 96,000km. Seat to exact depth the old one was at.
orgmode.com :: View topic
Fel-Pro is a leading brand of gaskets and sealing solutions in the automotive aftermarket. As you spin it it will drop back what feels like two times and there will be almost no clearance in the bell housing between them. I takes longer to cut the carpet and underlay than remove the pump. Remove the clutch and pressure plate, and the flywheel or if automatic, the flex plate. Install the bolt and tighten to 40 ft.