87 chevy c10 short bed. Classic Chevrolet C10 for Sale on orgmode.com 2019-01-25
Chassis Articles

All the bolt holes lined up to remount the bed, so again, no drilling was required. And there you have it, the point of no return! It simply turned a two-day job into a week-plus affair by the time you factored in gapping and bolting back up all the sheetmetal. You dont have to remove them, but you must get them out of the way. You are now committed to this project. But this is no job for the shadetree mechanic. With the back half of the frame level and parallel to the rest of the chassis, the two sections can be tacked together before making a final pass with the tape measure.
73

Check your fit and grind as needed to get things lined up. This is how the cab mounts should be assembled. . Now measure back 14 and mask around the frame again. This makes the job nice and easy as the frame is perfectly straight here, giving you plenty of area in which to work. Here, the final welding of the two sections has begun.
Used Chevrolet C/K 10 Series For Sale
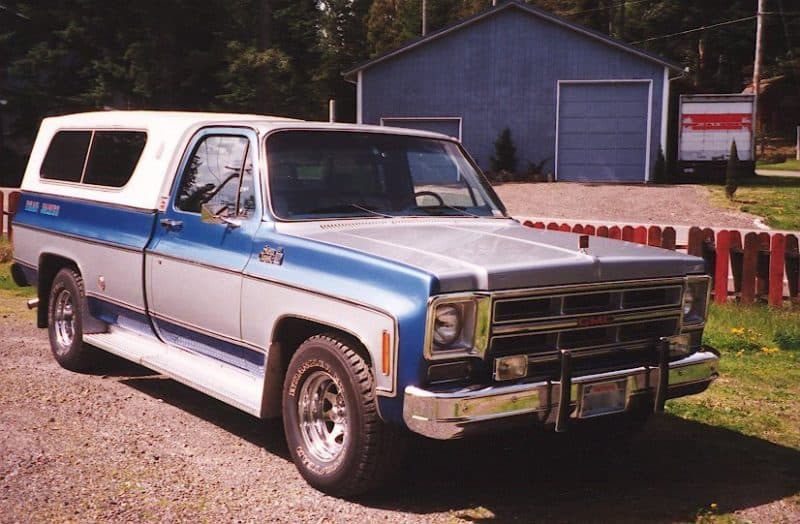
The shell was made by Custom Hardtops, which is early Snugtop from what I gather. Upon further inspection, however, it became painfully obvious that it was going to be too much work to try to remove everything that stood in our way in order to make the cuts under the cab. Shifting gears, we decided to take the section out from between the cab mount and what will become the front bed mount, right in front of the rear kick. If the cut is made under the cab, this is not necessary as the crossmember slides forward with the rear section of the chassis. This is markedly more difficult as eight jack stands are used to support both ends of the truck once the cut is made. Once the rivets are out and the crossmember free, move it forward to the other set of holes in the frame.
1960

Using the front two cab mount holes that remained untouched on the front half of the chassis to locate the rear cab mount, it was a simple matter of welding them in place before installing the bushings and lowering the cab back in place. This method allows easy access to the work area. Place jack just in front of the back side of cab about where the carrier bearing was. You can follow along with his builds and various automotive shenanigans on Instagram:. Care must me taken as to not kink brake lines or crimp wires. You can just make out the 18-inch hole I made where the top and side cuts will meet. You will need a tank from a short bed truck 16 gallon to accomplish this, the long bed tank is too big to fit it is 20 gallons.
1960
And if you have mad skills like these guys, doing things this way will save you a ton of coin. Hammer and knock the heads off the rivets. About given up trying to find a grill guard. Today, the vast majority of pickups are crew cabs with tiny beds. Next, the rear bed sill plate attachment hole needs to be drilled. Roll the rear section into place, being careful not to kink the brake lines, step back and admire your work. Mostly because in that time period, we valued utility over looks.
1979 Chevy C
The cutoff section of the framehorn can be used as a template. If your using a torch to cut with, use these tape lines and mark it with a silver sharpie or chalk and remove tape, if your going to use a cutoff wheel, just use the tape as a guide. They are about 6 forward of where it was previously located. These guys spend their days taking on all sorts of seemingly impossible projects. Before I tacked the front and rear portion of the chassis together, I installed a fish plate to the front portion, that way I had something to clamp the rear half to while I made my finite adjustments. If the cut is made behind the cab, it will be necessary to remove the crossmember and relocate it forward of the cut line.
1979 Chevy C
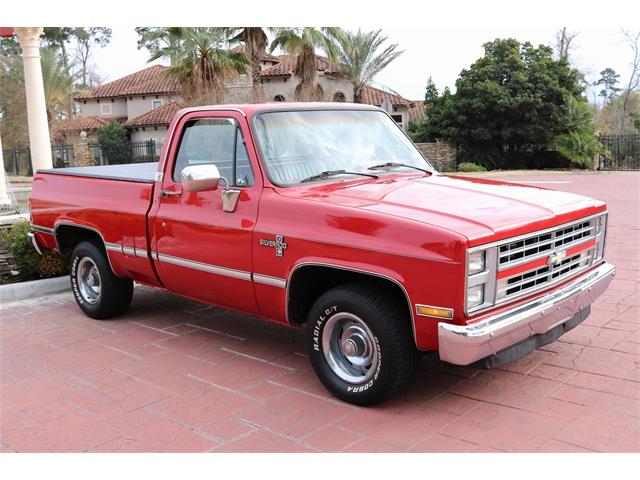
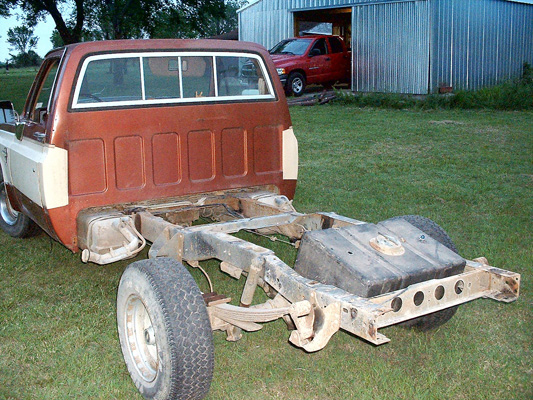
Remove all clips connecting to the frame that hold any wires or lines in the designaed cut area and pull the lines away from frame so you can safely cut the frame rail. You must use a tank from a shortbed truck to accomplish this as the longbed tank is too big to fit. In planning your cut try to leave a little mettal that you can remove to make sure everything is square. If your are cutting a torch, use the tape lines and mark it with a silver sharpie or chalk and remove tape. Using a square across the top of the frame from front to back, side to side, up and down check to see everything is square and level. I recently hung rear view mirrors, got bumper guards and new tires! Then, I used a Lincoln Tomahawk plasma cutter, drug along a spare piece of 116-inch steel as a guide, to make the vertical 45-degree cut. Then you will need to get it on a hard level surface and remove the fuel tank s ,driveshaft and carrier bearing,but leave rear tires installed.
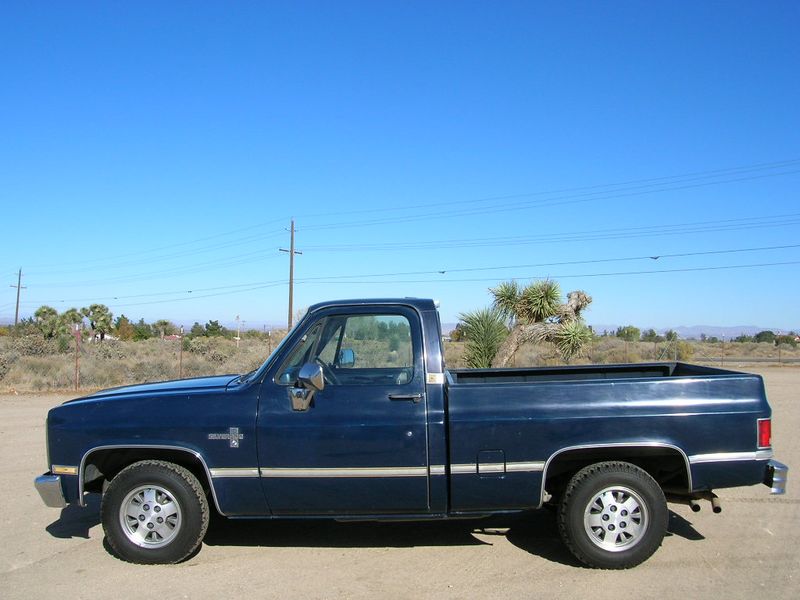
Converting a Chevy C10 Long Bed to a Short Bed
The truck seems to ride better with the little extra weight. I would love to have a K5. I use the torch and heat the rivets to a glowing red, then take a large chisel and a 2lb. The last step before we wrap up the fabrication portion of the shortbed conversion is to attach the new Brothers Trucks cab mounts. Turned out pretty well, but I've still got to figure out a way to screen the windows. Long wheel base to short wheel base conversion Long Wheel Base To Short Wheel Base Conversion Written by: Tim Sisco This is how I went about shortening the frame on my 1982 Chevrolet long bed. First off, remove back bumper and unhook tail and tag lights,then remove the 8 bolts holding bed to frame.
1960

This prevents any overcutting and gives the blade and the plasma cutter room to stop without cutting needlessly into the surrounding material. That is, however, unless the cab and front sheetmetal need to stay in place. With the new bed from Brothers Trucks loosely assembled, the result is pretty impressive. By - February 13, 2018 Short bed Chevy C10 pickups are expensive and hard to find. Fire up the torch or grinder and carefully cut that section of frame out. Grind the weld off of the top and outside of the frame until it is smooth, then cut a patch out of the section of discarded frame and cap it.