4x4 turbo 350 transmission rebuild kit. TH350 transmission rebuild kits 350 transmission kits 2019-03-11
Turbo 350 TH350 Transmission 4x4 Heavy Duty 4WD, th350 4x4, th
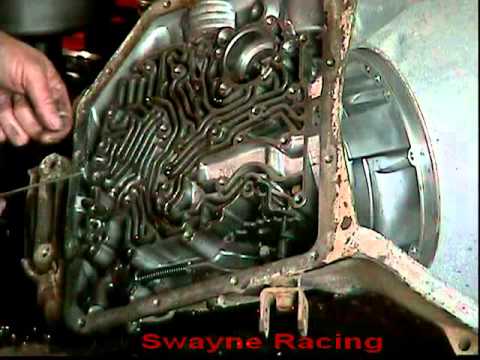
Step 9: Install all of the valve body bolts by hand and be careful that none of them are cross-threaded. The input shaft is attached to the drum. Step 4: Tighten the retaining nut. This indicates that it has debris inside or is damaged. Close-ratio first gear with direct-drive in forth gear.
TH350 transmission rebuild kits 350 transmission kits

Step 5: Hook all of the ends of the sealing rings together before installing the pump into the case. . Step 7: Note that there are two types of carriers. Filters and Manufacturer's Warranties Consumer purchasers of automotive filters are sometimes told by an automobile dealer-s service writer or mechanic that a brand of replacement filter cannot be used in the consumer-s vehicle during the warranty period. Turn the outer race counterclockwise while applying downward pressure at the same time. Remove the backing plate, frictions, and steel plates.
TH350 transmission rebuild kits 350 transmission kits
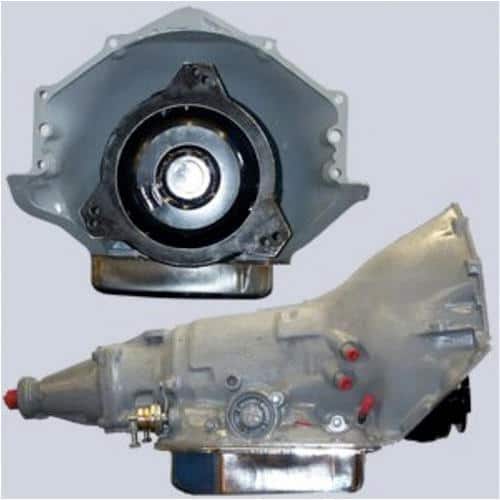
Faster and cheaper to replace the flexplate while the trans is out. Build it yourself, you know that there were no shortcuts taken. It was by far one of the best experiences I've had. The hub end also has the sealing rings for the direct and forward clutch assemblies. Step 5: Double-check that the ring ends are hooked together and that the new rings move freely in the grooves. Forward Clutch Disassembly Step 1: You are now ready to rebuild and install the forward clutch assembly. Inspect the bushing for wear.
What's a fair price to rebuild a TH350?

Step 5: Clean all of the components and lay them out on a clean pan or shop towels. Inspect the inner and outer race, rollers, and springs for damage. For example, we added a higher-lift camshaft, but then fell victim to valve float, because the stock valvesprings were worn out. Step 2: Remove the four sealing rings from the grooves in the pump support. Component Installation Once the case bushing is installed you are ready to start installing the major components into the case. Step 4: Install the clamp for the modulator and tighten the bolt to 12 ft-lbs. Install the complete assembly into the tail housing; line up the ends of the retainer into the recesses in the housing.
Automatic Transmission Rebuild Kits at Summit Racing

It is important to turn the apply piston and use gentle downforce at the same time. You must also closely inspect the case lugs at the center support. Step 6: Install the snap ring and release the spring compressor. It can be started and squared up with a few taps from a soft-faced mallet. Deep first gear with direct-drive in fourth gear. Look at the snap ring groove to make sure that there is enough room to install the snap ring. I have raced it 6-7 times and placed up in the top 5 of every race; winning some.
TH350 Rebuild Kit Turbo 350 Transmission Rebuild Kit 350 Turbo Trans

Step 5: Install the snap ring over the retainer. It's out of the car so I'd be dropping off. Step 6: Install the Torrington bearing on the front planetary. This website is sponsored by a General Motors factory-trained Chevrolet dealership transmission rebuilder, who also ran private automatic transmission shops for 10 years! Also use a feeler gauge or special seal installation tool a smooth piece of wire crimped in a piece of copper or soft steel tubing. It is easy to make this upgrade. This may involve some extra effort to remove paint or old undercoating that may be covering up troubled areas.
Turbo 350 TH350 Transmission 4x4 Heavy Duty 4WD, th350 4x4, th
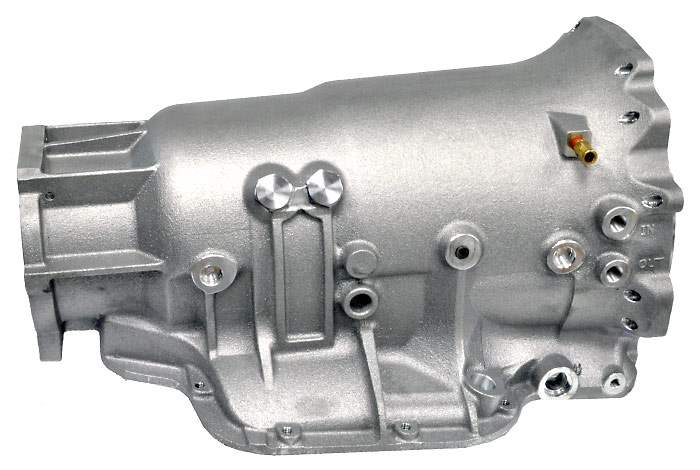
Repeat this procedure for both lower bushings. You need to clean the case well enough to locate any cracks prior to assembly. Center Support Installation Step 1: Install the center support retaining spring as shown. Step 7: Put the parking pawl guide in place and tighten both attaching bolts to 20 ft-lbs. Step 6: Install the case to tail housing seal as shown. Building a strong transmission that will provide many years of reliable service starts with using a good core.
TH350 Monster
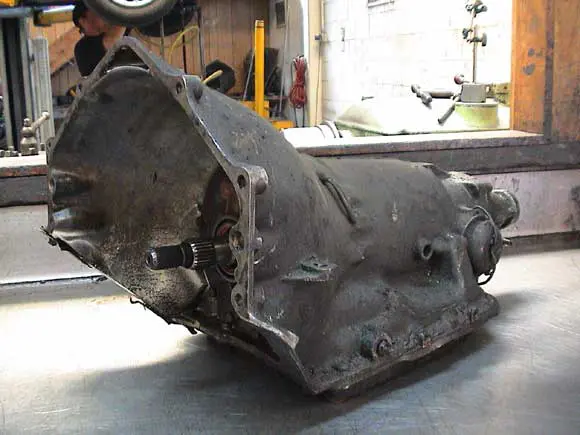
Eventually, that crud will be pumped out into the new transmission. The Turbo 350 underwent few changes in the seventeen years it was manufactured. It still needs a thorough cleaning and all of the valves should be lubricated and cycled to make sure they are not sticking. Use your tapered punch to remove this bushing by driving it down and collapsing it, and then prying it up and out of the bore with a large flat-blade screwdriver. Step 6: Lubricate the oil pump and gears prior to assembly. Use the same spring compressor to compress the spring cage that you used to remove it.
Super Rebuild Kit for 1969

Front Planetary Reaction Carrier Bushing Installation Step 1: Use a sharp punch to remove the bushing inside the front planetary carrier. Rest the gear on a block of wood or shop towel to help you avoid damaging it. It pushes into place easily once lined up correctly. Pump Seal and Torque Converter Bushing Removal Step 1: Use a sharp tapered punch to remove the front seal. Fairly low first gear with overdrive in fifth-gear.