2008 jeep wrangler 4 door owners manual. Used 2008 Jeep Wrangler For Sale 2019-04-16
Used 2008 Jeep Wrangler Unlimited X 4WD For Sale
Reverse steps for removing the seat. Bought our first trailer a few weeks ago from Berkenkotter Motors. If the swing gate brackets were removed, install them latches to the door rails Sunrider Models Only. The top left switch controls the left front window and the top right switch controls the right front window. Grasp the swing gate bar and position it into the at the lower left corner of the rear window opening. After going off-road it is always a good idea to check for damage.
2017 Jeep Wrangler Owner Manual Guide
Insert hand into gap between hood and top of grille, and push handle to the side to raise hood. . If interference from the cargo area prevents the seatback from fully locking, you will have difficulty returning the seat to its proper position. Remove the two Torx head screws that secure the hard top at the B-pillar near top of door using a 40 Torx head driver 4—Door Only. Touch the screen where the time is displayed. Verify proper calibration by checking North N , South S , East E , and West W. When the system detects a malfunction, the telltale will flash for approximately one minute and then remain continuously illuminated.
Used 2008 Jeep Wrangler For Sale

You could lose control and have an accident. If you feel confident in your ability to proceed then make sure you are in 4L Low and proceed with caution. Oxygen- ates are required in some areas of the country during the winter months to reduce carbon monoxide emissions. Unsnap the wiper arm nut caps, and remove retaining nuts. Carefully set the front of the front door frame in the 6.
Jeep Wrangler repair manual 2007 2008 2009 2010

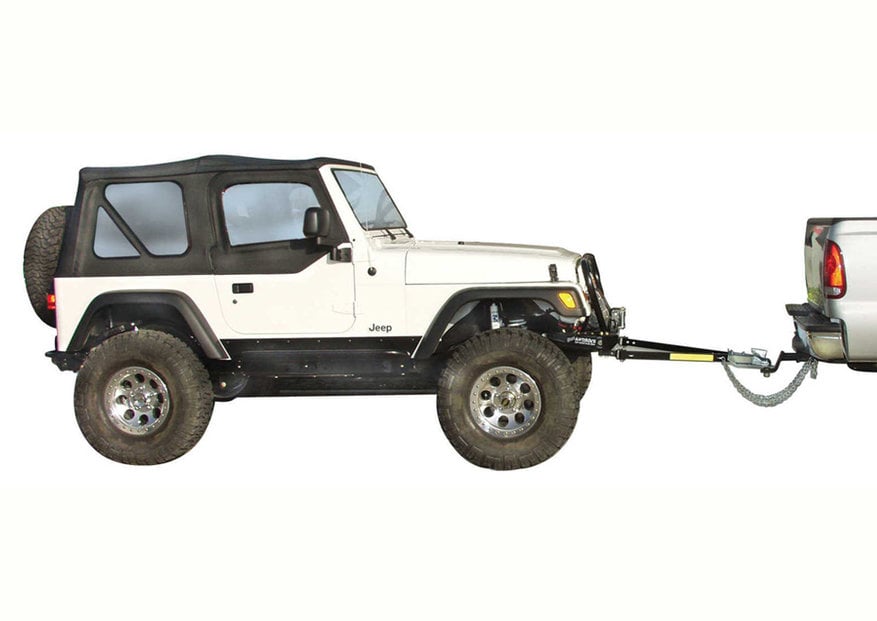
Push the top rearward to disengage. If you received your keys without the bag, ask your authorized dealer to give you the number. When replacing plugs, do not overtighten. The electrical connections are all complete to the vehicle but you must mate the harness to a trailer connector. Partially install the sail panel retainers into the body 14.
JEEP 2008 WRANGLER OWNER'S MANUAL Pdf Download.
Raise the seatback and lock it into place. An incorrectly anchored tether strap could lead to increased head motion and possible injury to the child. To release the parking brake, pull up slightly, press the center button, then lower the lever completely. The abrasions are similar to friction rope burns or those you might get sliding along a carpet or gymnasium floor. Remove the seat from the vehicle.
Used 2008 Jeep Wrangler For Sale
You will not be able to pull out more webbing until all of the webbing has been returned back into the retractor. Wade and Eddie have helped us every step of the way. Damage to charging system of booster vehicle or of immobilized vehicle. Even though your vehicle has a sport bar and side bars for some extra protection, it is a truly open vehicle-there is no structural integrated top and it has low sides and a folding windshield. Insert the second valid key into the ignition switch.
Jeep Wrangler Workshop & Owners Manual

Insert the slider feature of the knuckles into the door 6. Page Number: 166 of 466. Push the ignition key inward. Push downward on the handle to lower the seat. A poorly fitting cap could let impurities into the fuel system. Steps for Determining Correct Load Limit 1.
Used 2008 Jeep Wrangler For Sale

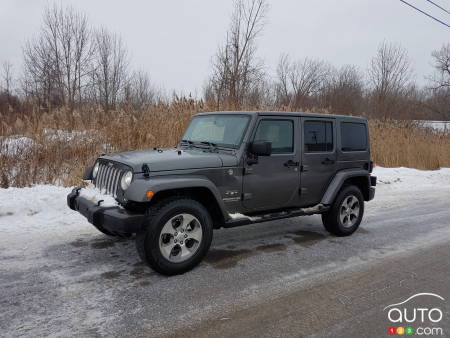
Each time the lever is tapped, Depressing the clutch pedal will disengage the speed speed increases so that tapping the lever three times will control. Park the booster vehicle within cable reach but with- 5. Manual transmission is easy to shift and the hill assist is great. Rear Hard Top Removal 1. Overloading can cause tire failure, affect vehicle handling, and Improperly inflated tires are dangerous and can cause increase your stopping distance. Handle the disc by its edge; avoid touching the surface. Handling- Good on account of its massive tyres and short wheel base.
SOLVED: A 2008 Jeep Wrangler Unlimited (4

It may be helpful to open the rear doors. Remove one bolt from underside of vehicle. Vibration may be a result of tire and wheel out-of- balance. Never attempt to drive over a rock which is large enough to contact the door sills. Com and serarch 6 speed transmission and you wil see simular stories.