2008 ford ranger 3.0 spark plug wire diagram. Reading : 03 Ranger Plug Wiring Diagram 2019-03-22
3.0 spark plug diagram
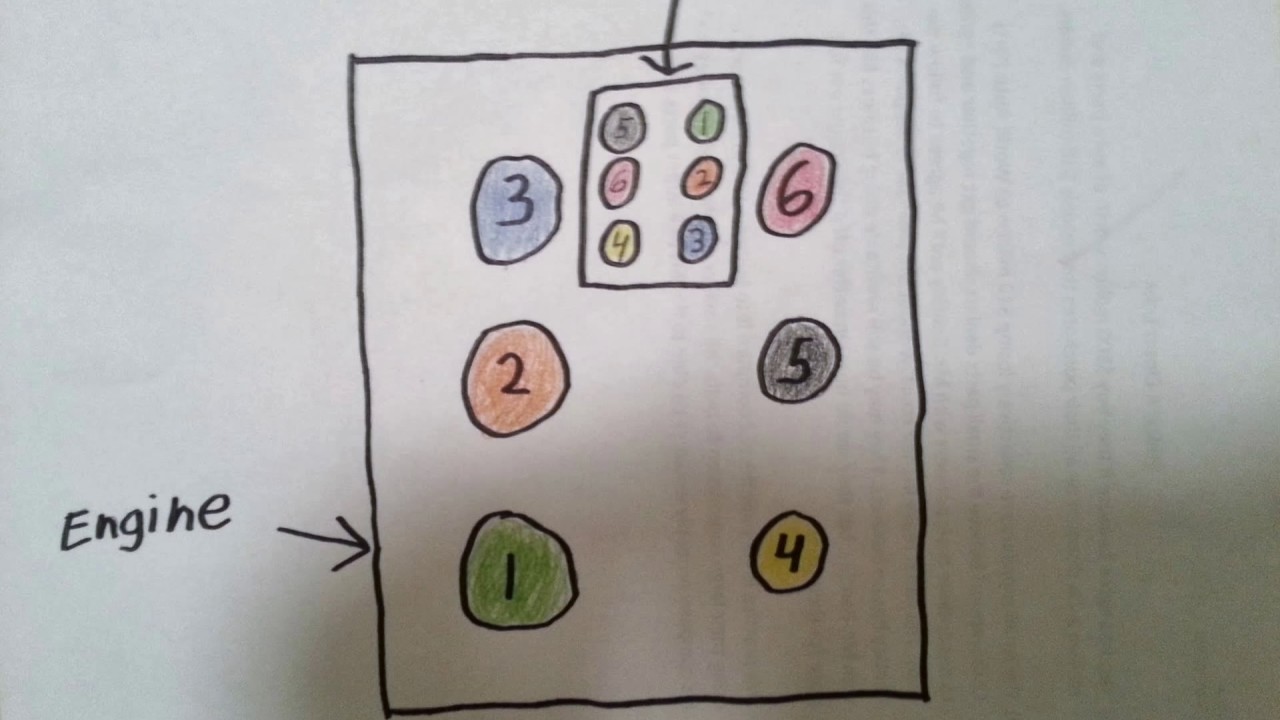
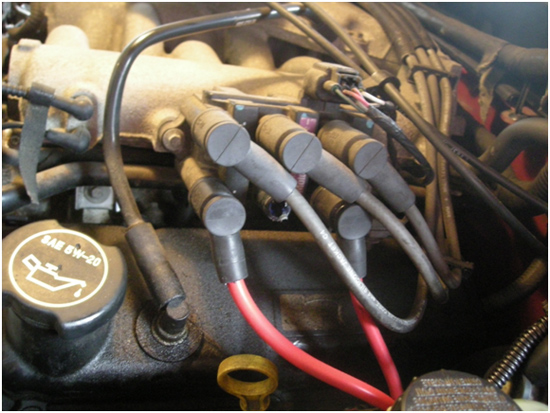
Rotate the crankshaft one revolution. The engine cylinders are numbered 1 , 2 , 3 from front to rear on the passenger side of the engine and 4 , 5 , 6 from front to rear on the driver's side of the engine. Apply sealing compound to the joining surfaces of the upper and lower intake manifolds. You will need these specialized tools to unfasten the fan clutch nut If necessary, remove the air cleaner outlet tube. Remove the wheel and tire assembly. To install: Thoroughly clean the gasket mating surfaces on the cover and the cylinder head. Position a piece of wood on a floor jack and raise the engine carefully as far as it will go.
2008 Ford Ranger Wiring Diagram Manual Original
Competent and accurate machine shop services will ensure maximum performance, reliability and engine life. © 2004 Thomson Delmar Learning. But whether or not you decide to replace it, you would be wise to check it periodically to make sure it has not become damaged or worn. Remove the heater hose connection at the water pump Remove all of the water pump attaching bolts. When measuring the crankshaft with a micrometer, you will take readings at the front and rear of each journal, then turn the micrometer 90 degrees and take two more readings, front and rear.
3.0 spark plug diagram
When selecting tires, pay attention to the original size as marked on the tire. Install the spark plug wires. Disconnect all of the hoses from the sensor. This will prove fatal in sufficient quantity. If not already attached, connect the sending unit. This will prove fatal in sufficient quantity.
Ranger Spark Plugs
To refill the system with coolant, remove the radiator cap. Punch the holes on opposite sides of the crankshaft and just above the bearing cap to cylinder block split line. Repeat the tightening sequence several times until the bolts will no longer turn at the specified torque. Position a jack beneath the spring under the axle. Remove the ash tray assembly from the dash. Remove the slip plates from under the wheels.
2008 Ford Ranger Truck Electrical Wiring Diagrams Original Manual

Position the lower control arm pivot points into the frame and crossmember pockets. Check the engine oil level to make sure that it is full. When the solenoid energizes, the starter drive engages with the flywheel ring gear, rotating the crankshaft and starting the engine. Disconnect the negative battery cable. Reattach the sensor electrical wiring connector to the engine wiring harness.
Spark plug wiring diagram needed (firing order).

To remove the blower motor, first disconnect the electrical wire harness plug. Disconnect the hose from the vacuum diaphragm. There are no adjustments necessary on these transmissions. Loosen the water pump pulley attaching bolts. Raise and safely support the vehicle. Remove the auxiliary shaft sprocket.
2008 Ford Ranger 3.0L V
Failure to do this could result in the wheel coming off while the vehicle is in motion possibly causing loss of vehicle control or collision. Using a straight edge, line up the oil pan to the engine block. Install each wire in or on the proper terminal of the coil pack or distributor cap. Local laws may require specific equipment such as trailer brakes or fender mounted mirrors. Align the slot on the push connector disconnect tool with either tab on the retaining clip.
2001 ford ranger 3.0 spark plug wiring diagram

Remove the disc brake calipers and support the caliper on the vehicle's frame rail. If the specialized tools aren't available, the front seal can be replaced using normal hand tools. If the meter reads below 11. If the seal needs replacing, follow the procedures under installation. Align the cam gear with pointer. If you only need to remove the upper intake manifold, stop at this point.
Show diagram 3.0 liter ford ranger spark plug wires

Connect the hydraulic clutch master cylinder pushrod to the clutch pedal. . Align the groove with the crankshaft keyway and install the damper. If the lamp does not illuminate, skip to Step 4. Apply engine oil to the assembly to provide the initial lubrication. The lights should be checked for proper aim and adjusted as necessary. Reconnect the harness connector to the switch.
Reading : 03 Ranger Plug Wiring Diagram
Lift off the cylinder head s. Disconnect the negative battery cable. Disconnect the negative battery cable. This is because if the drive train is engaged, power is transmitted to the wheel with the best traction and the vehicle will drive off the jack, resulting in possible damage or injury. All trailers will need brake lights and turn signals as well as tail lights and side marker lights.