2007 polaris outlaw 90 service manual pdf. 2007 Polaris Outlaw Workshop Service Repair Manual 2019-04-20
Free ‘07 Polaris Outlaw 90 2007 Owners Manual Download
Allow all components to cool sufficiently before accessing the spark plug. Slowly remove the tank and be careful not to catch any hoses, wires or other components. Place the tank on a stable surface or work bench. Has clickable chapters and is searchable so you can easily find what youre looking for. Push the lock-out lever forward toward the handlebar to unlock the transmission. On the left headlamp, grasp the bulb housing and turn it counterclockwise 1 to remove the bulb. Please visit our to see a complete list of all the useful service manuals we offer.
Free 2007 Polaris Outlaw 525 ATV Repair Manual PDF Download

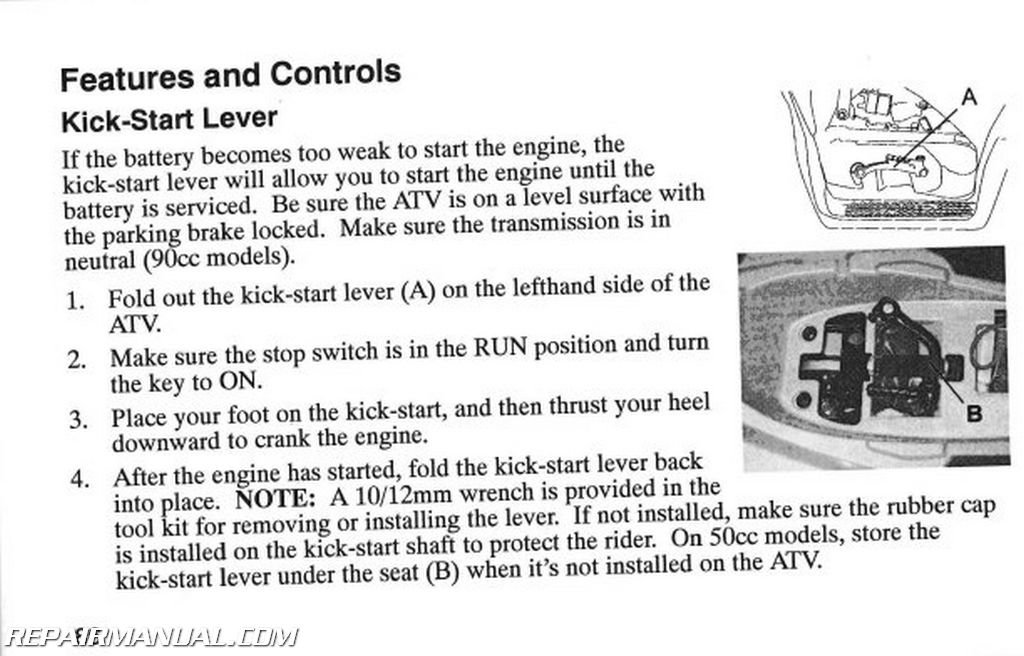
Use a screwdriver to make adjustments. If your vehicle becomes immersed or is operated in water that exceeds the footpeg level, take it to your dealer for service before starting the engine. I have just posted what my problem is and asking for some advice. I don't know anything about it. The electrodes are not burned or eroded. A tool kit is provided in the storage compartment under the seat.
Polaris Predator 50 / Outlaw 90 / Sportsman 90 service manual 2007

If adjustment is required, slide the clutch perch pivot boot down the clutch cable to access the clutch adjustment screw B and lock ring C. Boots The best footwear is a pair of strong over-the-calf boots with heels, like moto-cross boots. Remove the air filter retaining screw 2. Clamp or pinch off the vent line 1 approximately 2I 5 cm from the oil tank. Always check the terrain carefully before ascending any hill. Keep the tool kit with the vehicle at all times. Water accumulation increases as outside temperature decreases.
Polaris ATV Service Manuals

Unlatch and remove the seat. Loosen the four handlebar bolts 1. Maintain a high level of alertness, reading the trail and avoiding quick, sharp turns, which can cause skids. Toe Alignment Use the following procedure to check toe alignment. Avoid operating over large obstacles such as rocks and fallen trees when possible.
Free ‘07 Polaris Outlaw 90 2007 Owners Manual Download
If the vehicle is to be operated at various altitudes and temperatures, certain adjustments can be made to improve its operation and driveability. Always release the start button as soon as the engine starts. Grease all zerk fittings immediately after washing, and allow the vehicle to run for a while to evaporate any water that may have entered the engine or exhaust system. This vehicle handles differently than other vehicles, such as motorcycles and cars. Wash the main filter element 4 without removing it from the internal filter cage. Replacement safety decals are provided by Polaris at no charge. With the front brakes applied, pull in the clutch lever.
2007 Polaris Outlaw Workshop Service Repair Manual

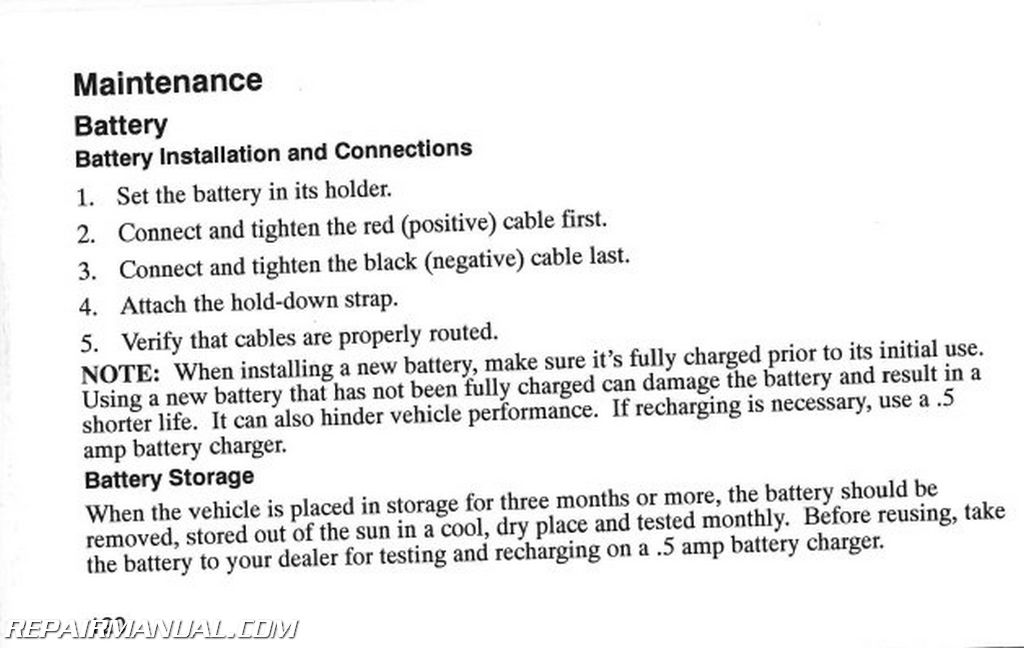
Measure clutch lever freeplay between the perch and the lever A. When starting from a stopped position, place the transmission in neutral. State of Charge 100% 12. Verify that cables are properly routed. Said we could have it and it was just taking up space at his place.
Polaris Predator 50 / Outlaw 90 / Sportsman 90 service manual 2007

Fill the fuel tank with gasoline. Elevate the rear of the vehicle by placing a suitable stand under the frame. See page 181 for the part numbers of Polaris products. A friend of ours dropped off a 90cc Polaris Scrambler at the house this afternoon. Body construction will sometimes differ depending on specifications and country of destination. Wear eye protection and gloves.
Free ‘07 Polaris Outlaw 90 2007 Owners Manual Download
Slide the free end of the boot two inches toward the center of the vehicle and lift the boot away from the shaft to allow excess air to escape. Remove the tank mounting bolt 3 at the rear of the gas tank. The part number is printed on the decal. Reverse gear is selected 3. Check your surroundings and determine your path of travel. Measure the distance from the string to the rim at the front and rear of the front rim 3. When inspection reveals the need for replacement parts, use genuine Polaris parts available from your Polaris dealer.
Polaris Outlaw 500 Repair and Service Manual 2006

A synthetic brush may melt if components are warm. Squeeze the brake lever toward the handlebar to engage the front brakes. Do not attempt to adjust tie rod alignment. If all forward speed is lost: Keep your weight uphill. Elevate the front of the vehicle by placing a suitable stand under the frame.