2006 ford f250 4x4 ball joint replacement. 2004 F250 Ball Joint Replacement 2019-05-02
F250 Ball Joints

Torque the nut to 50 ft-lbs and install a new cotter pin. Then install the snap ring. Secure the steering linkage to the spring with a cable tie or similar. Apply a layer of caliper grease to the backsides of the brake pads. I also purchased the Ford adapter upgrade kit, that gives you the three parts with red arrows below. Once you decide that its time to replace your ball joints, the first thing you should do is get some good penetrating oil and liberally spray the ball joints. Remember how they came off because one of them is different and has to be in the middle of the two round washers.
2004 F250 Ball Joint Replacement
It shouldn't move but if it does, you need to put it back where it was, or go get an alignment done. Torque the upper nut to 70 ft-lbs and install the new cotter pin. Not that it matters, I just want to avoid any confusion. Step 3 - Remove caliper and rotor and set aside Unbolt caliper and set aside. It has a hard surface inside there. Step 3 - Remove caliper and rotor and set aside Unbolt caliper and set aside. Remember though, that I am not a mechanic, this is just how I did it.
Ford F250 Change Ball Joints How to
Undo the bolts that connect brake caliper to wheel spindle. I used a pickel fork tool to separate the upper ball joint. Pry the caliper away from the caliper mount to compress the pistons in the caliper, then remove the bolts that hold the caliper mount in place. This pic was taken on the driver's side hub. Use a screwdriver if needed.
F250 Ball Joints

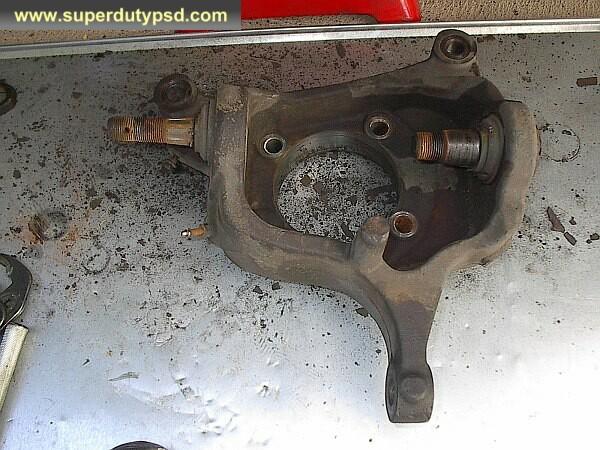
It may be time to replace the actuators. I believe the procedure is the same for model years 1999-2004. Step 8 - Press out lower ball joint Use a press to remove lower ball joint and install new one. Remove the snap ring and thrust washers from the axle. The diameter of the flange is too big so some time on the grinder will be required. The lower and upper ball joints must be driven out from the bottom. Here's a shot of all the parts I used in this process.
Ford F250 Change Ball Joints How to
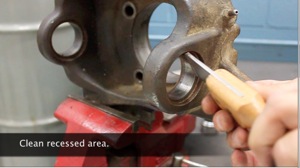
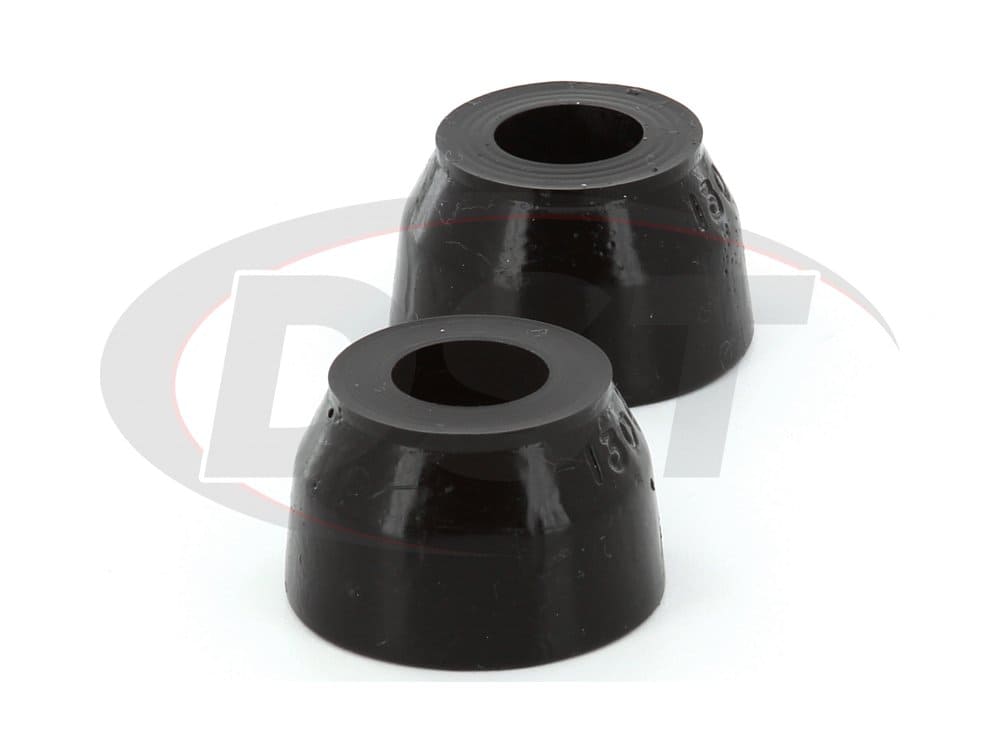
Install the snap ring on the bottom ball joint, the dust boots on both of them, and you're done. I took a minute to clean up the ball joint areas. Remove the bearing cap with whatever tools will do the job. Step 5 - Reinstall remaining components Install a new knuckle seal on the axle, as well as a new dust seal. Site information: This site, www. Lightly grease the thrust washer and install onto the axle.
Super Duty F250 F350 4x4 Complete Ball Joint Kit 2005 2010

Next use a small screwdriver to pry the caliper away from its mounting bracket. This article applies to Ford F-150s. Spin the tires with the hubs locked too. I had to do this on the passenger side, but not the driver's side. Reinstall the knuckle into the housing and loosely install the nuts on the ball joints. You need to match something slightly larger than the inside diameter of the hole in the seal.
F250 Ball Joints
Reconnect the tie rod end to the knuckle. That means that the rear of the. I did not do this during this process because I didn't know that you could even do this! You will have to pry off the small bearing cap in the middle of the wheel with a screw driver or some pliers. Lube the outside of the knuckle seal with a good quality grease and reinstall the axle. You can also use light upward pressure from a floor jack to prevent the ball joints from spinning. Apply a layer of caliper grease to the backsides of the brake pads. Do not allow the vehicle to come to a complete stop.
F250 Ball Joints

Just use your finger to press grease into the needle bearing. That big seal really put up a fight. Install both nuts finger tight. I chose to replace mine, to see that process. . The owner of this site may be a member of various diesel related forums which may be referenced on these pages. The other tubing will be either vacuum lines or brake fluid hoses.