2005 f150 lariat instrument cluster. SOLVED: Instrument Cluster Self Test 2019-02-04
SOLVED: Instrument Cluster Self Test

It is exactly what I was looking for. The cause of the problem is a bad joint on the circuit board. Keep reading and we'll walk you through the process. You have a couple of options to fix this problem: take it to a professional, send it off for repair, or fix it yourself. Here is how to replace the actuator on your Ford F-250 or F-350 Super Duty yourself. Once repaired, carefully reattach the circuit board and connector.
SOLVED: Instrument Cluster Self Test

Separate the circuit board from the cluster. If you have a bad joint shown in Figure 8 , use your soldering pencil to repair it. I have 3 issues and all point to the Instrument Cluster or the Body Security Module. Unplug the connector on the back and carefully separate the circuit board from the gauge assembly. This retro pickup got quite the restomod job when it underwent not just an engine swap but a whole new dualie rear end! Remove the bolts behind the knee bolster. Thank you very very much.
Ford F150 How to Repair Instrument Cluster
Check the pins shown in Figure 7 to locate the bad joint, using a magnifying glass. Remove the trim around the instrument panel. I really am impressed with the speed of the reply. Thank you Cameron for your help. The F-150, like every other vehicle out there, has its quirks and common issues.
Ford F150 How to Repair Instrument Cluster
. In the case of the F-150 or Super Duty, they are. There is nothing like a rugged looking Ford F-150, and when it. Daily Slideshow: If you want a tow rig that can both work and win trophies, this Ford F2 is a perfect choice. I will ask questions about the issues separately. Reinstall the screws on the white cover, then reinstall the cluster in the dash. Check your solders and repair any cold ones.
Ford F150 Pickup Instrument Cluster

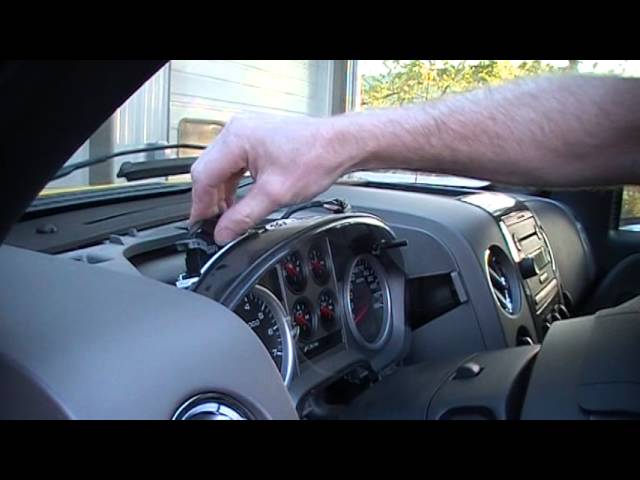
Or, you can simply take the panel out and solder it yourself for free. This article applies to the Ford F-150. Replace the bolts in the knee bolster and the knee bolster, then the top trim panel. Remove the four 7mm screws holding the instrument panel in place, pull it out slightly, and disconnect the harnesses on the back. By - May 20, 2016 This article applies to the Ford F-150.
Ford F150 How to Repair Instrument Cluster

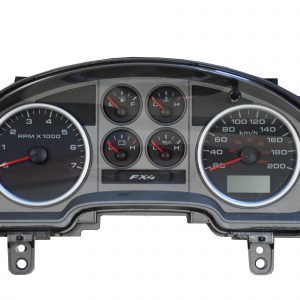
Use the trim panel tool and work your way around the trim piece surrounding the instrument cluster to pry it loose. This truck comes to our attention via TruckTrend. I have already checked the fuses that were suggested as possible culprits. So I asked about the Cluster Self Test first. Step 2 — Disassemble the instrument cluster Remove the screws from the back of the cluster, then pull off the white cover. Drop the steering wheel down all the way, lift up on the panel, and disconnect any harnesses on the back, then remove the trim.
SOLVED: Instrument Cluster Self Test
Remove the two 7mm screws behind the knee bolster on either side of the steering column. Read about three big upgrades that can make your ride more enjoyable. . . . .
Ford F150 How to Repair Instrument Cluster

. . . . .
Ford F150 Pickup Instrument Cluster

. . . . .