2004 honda civic owners manual. 2004 Honda Civic Hatchback 2019-03-26
HONDA CIVIC COUPE 2004 OWNER'S MANUAL Pdf Download.

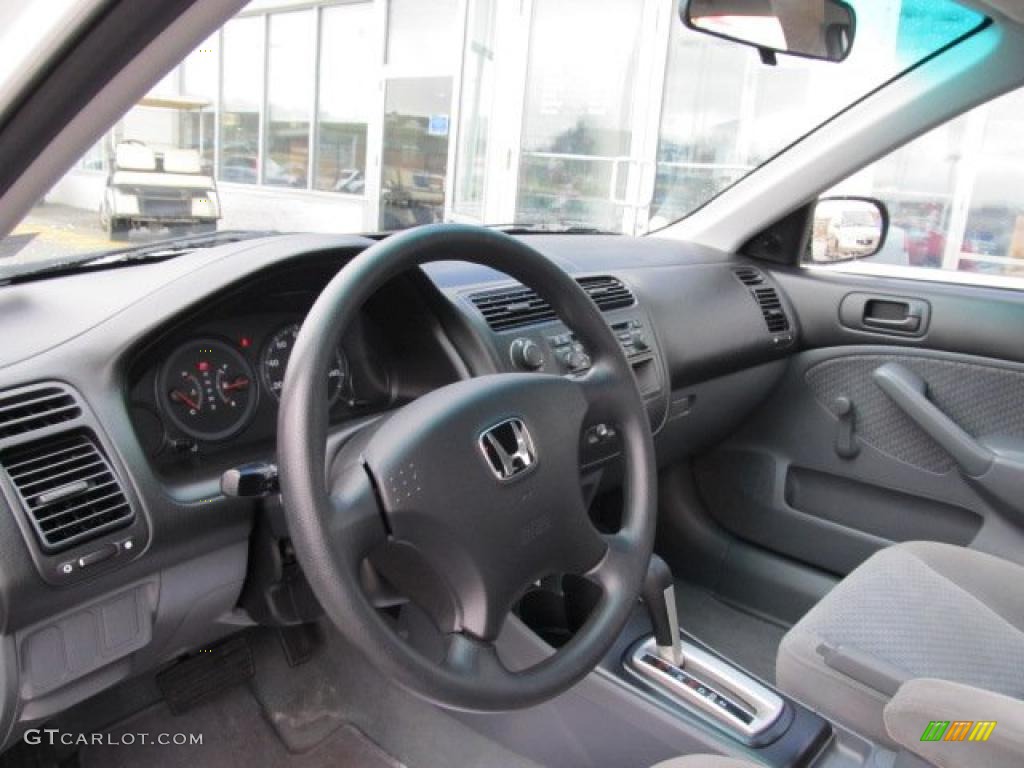
If you sit too close to the steering wheel or dashboard, you can be seriously injured by an inf lating f ront airbag, or by striking the steering wheel or dashboard. If you cannot your Honda dealer. Push the seat-back down, then let go of the release. Check for continuity between the 83 and Ag or A22 terminals. Apply a thin coat of clean engine oil to the outside of the new valve guide.
Owners Manual for
Remember however, that no saf ety system can prevent all injures or deaths that can occur in severe crashes, even where seat belts are properly worn and the airbags deploy. Find information that preceded by, information is intended help you, avoid damage your Honda, other, several warranties protect your new vehicle. Or head over to your local Advance Auto Parts shop to see us in person today! It shows you how to use seat belts properly. Do not shift the levor while raising the engine speed. Your vehicle also has side airbags to help protect the upper torso of the driver or a f ront seat passenger during a moderate to severe side impact see page f or more information on how your side airbags work. Check for continuity between the 84 and A9 or A22 terma- nals, Wire side oI lemale terminals Rgprir 3hort to ground in tho wite.
HONDA CIVIC COUPE 2004 7.G Owners Manual

Refer to page 6-59 for positioning crankshaft and pulley before installing belt. Check lor folds or scratches on the surface of the gasket. B l25Pl A {32P} 2. Remove the back cover and camshaft pulleys. Even with adbanced in the front seat can result in airbags, which can automatically serious injury or death during a collision. . Gross Vehicle Weight Rating Gauge.
HONDA CIVIC HATCHBACK 2004 7.G Owners Manual

Remove the timing belt see section 6. Apply grease to the lip ot the oil pump seal. Set the parking brake, and block both rear wheels securely' 2. Then drain and refill the transmission a final time. Disconnect the 2P connector , 2 l l r.
2004 Honda Civic Si Coupe

Install the park pawl, spring, and shaft on the trans- mission housing, then move the control lever to anv M i n i m u m 1 8 m m 0. Protect the keys from direct sunlight, high temperature, and high humidity. Get access to our 2004 Honda Civic repair information right now, online. Verify that the outside diameter of the snap ring is After replacing the 22 x 28 mm thrust shim. Self-diagnosis E indicator light indicatos Code 42. Advice f or Pregnant Women.
Honda Civic 2004 Owners Manual Sedan PDF

Place a finger tip on the other end while applying air pressure. The Service Check Connector ger's side of the vehicle. To release it, pull up slightly, push the button, and lower the lever. Clutch fluid reservoir manual transmission only Using any non-Honda brake fluid can cause corrosion and decrease the life Replace the brake fluid according to of the system. Replace with a now gasket if damaged. Engage the parking brake, and block the front wheels. Check Brake Light Operation: Depress the brake pedal.
HONDA CIVIC COUPE 2004 7.G Owners Manual

Clean the oil pan gasket mating surfaces before installing it. How Your Side Airbags Work. Your seat belt system also includes an indicator on the instrument panel to remind you and your passengers to f asten your seat belts. Inspection of Brake Switch Signal. The windows will Remote Transmitter still operate for up to 10 minutes You can open both windows from the after you turn off the ignition. Always disconnect the negative cable first, and reconnect it last. A sunlight sensor is in the top of the dashboard, and a temperature sensor is next to the steering column.
Honda Civic Workshop & Owners Manual
Install the oil pan see pages 7-26 or 7-27. Always wear your seat belt properly, and sit upright, and as f ar back as possible f rom the steering wheel while allowing f ull control of the vehicle. Apply parking brake and block rear whoels so vehicle will not roll off stands and fall on you while working under it. Ropair short to body gtound in the wir. These include a strong steel f ramework that forms a safety cage around the passenger compartment; f ront and rear crush zones, a collapsible steering column, and seat belt tensioners that tighten the front seat belts in the event of a crash.