2003 saturn vue service manual. 2003 VUE Workshop Service Repair Manual 2019-03-05
2003 Saturn Vue Auto Repair Manual
Install the left rear wheel and tire assembly. Auto Repair Manuals can come in handy especially when you have to do immediate repair to your car. Refer to Lifting and Jacking the Vehicle in General Information. Worn or loose center bearing assembly Replace the center bearing assembly as required. No need to install any complicated software or a big space on the hard disk. Loose or damaged prop guard Repair or replace as required.
2003 Saturn VUE Workshop Service Repair Manual
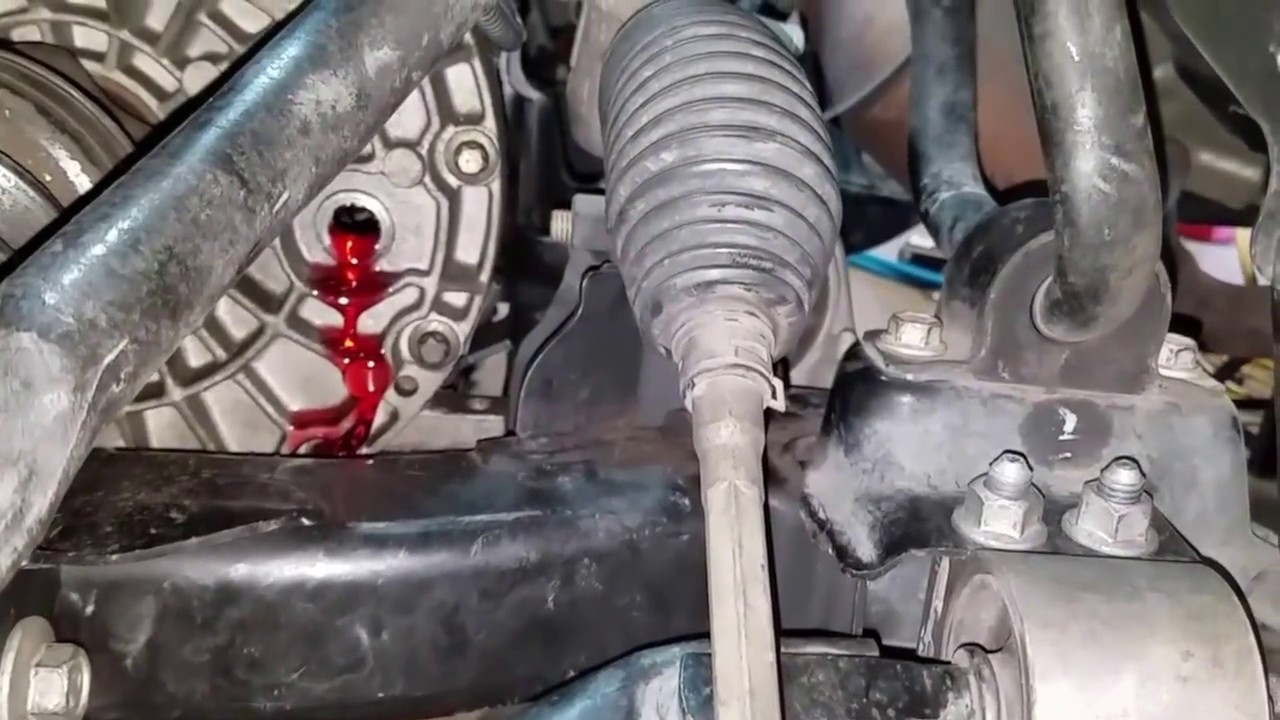
Bearing noise within axle assembly A grinding or roar type of noise will increase or decrease relative to vehicle speed. See Special Tools and Equipment. Inspect the dust deflector 2 for cracks. They change them from time to time to keep it interesting and if you happen to own one of the sample vehicles, then you just scored free unlimited access until they change it again. Reviewing the description and operation information will also help you determine if the condition described by the customer is normal operation. Refer to Rear Axle Shaft Seal Replacement - Left and Rear Axle Shaft Seal Replacement - Right. Replace the fluid; fill as required and retest under conditions.
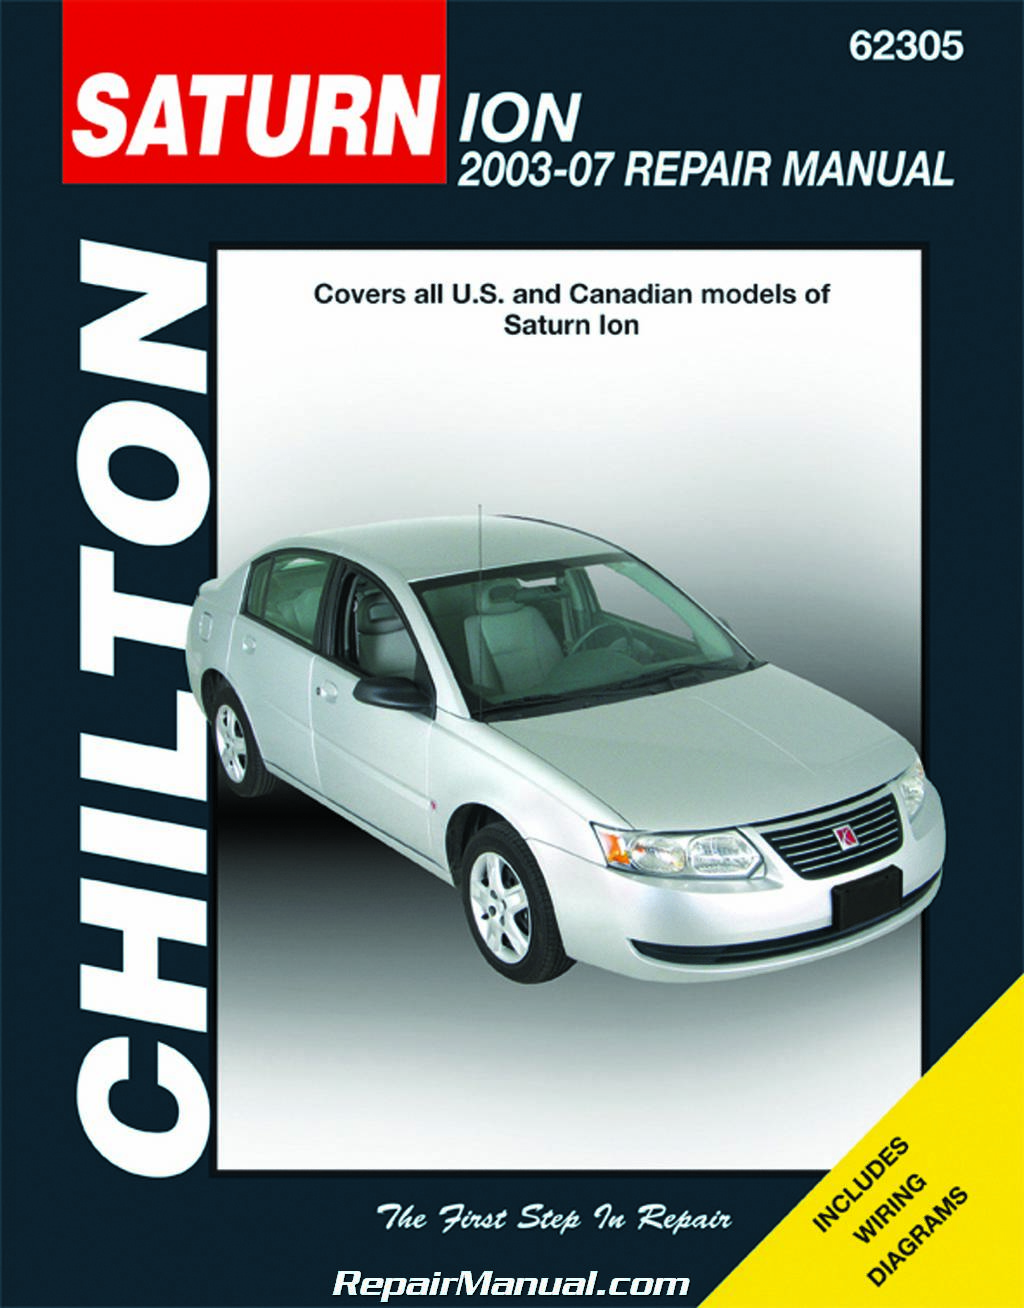
2003 SATURN VUE REPAIR MANUAL

You get everything you will ever need on one easy-to-use cd-manual. Refer to Symptoms - Rear Drive Axle. Tighten: Tighten the bolt and nut to 105 N. All models, and all engines are included. See Special Tools and Equipment. Discuss the title of the novel and how you feel it connects with the story. The durability of your vehicle is unquestionable but you also know that no matter how tough they are, constant use can cause them to deteriorate.
2003 Saturn VUE Timing Belt Repair Manual
Refer to Lifting and Jacking the Vehicle in General Information. Worn universal joints Replace the universal joints as required. These packages are complete with all your car information needs. Remove the propeller shaft underbody guard loop bolts. Tons of pictures and diagrams at your fingertips!! Refer to Lubricant Replacement - Rear Drive Axle.
2003 SATURN VUE REPAIR MANUAL
Start the engine and place transmission in a forward gear. Refer to Differential Housing Support Bushing Replacement. Tons of pictures and diagrams at your fingertips!! Release the retaining clip 2 securing the vent hose along the top of the rear suspension crossmember. Install the rear stabilizer bar to the vehicle. Worn propeller shaft constant velocity joint. See Special Tools and Equipment.
2003 SATURN VUE Service Repair Manual

Place the angled end of the wire into the fluid fill plug hole. The alignment mark must align with the corresponding notches on the rear timing belt cover. Install the bolt and washer through the driver, bushing, and receiver 10. Read Free Manual Free 2003 Saturn Vue Owners Manual Download Online is the story of two bound souls trying to free themselves, searching for family and forgiveness. Refer to Propeller Shaft Replacement in Propeller Shaft. A worn propeller shaft constant velocity joint may create a clicking, grinding, or snapping type of noise.
2003 Saturn VUE Timing Belt Repair Manual

Refer to Muffler Replacement Production Assembly or Muffler Replacement Service Part in Engine Exhaust. Download link: The Saturn Vue service manual is a complete option for the drivers. Repair or replace the unit as required. Loose propeller shaft mounting bolts Tighten the bolts as required. Refer to Rear Axle Lubricant Leak Diagnosis. Worn or damages axle shaft oil seals Replace the axle shaft oil seals as required.
2003 Saturn Vue Repair Service Manuals
The diagnostic flow is the place to start when repairs are necessary. Worn clutch pack friction discs Replace the clutch pack assembly. Install the dust deflector 2 to the input flange 1 if removed. It will help you fix the brakes, engine, suspension, steering, drivetrain, electrical problems, heat, air conditioning, etc. Refer to Center Bearing Removal in Propeller Shaft. Worn propeller shaft constant velocity joint Replace the propeller shaft assembly.