2003 nissan altima headlight adjustment. How to Adjust the Headlights on a 2003 Nissan Altima 2019-05-13
How to adjust headlight aim on 2003 nissan maxima
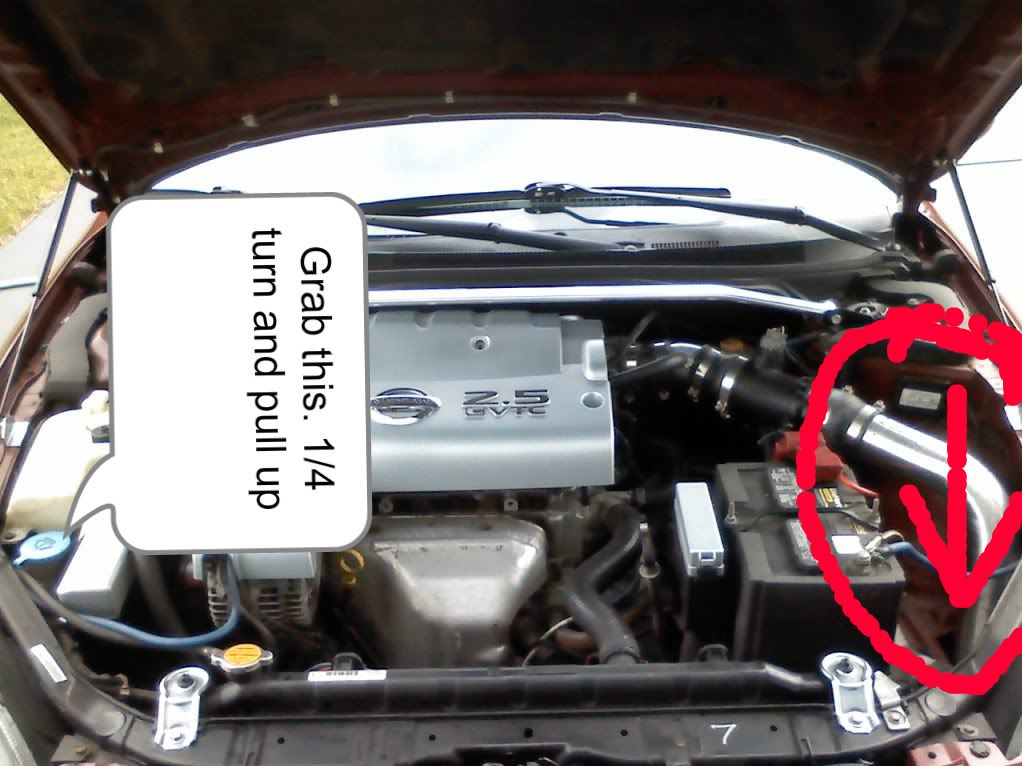
Do not try to pry these off. I haven't been able to accomplish that, but I can try again later today. Turn the white retaining ring a quarter of a turn and pull it out. It seems like the lights are adjusted down a little too much. Adjustmentaccess will either be on top of the housing accessed through ahole in the radiator or from the exterior of the truck.
2003 Nissan Altima Adjust Headlights

These usually require a special tool to turn. The car suddenly dies and revives. The other one is on it's way out and I do't want to spent this kind of dough again. Difficulty:Moderately EasyInstructions Thing The Nissan Altima is a foreign-made automobile that typically requires a professional mechanic to remove or replace any parts. But whenever you install one of these options or put a heavy load in the truck, you change the direction of the headlight beams. To start, use the owners manual to aid in this endeavour, however, you will still need to do some searching around when it comes to finding the nuts that hold it in place.
My Headlights Are Dim (solution inside!)

If you find that your beams are pointed too sharply toward the ground to see ahead or so high that they blind oncoming drivers, you may need to make some adjustments before you hit the road. Locate the headlight assembly on both sides of the vehicle. Remove the bolt and bracket. Also on late model ml320's with projectors. Once you have this out, the bulbs are easy to access. You will have vertical adjustment screws for each independent beam separate highs and separate lows, but will be same screw if highs and lows are the same bulb. This is for headlight adjustment.
2006 Nissan Altima Adjust the Headlight

Difficulty:Moderately EasyInstructions Things You'll Need Tape measure Masking tape Phillips head screwdriver or adjustable wrench Fill up the gas tank of your Xterra, and remove everything from the car that you would not normally keep in it. You don't have the correct tools. Note one of the screws is barely visible so look close. These bulbs should not be touched because the natural oils from fingers can ruin them! You will see a wire clip holding in the bulb, unclip it at the bottom and the bulb will come loose. Here's some changes to reflect ground plate addition recall due to headlight ground problems.
My Headlights Are Dim (solution inside!)
We've burned through 2 new alternators. Make sure the front end is facing the wall head-on. Is this an adjustment issue, or something with the lights, the design, or age. I know the bulb is different so look up what bulb you will need. What kind of tools are necessary to adjust a headl … ight? Wrong answer, I could have saved some time by reading my manual before I went shopping. The only time the distributor needs to be timed is when it is replaced.
Adjustment for 2003 headlight

One note: there is another intake path at the bottom of the air box. Blinding other drivers with your improperly adjusted headlights is equally as dangerous. . You can fill the level of the fluid in the reservoir, bleed the system and even replace clutch components to improve its performance. Compared with some of its competitors however, some of the interior plastics look and feel cheap. But one can be fabricated at home easily. Posted on Sep 30, 2009 Just unscrew the screws holding down the black tabs on top of the headlights and you have to gently pull the headlight out , be careful because the bottom of the headlight has a tab holding it in place be patient might have to move it around to release the bottom tab.
2003 Nissan Altima Reliability

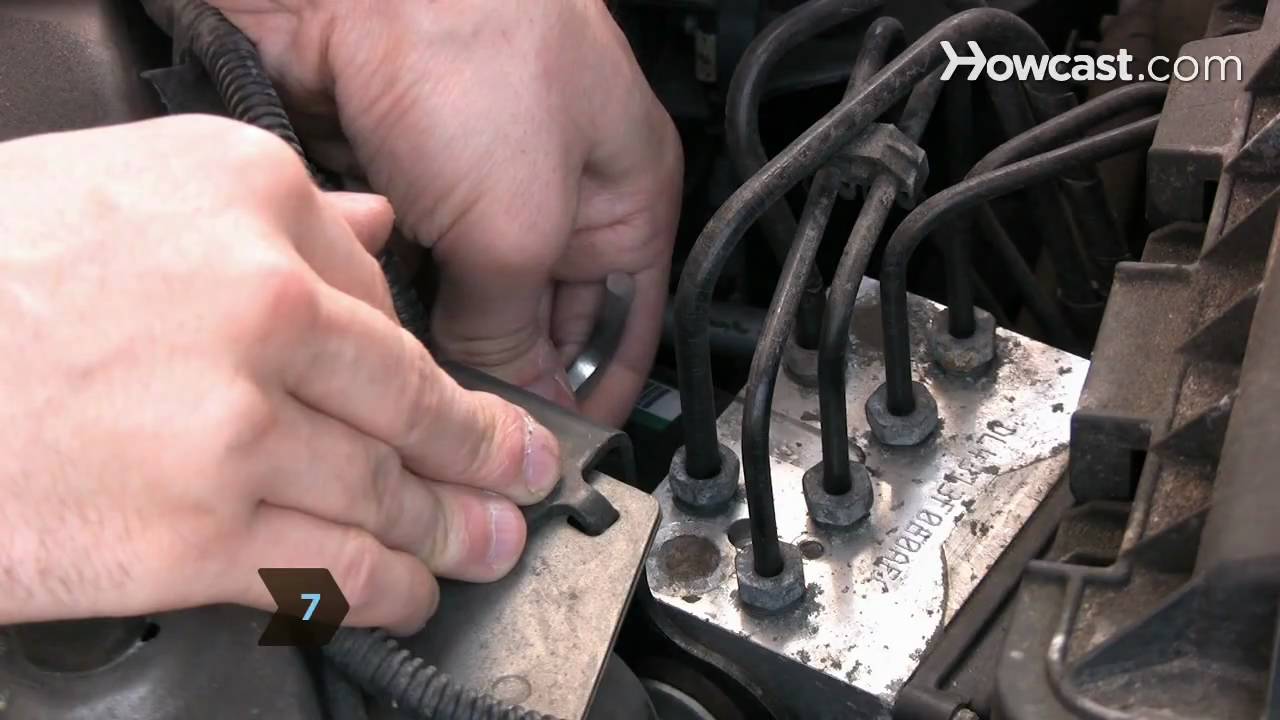
The third step is to turn the skinny horizontal screw behind the housin … g the one with a very small head and the thread is bigger than the head You will need a pair of long nose pliers or a very small box wrench. Look between the low and high beam headlights on the headlight assembly. Making sure that the headlights are adjusted properly will ensure that you do not blind oncoming traffic which, in turn, could cause that oncoming traffic to drift into your lane potentially causing a head-on collision. Is there a screw to adjust? Regardless, the 2 bumps have to fit the recess on the housing. Most drivers should be able to complete this task in about 15 minutes. Moreover, I have the non-hids.
How to Adjust Headlights on a 2003 Nissan Altima
Driving at night can be difficult for those with poor eyesight. Properly adjusting your headlights for optimum lighting on the road at night is a part of routine maintenance for any motorist. There are very few repairs that can be attempted at home safely. When I drive at night, it seems like I run the risk of outrunning my lights at around 60 mph. Copy and past that into your web browser.
How do you change a 2003 Nissan Altima headlight

There is a chamfer on the bulb housing, it has to go toward the bottom facing the radiator. The lateral position of the headlight is fixed and cannot be adjusted. And just a couple inches toward the engine compartment on the headlamp assembly itself. Once you flip it up you will notice it has two places where it holds the bulb in, one on each side. One of these repairs, however, is replacing the headlights.