2003 camry headlight bulb. 03 2003 Toyota Camry Headlight Bulb 2019-02-10
Toyota Camry Headlight Bulb

Turn rotate the bulb left or right to align the grooves in the plastic base with the tabs in the lamp assembly. Turn the headlamps on and make sure they work properly. The headlamp assembly will now pull forward providing great access to the electrical connector and bulb retainer ring. This is odd because you cannot actually see the light and, in my opinion, you come at it from further back in the car than you might think. Remove the bulb from the socket, put the new bulb in the socket. With the old bulb assembly removed, open the package for the new bulb.
How do you Change a headlight bulb on a 2003 Camry
Its impossible if you dont remove the bumper screws trust me. Check that you the square tabs are on the outside of the ring it's easy to miss one, so that only two of the tabs are engaged - this can result in the bulb being loose. Remove the grill by removing 3 plastic screws holding … top of grill and pull the grill up and out. Inside and to the front, where the headlights are positioned. Line these up with the corresponding marks on the headlight bezel assembly, and then push the bulb assembly gently into place. Release by pulling the top towards you while pulling the clips upward.
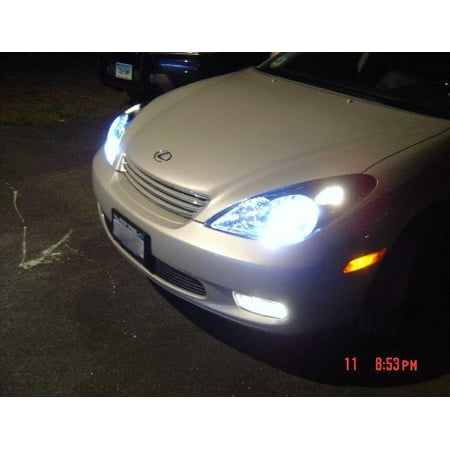
2003 Toyota Camry Headlight

There are 2 headlight retainer clips to find - they are:. Now, if you want to replace the bulb or complete set, then you have plenty of room to unscrew and replace the whole kit or just replace the bulb. You do not need any tools and you shou … ld not have to remove anything else to do this. Using latex gloves or another barrier is recommeded. Always verify all bulb sizes, bulb voltage usage and bulb wattage before applying any information found here to your 2003 Toyota Camry.
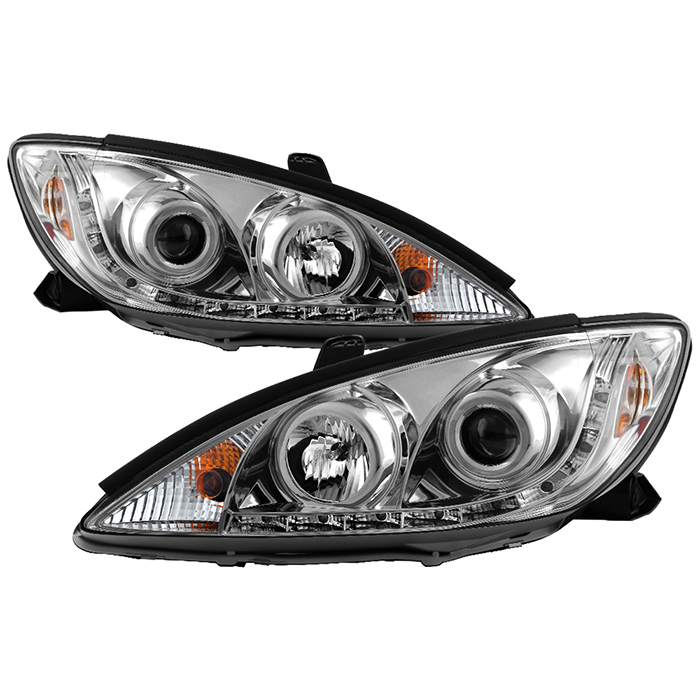
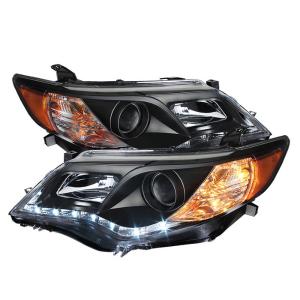
2003 Toyota Camry HID Kits & LED Headlights
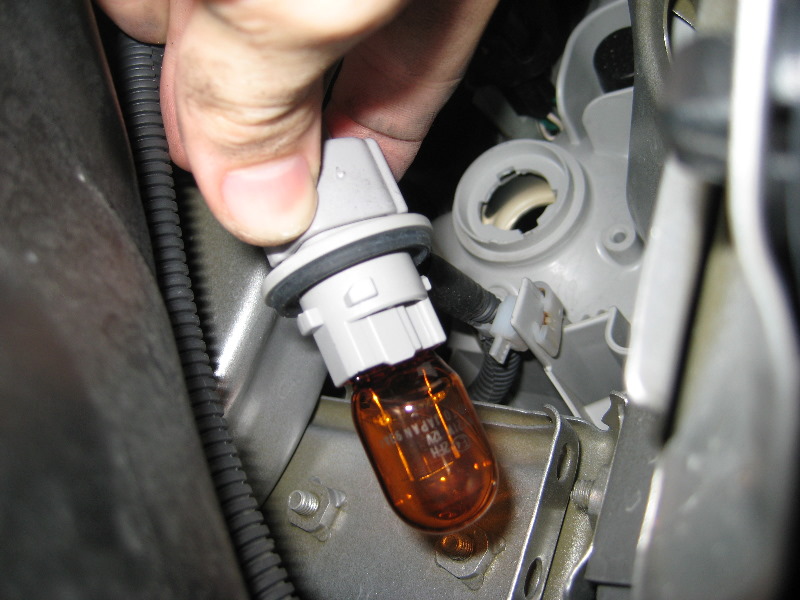
I am sure they can give you some pointers. The oil from your hands can damage the bulb which could cause it to fail prematurely. Holding the new bulb by the base, you will see 3 small detents two of them rather close together, and the other on the opposite side of the base. Once inserted, take the ring from the step above, slide it over the back of the bulb assembly and ensuring that the 3 square black tabs go through the square holes in the ring. Lift the plastic tab on the lamp holder and pull off the lamp socket.
2003 Toyota Camry HID Kits & LED Headlights

Once inserted, take the ring from the step above, slide it over the back of the bulb assembly and ensuring that the 3 square black tabs go through the square holes in the ring. You'll have to push on the release on that plastic connector to get the bulb out, but then it should just pull right out of the socket. Open the plastic plate no tool required located on the grill side of headlight unit and unscrew the Phillips head bolt that holds the bottom of the unit in place. As simple as it sounds, the owner's manual is the best place to start for bulb replacement instructions and illustrations. Step2 Open the hood using the primary and auxiliary hood release latches. It is accessible from the front of the truck. When you change the headlight on your Camry, it is important to not touch the glass part of the bulb with your fingers because the oil from your fingertips will cause that part of the bulb to burn hotter, which significantly shortens the life of the bulb.
03 2003 Toyota Camry Headlight Bulb
Rotate this counterclockwise about 120 degrees, and the 3 small square tabs under the ring can slip through the ring itself. With the flat side of the new bulb's plastic base facing upward, insert the glass end of the bulb into the lamp assembly. With the old bulb assembly removed, open the package for the new bulb. In some Toyotas, the highbeam is the same bulb as the headlight and it is possible for the highbeam to work, but the headlight be burnt out even if they are the same bulb and vise versa. Headlights grow dimmer by up to 20% over time and eventually burn out - for this reason, we recommend changing your headlights in pairs. The oil from your skin will shorten the lamp life if you do. Chances are these steps also apply to the Freestar and Mecury Monterey.
2003 Toyota Camry Headlight Bulb

Once you've pulled the entire headlight assembly outwards toward yourself, there is a small clip molded into the plug that has to clear the corresponding tab on the bulb assembly itself. There is a collar that you have to twist … about a quarter turn to remove. Pull it straight back away from you to remove it. Connect the electrical connector into the rear of the plastic base unti it snaps, locking it into position. Next remove the screws that attach the front bumper to the car they're all … on the top. Pull it straight back away from you to remove it. The Modified Life staff have put their heads together to provide our visitors with a free replacement bulb size guide for your 2003 Toyota Camry.
2003 Toyota Camry Headlight
There are 3 bolts … that have to be removed and 2 screws. The bulb on the drivers side is difficult to get to, the one on the passenger side is easily ac … cessible for removal and practice before you try the drivers side. Theres a grey piece of plastic behind the headlight you have to open hood and reach your hand in behind headlight that holds the light in and is also the electrical connector. Also, make sure its headlights are switched off. Give the connection a slight twist to lock it in place.