2002 toyota camry headlight adjustment. Toyota Repair 7: How to Adjust Headlights on a Toyota Camry 2019-04-27
toyota repar 13: How to Adjust the Headlights in a Toyota Camry

Make adjustments as necessary if the aim is off by turning the adjusters a quarter of a turn and looking to see where the new alignment falls. With these, you can tweak the aim as explained below , until the bubble is centered in the level. You will have vertical adjustment screws for each independent beam separate highs and separate lows, but will be same screw if highs and lows are the same bulb. Give the connection a slight twist to lock it in place. On level ground, park 10 to 15 feet 3.
How to Adjust Headlights

Carefully dispose of the bulb to prevent it from shattering or cracking. Wrap the terminal in painter's tape or even a towel to prevent it from coming into contact with your battery while you work. Posted on Nov 04, 2009 The aiming of headlights is strictly governed by the country or state you reside in and is covered by the road ordinance in force there. You'll have to push on the release on that plastic connector to get the bulb out, but then it should just pull right out of the socket. Next, back your car up so it's 25 feet away from the wall, and remove the trim ring around the headlights to expose the adjustment screws. If you only have one nut on each, that will adjust the vertical aim of the headlights.
How to Adjust the Headlights on a Toyota Celica
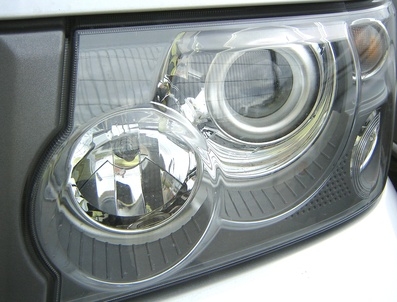
This article applies to the 4th Generation. Remove the trim ring from around the headlights and locate the adjusting screws. But with practice and patience, you can learn to do it in your driveway in a matter of minutes. Despite this variety, the process for adjusting the headlights is similar for nearly all Toyotas. Open the glove compartment and squeeze the back and it will partially drop down. One of those was the method for aligning the headlights.
toyota repair 11: How to Adjust Toyota Headlights

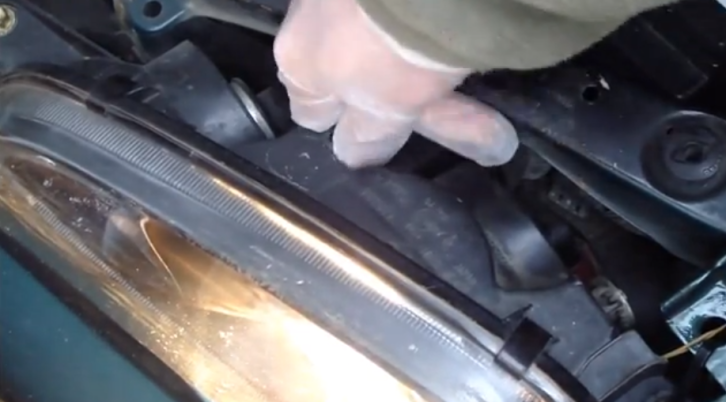
Adjust these screws, bolts or sprockets with a crescent wrench, screwdriver or socket wrench to change the vertical and horizontal aim of the headlight beams. Adjust the headlights until they shine on the tape. Next, find the adjusters, which are often located somewhere on the headlight housing. Remove the air valve and you can reach the light. Good luck the first time. Difficulty: Moderate Instructions Look for the adjustment screws, bolts or sprockets on the headlight assembly.
How to Adjust Car Headlights: 9 Steps (with Pictures)

Look for the adjustment screws, bolts or sprockets on the headlight assembly. Acura and Honda are two models that usually include this built-in level. This happens when the lights are on high beam. Hi: My best bet is to remove the plastic container sitting behind the head light. Find the center of the horizontal axis and mark its position on the wall, then mark the horizontal and vertical center lines of the headlights on the wall.
Toyota Camry 2002 to 2011 How to Install HID Headlights
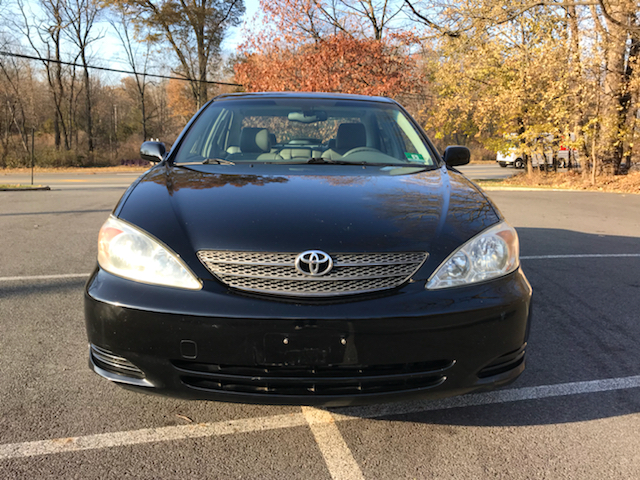
If you are finding it difficult to see at night with your headlights on, they may need to be re-adjusted. Get your Camry upgraded or back in pristine shape by shopping Advance Auto Parts. When aiming adjustment is necessary,contact your Toyata dealer I have a 93 camry. Position the Camry so that it is 10 feet away from a flat surface such as a wall. Read on to learn the common causes behind the dim headlights in your Toyota Camry. Dim headlight bulbs can make a car appear cheap and poorly maintained, as well as make it unsafe.
Headlight adjustmernt on 2007 toyota camry

Now do the same procedure for the other headlight. . Depending on wether you talking about the light bulb retainer of the head light assembly to include the lens you probably need to remove the air filter box on one side and possibly the battery on the other. Park your vehicle 25 feet from a wall, and place a piece of tape horizontally 4 feet high across the wall in front of your vehicle. Your Toyota Camry offers a simple way to adjust the headlights with two headlight adjustment screws. Mark both spots with a single piece of horizontal tape running through the middle.
How do you replace 2002 Camry headlights

A few turns and you should be able to see which way is which. There are mounting screws and adjustment screws above, below and to the side of the headlight. Adjust the headlight beam using the vertical and horizontal adjustment screws so that the beam is two to three inche. Step1 Shut off the Camry's engine and set the parking brake for added safety. The top of the most intense part of the beam should be even with, or just below the center of the line of tape you made.
toyota repar 13: How to Adjust the Headlights in a Toyota Camry
Aiming is not neces … sary after replacing the bulb. In either case, the vehicle can come with different headlight assemblies that may or may not allow for individual adjustment. They reflect a direct beam straight up. Remove the retainers by pulling up on the ret … ainer. Sorry, the … Gen I Solara doesn't have a cabin air filter.
2002 Toyota Camry Car Parts

You need your headlights to. You will need a small arm to reach the light but it is possible. The problem is distracting for the driver and may affect oncoming traffic. Each of the headlight assemblies are braced through the radiator support with a pair of retainers. The engineers need to redo this design. These center lines should be no higher than 3.