2000 chevy silverado center console removal. Replacement Seats 2019-03-28
orgmode.com
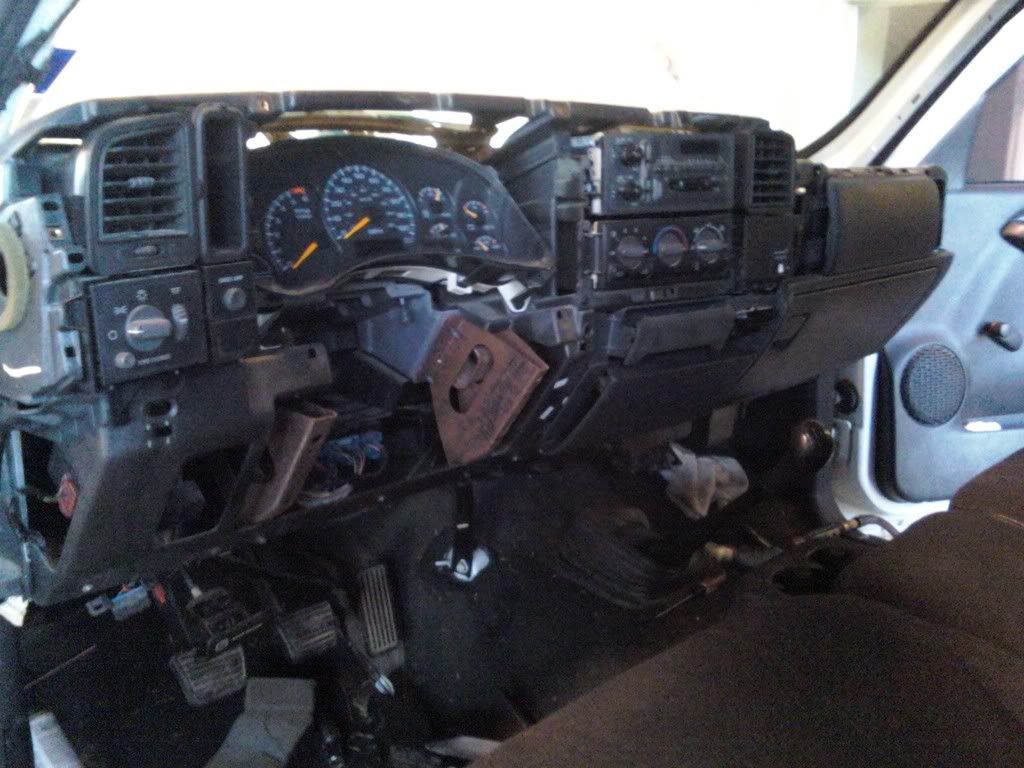
Place the console back in its original position, and insert the screws into their appropriate places. Then pry on the outside of the panel that contours around your instrument cluster and radio. Then pry on the outside of the panel that contours around your instrument cluster and radio. Remove the dash pad and 3 Phillips screws exposed at the top of the radio trim bezel. Disconnect the wire connectors 5. Look down into the console and find the bolts that secure the console to the instrument panel. Lift the bezel away from the center console.
Used Cup Holders for the Chevrolet Silverado 1500

Just remove the screws that hold the interior door handle on. Drop me an email if you have questions, thanks! Drive as you normally would during this time. Install the bolt and tighten it to 33 foot-pounds. There might be a screw you need to take off on the door handle, but I cant remember. Remove 3 7mm hex-head screws from the top of the glove box liner.
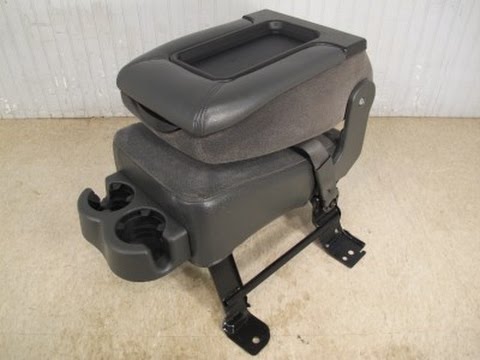
Silverado Center Jump Seat Removal Guide

Once you have removes these screws there are several pop in clips that hold the panel on. This is convenient to have in your vehicle, but other models of Silverado have dedicated center consoles that hold more accessories. All of our Center Consoles are guaranteed to fit if you use enter your Chevy Silverado 1500 into your Year Make Model selector. Pull out slightly to gain access to connectors 4. Along the bottom and sides are plastic retaining clips, carefully pop them loose. You will also have to remove the air duct the connects to the vent on th … e passenger side. Repeat this step for the passenger seat.
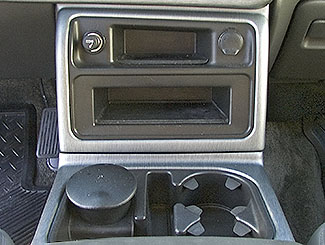
Center console : Interior
Next remove the cover inside the door handle, same screwdriver, pry and snaps out turn it upside down and slide it off. Disconnect coaxial cable from radio Non-Digital 6… First start by removing the plastic trim ring that surrounds the radio and climate controls. Now take the 2 bolts out of the housing that the hose was hooked to, and take the thermostat out. If not,take it to a pro shop and have them vacuum it down to trace the leak. Ease out the interior lamp.
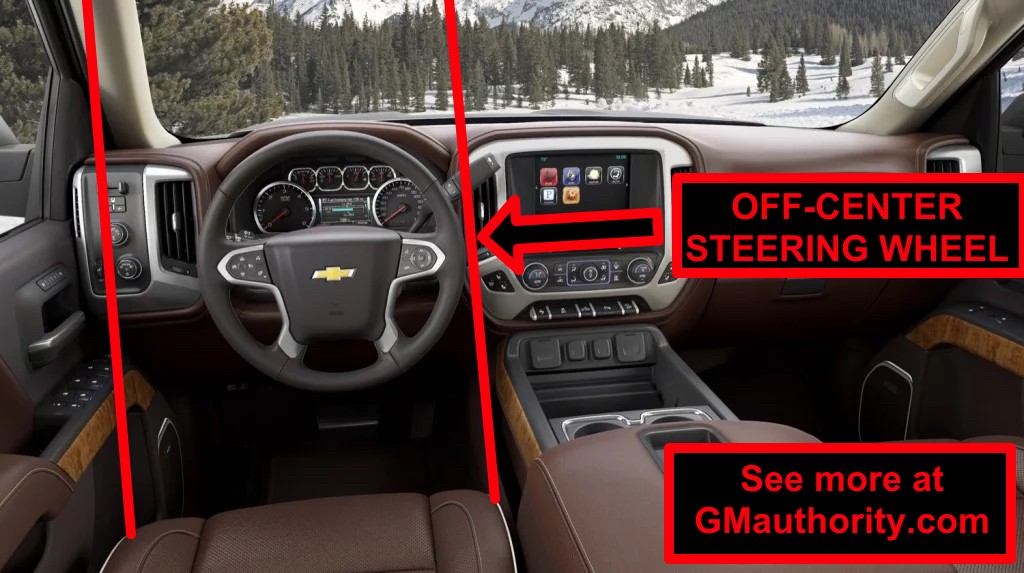
How do you remove the dashboard from a 2000 Chevy Silverado
Now would be a good time to remove the door light on the corner, same screwdriver, pry from the red lens side outward, once out, remove the wire termial. Inside those windows is the plastic retainer. I'm telling you this because… first make sure you note how the belt is run so that you can replace it in the same manner. If you have a dental pick try to gently loosen it and tip the console until it moves forward and allows the latch to release. They are aftermarket, so we sell the.
Console Removal : Interior
In fact, I joined this forum just for this thread. This website is not owned or operated by General Motors. Remove 1 … Phillips screw from the defroster duct. Pop out the electrical switches. You won't be able to change the settings to anyone elses vehicle but your own since the programmer requires the same settings of the last computer it talked to. Follow these steps to get your center console out in no time. The plastic on my rod seems to be deteriorating with age and if it starts sticking again I'll be looking for some wood doweling to replace it.
How

To find it, stand outside your vehicle and look at the corner where the windshield meets the dashboard. I would see if it's just low on freon. I just spent 5 hours replacing mine and it was very tedious and difficult to do. Pop the whole thing off. I was able to bend it back without a problem. Pry around the edges of the top bezel.
Silverado Center Jump Seat Removal Guide

Hope this helps This is not the recommended way I am sure but it worked for me and saved a huge amount of time. Disconnect the wiring harness from the seat, then remove the seat from your Silverado. These reviews are from anyone who purchased those parts, in this case a Center Console, so you can feel confident that you know what you are buying. Talk about your center console, seats, door handles, upholstery, steering wheels or any other item in the cab of your pickup. Once all of the screws are removed, gently remove the console from your Silverado.