1999 oldsmobile silhouette headlight assembly. How do you replace the headlights in a 1999 Oldsmobile Silhouette 2019-03-12
How do you replace the headlights in a 1999 Oldsmobile Silhouette

Mark them so you won't get confused. Remove all the gas in the tank. You will be very, very satisfied. There is a plastic thumb screw on the turn signal housing that you must totally unscrew. The fasteners to install are on backwards but it is not too difficult to change them. Above the headlights, and inside the hood, you will find bolts protruding vertically up at you.
How do you replace the headlights in a 1999 Oldsmobile Silhouette

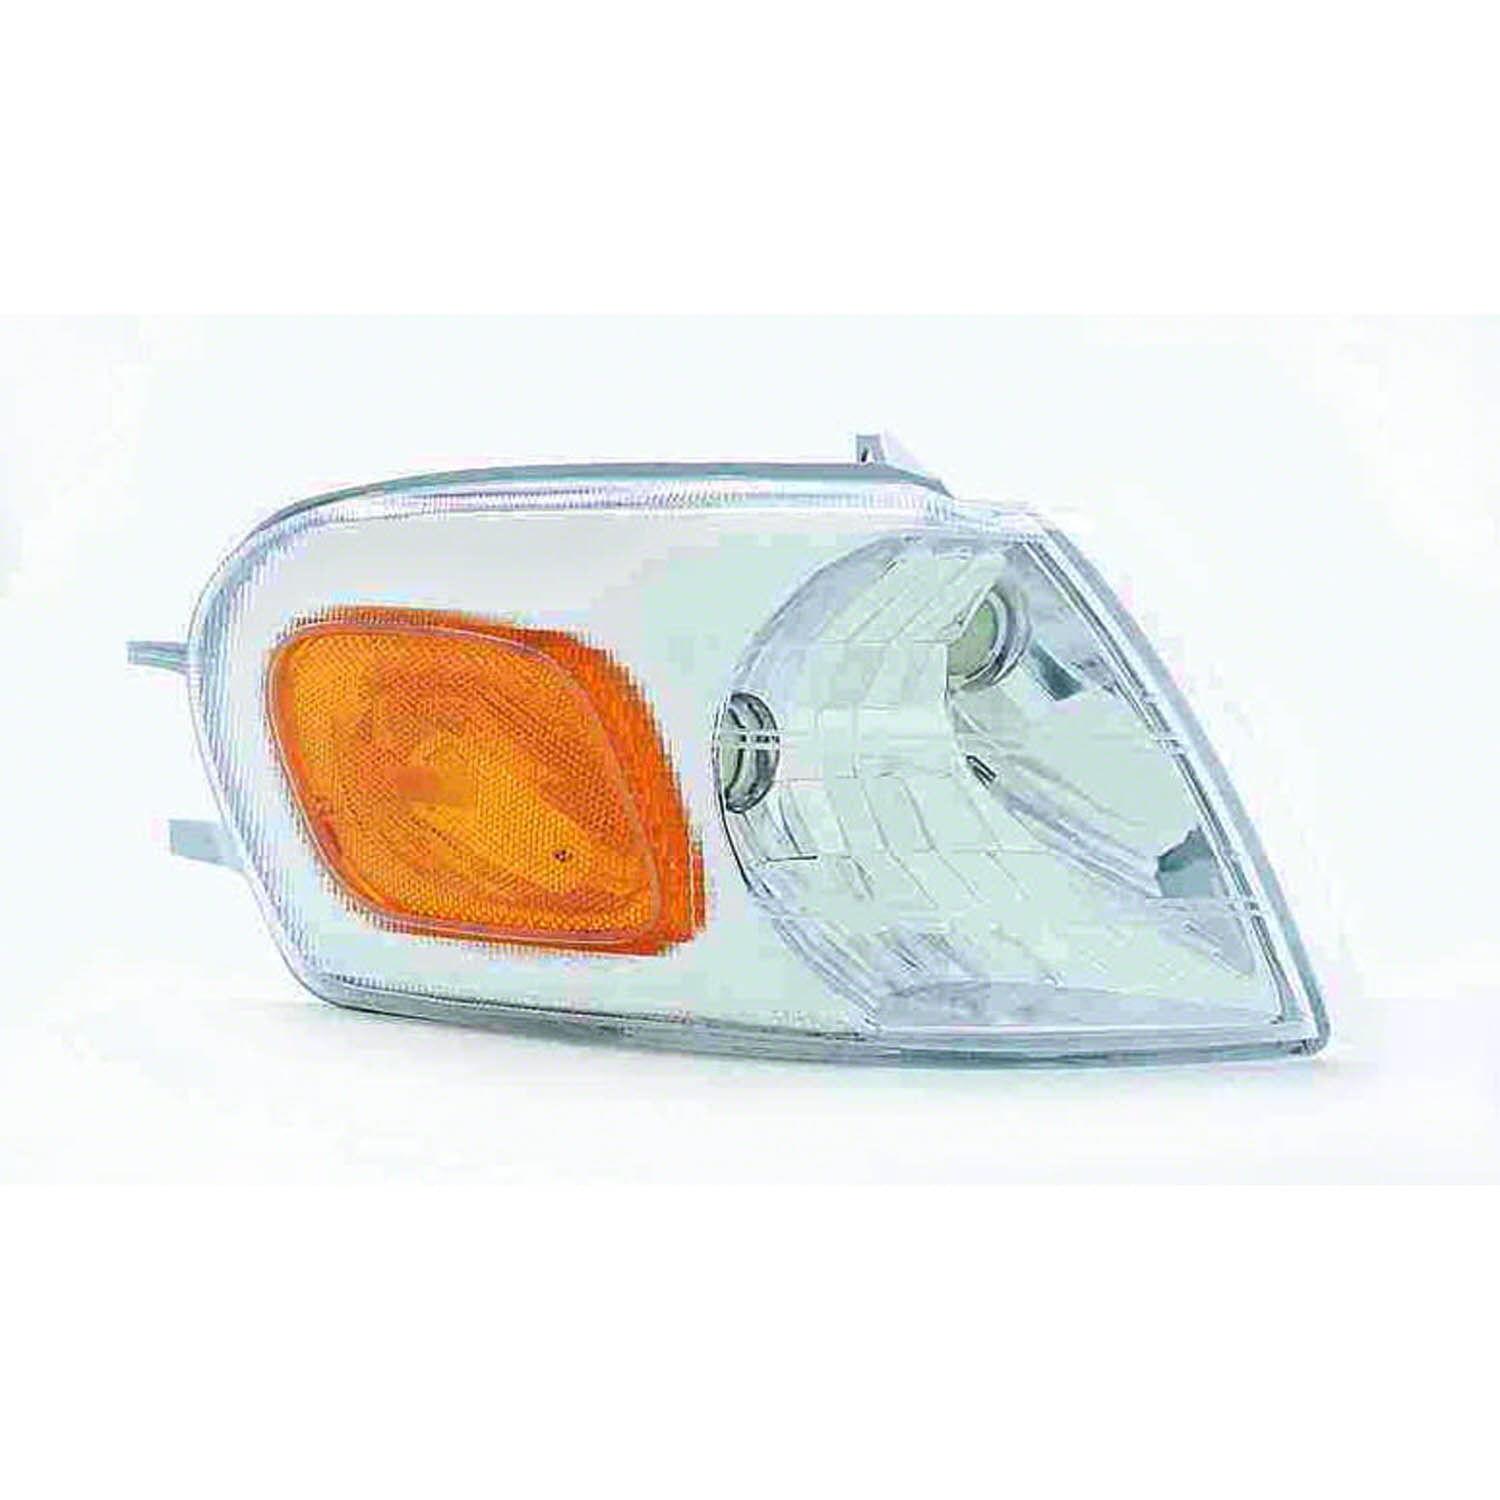
I believe that you have to unscrew the headlight above the fog lamp you want to change. Just remove the 2 twist-off nuts and 1 twist-off screw, slightly pull straight-forward the side-light assembly to give you some room, pull straight-up the front-lamp assembly, switch electric connection, align two bottom pins while lowering back onto the two top screw posts, push back in the side-light assembly then retighten the 3 twist-offs. This combination pulls a rod attached to the door relea … sing mechanism. You will see two separate plastic light housings, one containing the headlamp, and the other the parking light and turn signal bulb. My issue was with the packaging. Drop the tank to the floor. Remove it and put is someplace safe while yo … u continue.
orgmode.com: 1997

The retainers for the left assembly are in front of the washer fluid reservoir. I'm not real thrilled with the light output. If they don't slide out like they are supposed to then put it back together and take it to the dealer. As stated in the other reviews you have to flip around the brass-colored friction-nut which holds the side light assembly. Also, the bulbs that come with them are extremely dim and cheap. I would just check with your local dealership, they will usually do bulb changes for fr … ee if you come in for an oil change.
How do you replace the headlights in a 1999 Oldsmobile Silhouette
There is no drive trace as a whole, however, some monitor cycles are similar and may pass through simultaneously. Shipping might take a little over a week, don't let that be a deterrent for one of the best investments you will ever make. The bulbs just twist out of the back of the headlight assemblys. Remove the wiring harness …. Luckily, I was able to remove the actual lens assembly from the frame of both the old and new and install the new lens with the old mounting frame. The new assembly is better than the one I replaced but the lighting is still not very good with the bulbs in place. You would think they'd be at or near center.
How do you replace the headlights in a 1999 Oldsmobile Silhouette
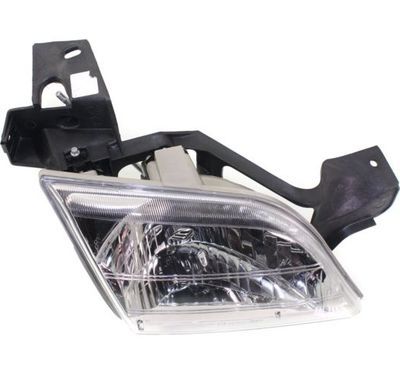
You must unscrew all of them, which should allow for your headlights to pop out forward. They both have to come out together. With the retainers removed, the headlamp assembly falls forward. There is also another wing nut like bolt that is between the headlight assembly and turn signal assembly that must be removed. I have adjusted them a few times but they still are not as good as I had hoped. .
How do you replace the headlights in a 1999 Oldsmobile Silhouette

It took the dealership 30 minutes to do one side. Impart a downward pressure as the fuel pump is spring loaded. If you remove the air breather box first it will give you some room to work but the back bolt on the thermostat is really difficult to get out due to lack of room to move the wrench. Remove the filler hose from the tank. If the assembly does pop out correctly, just twist the bulb socket out, turn the bulb and insert the new replacement. One of the lights came with the mounting frame busted.
How do you replace the headlights in a 1999 Oldsmobile Silhouette

Remove the plastic lock on the wiring harness. Just make sure you don't touch the glass on the new bulb because the oil in your skin will accumulate and create a hot spot causing early failure. Then turn the headlight bulb you want to replace to remove it from the housing. I have done this several times and it seems kind of tricky the first time, but actually is pretty easy. One you do th … is you have to lift up on the headlight assembly to clear the threaded studs that the plastic wing nuts were on and pull both headlight and turn signal light assemblies straight out.
orgmode.com: 1997
Exact fit for my '03 Oldsmobile Silhouette. This part usually fits into one part and snaps onto another part. It's been a while since I did these to mine, so there may be a step or two I forgot, that you assuming you have any common sense with vehicles should be able to figure out on your own. Oldsmobile dealers and some auto part stores will have a pictorial view of these internal door parts. Replace with new gaskets and lock ring lock.
How do you replace the headlights in a 1999 Oldsmobile Silhouette

First you will find the thermostat by following the upperradiator hose. Very easy to do, don't bother paying someone to do it, they won't take the time to do it as well as you will. After you open the hood the whole headlight assembly can be removed by taking off the the two black plastic wing nuts on top holding the headlight assembly in. I thought that this was quite a bummer. I only had to move the cross brace on the drivers side low beam in order to change it. Reinstall the retainers to the square tabs on the headlamp assembly and the rivet on the radiator support Typically the handle does not need to be replaced. Accelerate and drive for 1 min at steady speed above 50 mph.
How do you replace the headlights in a 1999 Oldsmobile Silhouette

I know it's being a little nit picky, but I wouldn't expect them to be this way and therefore didn't check them before attempting to install them and thinking they didn't fit right. Take the bolts off toremove the thermostat and replace with a new o … ne. The tech manual tells you to remove the assembly in order to change them but it is not required. Then on on each of these then pull entire headlight assembly forward, you may have to wiggle to get free. You may have to tug on it a bit, but remember these things are plastic and expensive, so be careful. Replacement is reverse of all of the above.