1999 nissan frontier wheel bearing replacement. How do you replace front wheel bearings on a Nissan frontier 4X4 1999 2019-02-24
front wheel bearings
Reassemble the hub assembly, brake and rotor assembly, and put the wheel back on. I ended up taking it to a garage and had someone do it because I got stuck at one of the steps. Replace wires may only be one wire, depending on the alternator. Installation is the reverse of removal. It should be back in behind the alternator and below the power steering pump. Additionally, in many forums people have recommended the removal of the… If it is anything like my 1998 Nissan Frontier 4-cylinder, then it is located on the engine block side of the bottom radiator hose to the top left and in between all of the belts.
99 1999 Nissan Frontier Wheel Bearing

Tighten the lug nuts so that the wheel fits snugly against the wheel. Install the new wheel bearing. The belt tensioner is at the bottom of the engine near the alternator. You may need to tap it into the hub using a rubber mallet. Thank you much for sharing that link, it saved her quite a few dollars.
$680 for front wheel bearing replacement?

Jack up the Nissan truck using the factory front jack point located behind the radiator. Pull the brake rotor off. Lock ring pliers - I bought mine from a local harbor freight. . Clean the inside of the hub with shop towels or rags. Put the vehicle in park or first gear if it is standard and engage the emergency brake. When you can't hear yourself think anymore, then you need to park it.
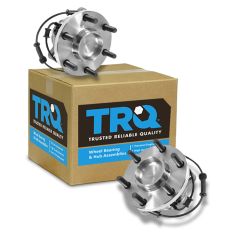
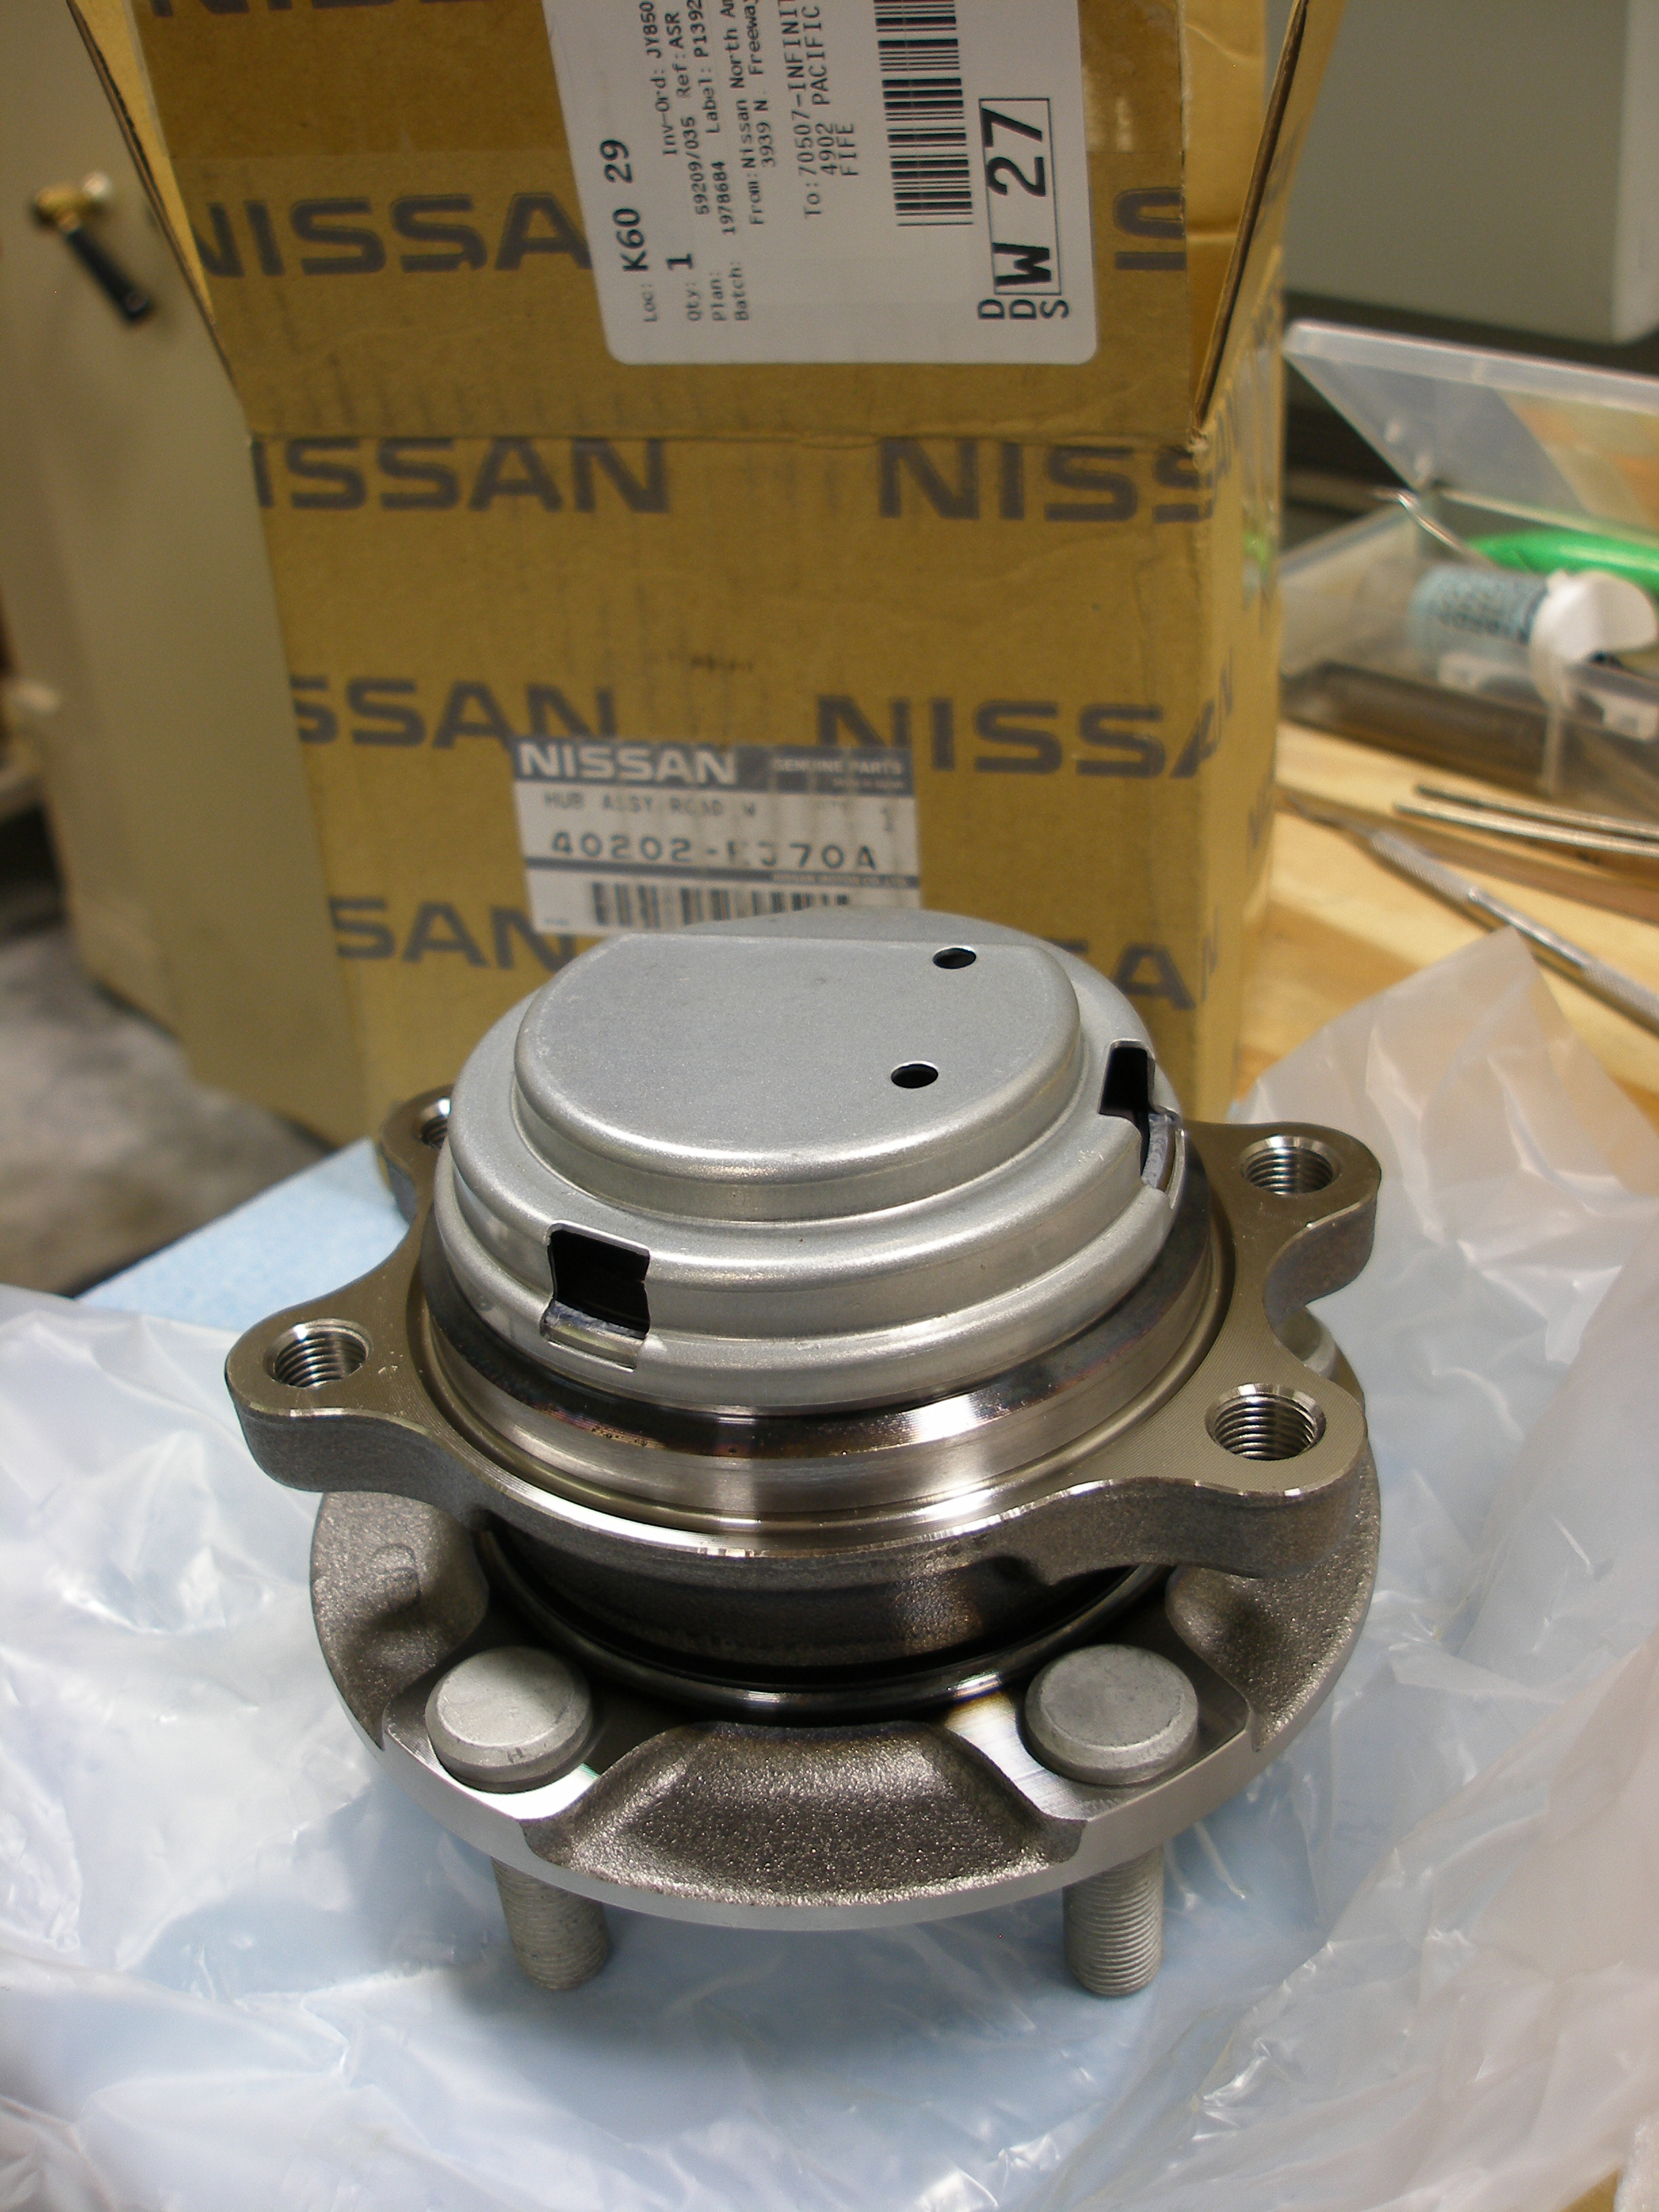
Nissan Frontier Wheel Bearing & Hub Assembly
Remove the fender liner and oil filter. I guess I was used to a rough ride from the Explorer I was replacing. As a preventive strategy, it is wise to regularly monitor your car or truck in regular basis between drives. So the price tag on the parts seems high, but admittedly I have never purchased the whee bearings. I had mine re-packed when I had the timing belt changed and brakes done a few years ago. I went ahead and re-packed them when I had it apart. I had to remove the plastic around the back of the radiator, then remove the fan to have access to the bolts on the engine block that hold… If it is done the same way as a 1998 Ranger you need to unscrew 2 screws on the bottom of the light assembley in the narrow space between the bumper and the bottom of the assembly and pop the top portion of the assembly away from the fender using a flat-head screwdriver.
1999 NISSAN FRONTIER 2.4L L4 Wheel Bearing

You will have to do this for both sides of the hub. I don't know what type of damage you could do by driving another 500 miles. But replacing the bearings did give the truck a much more stable feel. Diminished driving quality and operation, heightened gas consumption, or increased risk for hardware break down are merely some down sides of driving a vehicle with a faulty part. You can follow the instructions from this site.
1999 Nissan Frontier Wheel Bearing

Remove the two long bolts that are holding the alternator in the bracket. Replacement requires four bearings two for each wheel , two seals and some grease. Get your large wrench back out, put the belt back on the alternator, and your good to go. Theres no vibrations, cars rolling smooth and straight, its perfect. Do not let the alternator fall and tear the wires.
1999 NISSAN FRONTIER 2.4L L4 Wheel Bearing

For Nissan trucks, it should pull straight off the hub assembly, but you may have to hit it with a rubber mallet to knock it loose from the hub assembly. I ran on my front left bearing for a couple thousand miles with it howling like a banshee. Loosen the lug nuts the rest of the way and remove the wheel. Then lower the vehicle to the ground and torque the lug nuts to 100 foot-pounds with the torque wrench. Since 2000, Centric Parts has supplied the automotive aftermarket with high-quality replacement brake parts. Will be very useful when I go to replace my bearings in a couple of months.
Nissan Frontier Wheel Bearing & Hub Assembly

The guy at the shop told me they were really dry and was surprised I had not noticed anything. Secondly, this job is non-trivial. Grab the bearing cap with the end of the channel locks and twist the channel locks back and forth until you work the bearing cap loose and can pull it off. I want to take some of the play out of mine as well, but I have been very reluctant to take apart the front wheel assembly. Im still gunna get my mechanic to drive it before i set off to windsor next weekend, just in case. When removing one of the seals I broke the rotor sensor abs ring in half. Be careful that you do not damage the new bearing.
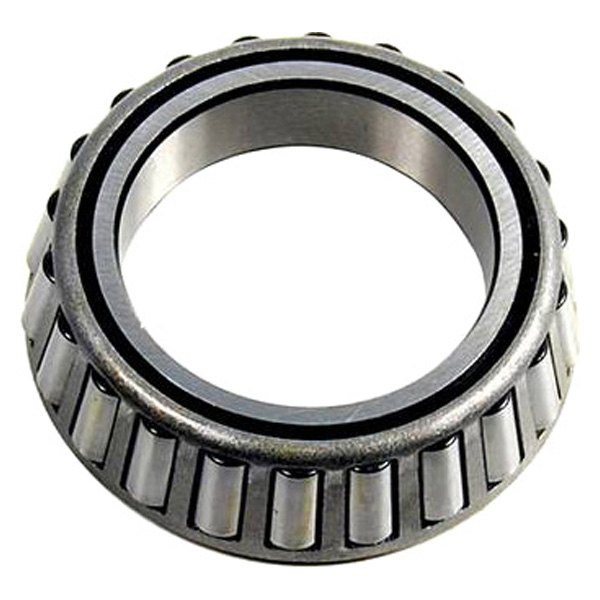
Nissan Wheel Bearing

For this reason, it is recommended that you use a rubber mallet and not a hammer for this job. I've also wanted to pull the front discs off, but again, I have avoided it because it looks too complicated. So I bought all the required parts: inner and outer bearings and racessealsgrease and using my own tools no special tools I followed the guide to the teeth as you did and accomplished the task over 2 days with one problem. They make more noise than actual damage. Grab the end of the cotter pin on the spindle nut and pull it out of the nut. It seems like there is another bolts somewhere but there is only 2.
How to Replace Front Wheel Bearings in Nissan Trucks
Im going to get him to check it out though. It's labor intensive, but not too difficult. I had to release the hose clamp and pull the pcv valve out with needle nose pliers. Then used a dial micometer and a magnet base to adjust the bearing run out to zero. Remove the main battery wire off of the single power connection on the back of the alternator. Working on a 2000 myself.