1997 honda civic sedan lowered. Megan Racing Performance Lowering Springs for 1997 Honda Civic 2019-04-22
1997 Honda Civic Dimensions

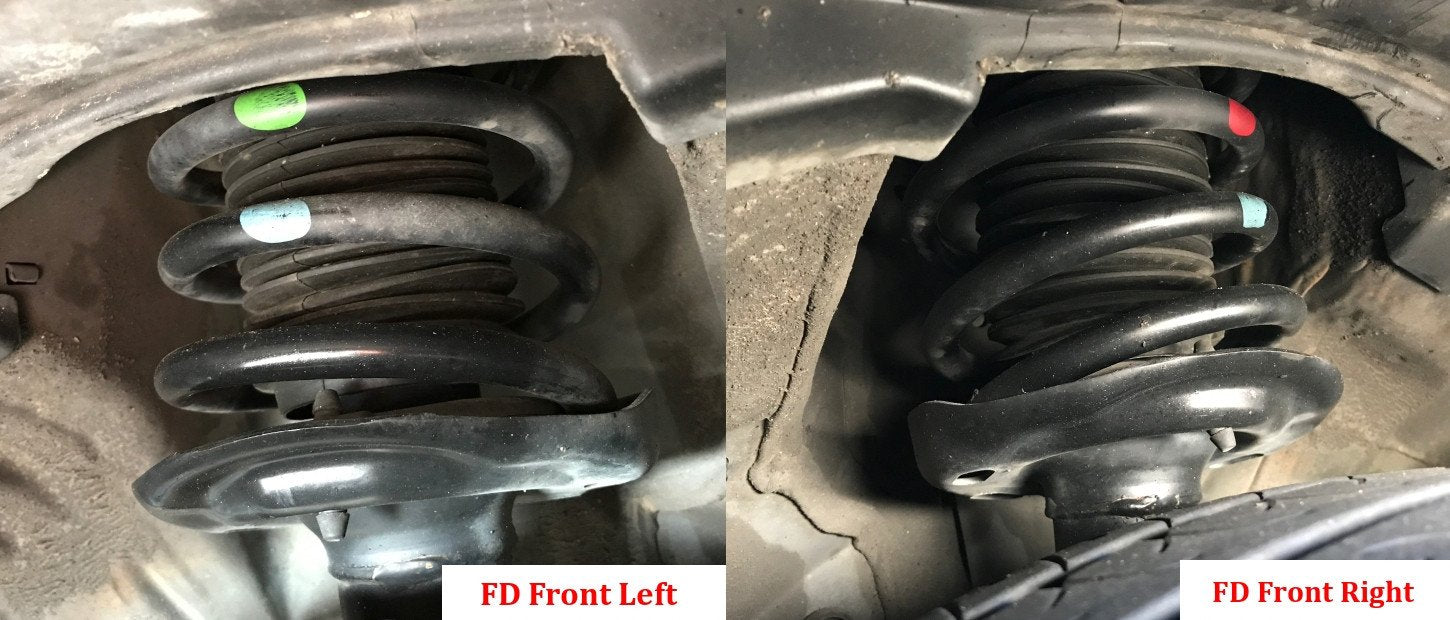
Suspension Performance Upgrade for the Honda Civic If you want to give your Civic the best possible handling, you will want to lower it. While these springs can be used with factory shock absorbers we recommend aftermarket shock absorbers such as Koni or Skunk2 for best results. For each Suspension problem, we have a solution. Step Seven - Install the new ball joint With the bolt of the ball joint facing down, insert it into the hole of the knuckle. Slide brake rotor back in and tighten the bolts. If the Suspension for your Civic is still not functioning as it should, just replacing the shocks may not be enough; the springs may also need replacement.
1997 Honda Civic Subframe Replacement

More than 60% of all used cars imported from the U. Q: I want to track my car on weekends but I still want a comfortable ride what brand spring should I use? Step Eight — Re-install the brake assembly Reattach the caliper and fasten the two bolts. As a used car buyer you would like to be informed if the vehicles has been inspected regularly. This reason would probably lead you to purchase non adjustable shocks for the Civic. Step Five - Loosen the castle nut With pliers, remove the safety cotter pin from the lower castle nut.
1997 Honda Civic Dimensions

Lower the car and reconnect the battery. New blog posts every Monday and Thursday, plus pictures throughout the week on , , and! Ball joints are small components that play a big role in making sure you arrive safely to your destination. There are several types of records included in the report including: The mileage of a vehicle is crucial for it's value. The bars that connect the shifter to the transmission needed to come off too, which allowed me to replace the bushings, which were completely gone, leading to a shifter that would flop around and rattle. Megan Racing uses only the best materials and technology to manufacture their suspension components. Step Two - Remove the spindle nut With the flat head screwdriver, undo the clip on the center of the spindle nut. After construction the springs undergo a high strength phosphate powder coating process which results in a bright, durable long lasting finish.
Owners Manual for

Vehicles regularly get tested for roadworthiness. Getting the steering rack out of the old subframe gave me some trouble. A: Most cars are safe with a 1. The tip of the ball joint press should be at the bottom of the boot. Mount and tighten the wheel. Comes with all 4 springs for your vehicle. Availability and Condition: Unless otherwise noted, this product is in brand new condition and usually in stock at one of our warehouses, or will ship directly from the manufacturer.
1997 Honda CIVIC SEDAN

D2 Racing Pro Lowering Springs optimize and improve handling characteristics by reducing ride height while still maintaining exceptional ride quality through a progressive rate spring. Current statistics show that a large percentage of all cars on the road have a negative history. It was 5 pm when I finally had everything back together and ready to go, which is when the shop usually closes. Mileage rollback is one of the most occurring types of fraud in the selling process of used cars. Use a hammer to drive the ball joint up until it pops off the tie rod. Very often these cars are rebuilt and sold by deceptive sellers who fail to disclose or even try to hide the salvage information. I bought my 1997 Honda Civic in April 2015, and soon discovered that the front subframe was rusted out.
Rear Lower Arm for 1997 Honda CIVIC SEDAN

You can tell if they need a replacement just by looking at them. With it finally out the car I could see how bad the rust had gotten. This is for the person that wants there Civic to get the smoothest ride possible and wants to save money. Fasten the ball joint with the lower castle nut, and insert a new cotter pin. Like on the way down, it a tight squeeze past the joint for one of the shifter bars. And one of the most common forms of automotive fraud in the second hand car market relates to odometer manipulation. Remove the rotor screws with an impact driver and slide the rotor out.
Megan Racing Performance Lowering Springs for 1997 Honda Civic

Use the hammer to tap it into place. If the rubber boot around the ball joint is busted, this is an indication that there is no grease left inside. Specifically designed to offer race car inspired handling while maintaining smooth ride characteristics these springs are perfect for lowering your civic. Step One - Lift the car and remove the wheels Disconnect the negative black battery terminal. This is easier if you position the wrench to push down instead of up. Q: Do I need a camber Kit when I add lowering springs to my car? The exhaust pipe had to come off, plus the tie rods and lower control arms had to be unbolted from the steering knuckles. With the 32 or 36 millimeter deep well socket, loosen the spindle nut by rotating it counterclockwise.
Front Lower Arm for 1997 Honda CIVIC SEDAN

Push the ball joint out. Use the hammer to hit the ball joint up and out. Once everything was disconnected, I positioned a transmission jack under the subframe and removed the 10 large bolts holding the subframe in. Some Suspension parts for your Civic such as lowering springs can also help to give your Civic a lower and more aggressive stance. Insert the ball joint into the tie rod end. Lastly, take your car for a test drive to ensure the brake and suspension components are functioning properly.
Owners Manual for

Once I got everything attached, it was time to put it back in the car. Availability and Condition: Unless otherwise noted, this product is in brand new condition and usually in stock at one of our warehouses, or will ship directly from the manufacturer. Step Four - Undo the pinch bolt Locate the damper pinch bolt above the spindle and near the brake line support bracket. Use the 12 millimeter socket to remove it. The steering rack is mounted inside the subframe, so I needed to disconnect the hydraulic lines running to it.
Front Lower Arm for 1997 Honda CIVIC SEDAN
Finish removing the spindle nut by hand. Consumers do, however, have options to detect mileage fraud. They are all designed and engineered for this type of use. We have many other types of suspension and chassis parts available for the Civic, so be sure to check out all the different categories. With the car still on the ground I disconnected the steering column from inside the car, and tried to remove the rear engine mount. Step Three - Remove the brake assembly Once the spindle nut is off, unfasten the two bolts on the back of the caliper.